Installation on macOS
This user guide helps you to install u:print on macOS.
Note
If you change your u:account password after installing u:print, you have to additionally update it in the Keychain Access program under the server uprint.univie.ac.at. If you originally entered your UserID incorrectly, you will need to completely remove the whole entry for uprint.univie.ac.at from the Keychain Access program and re-enter it. Then restart your device. Now you have to re-enter your data when using the printer. Make sure you spell it correctly with u\!
Requirements
- A valid u:account UserID and password
- Device in the data network of the University of Vienna – if accessed from outside with VPN
Installing u:print
Open the system settings.

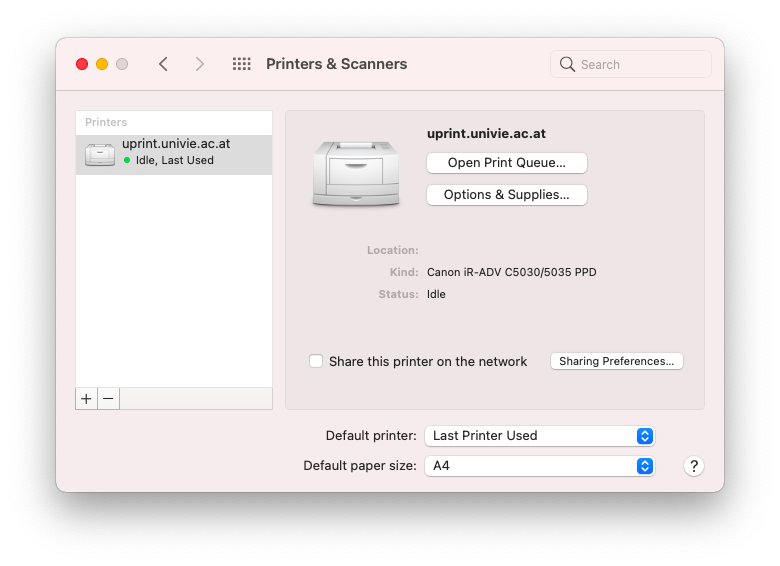
Then select Printers & Scanners.

Click the plus icon to add a new printer.

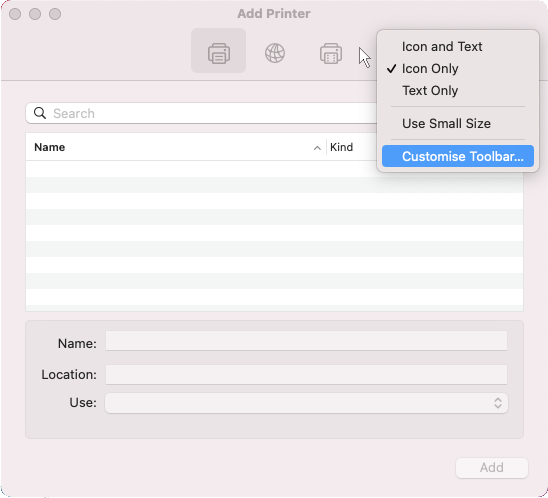
In the toolbar, right-click (ALT / option + mouse button or two-finger click on the touchpad) the empty grey space.
Then select Customise Toolbar... .
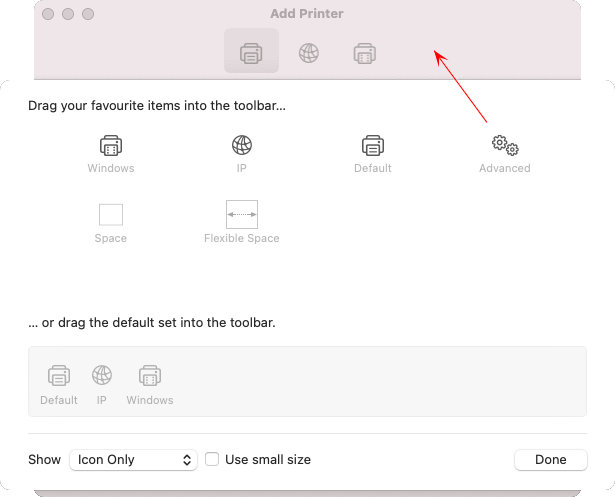
Drag and drop the Advanced icon into the toolbar and click Done.
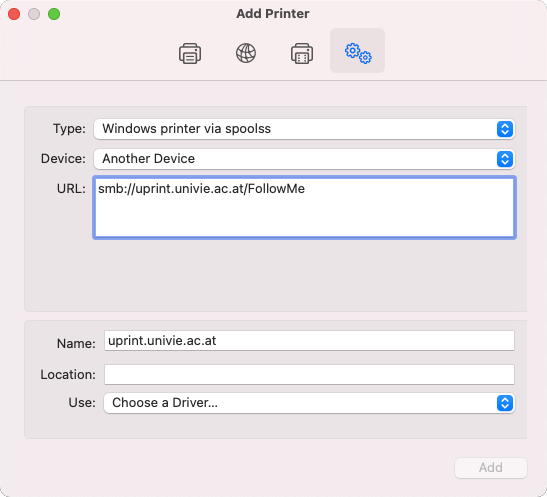
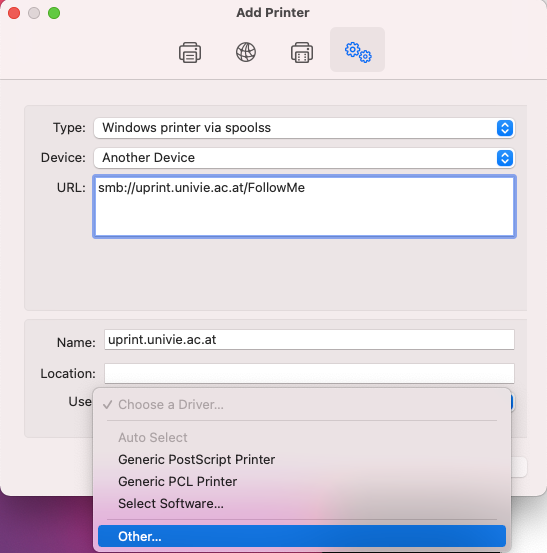
Then open the added Advanced tab and enter the following data:
- Type: Windows printer via spoolss.
- URL:
Students:smb://uprint.univie.ac.at/FollowMe?encryption=no
Employees:smb://uprint.univie.ac.at/staff?encryption=no
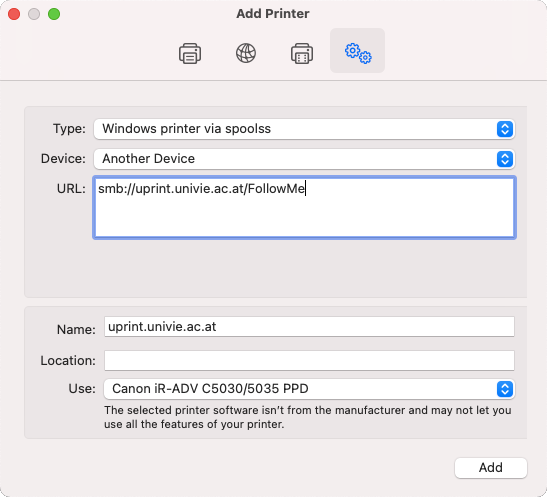
Download the PPD Canon printer driver. After downloading the driver, open the DMG file by double-clicking in the Finder.
Under Use select the Other... option.
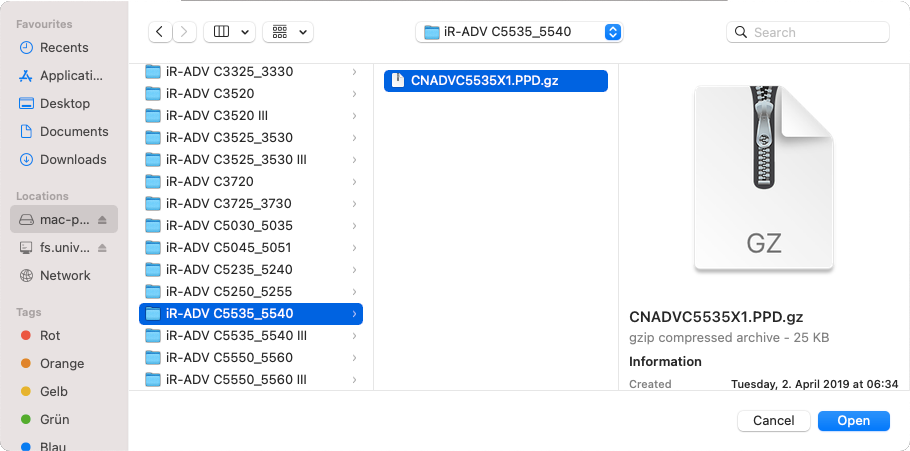
Now open the printer driver:
- In the left sidebar under Locations, select the previously opened mac-ppd-v465-DE-18.dmg file.
- Open the iR-ADV C5535_5540 folder.
- Select the file CNADVC5535X1.PPD.gz.
Select Add.
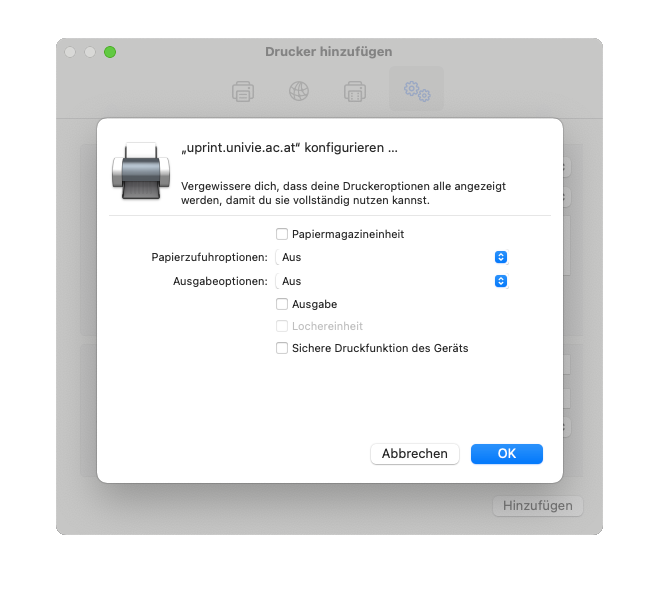
The window Configure “uprint.univie.ac.at“… is displayed.
Click OK.
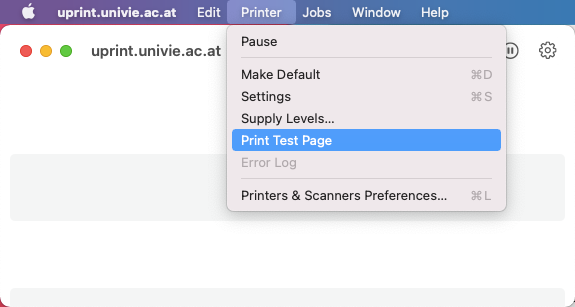
u:print should now be displayed as a printer. Under this printer, click Open Print Queue...
In the menu bar, go to Printer – Print Test Page.
- You are prompted to enter your u:account access details:
Name: u\u:account-UserID
Password: u:account password
If you do not want to enter them each time again, activate Remember this password in my keychain. - Confirm your data by clicking OK.
- The test page should now have disappeared from the local print queue and be displayed on the u:print device in the list of print jobs.
- If you do not want 5 credits (colour print) to be deducted for the test page, do not print the test page.

Note
By default all pages (even if they are only black and white) are sent as colour print to the u:print device. Therefore, when printing black-and-white documents, please note the following section Printer profiles for black-and-white printing.
Creating printer profiles for black-and-white printing
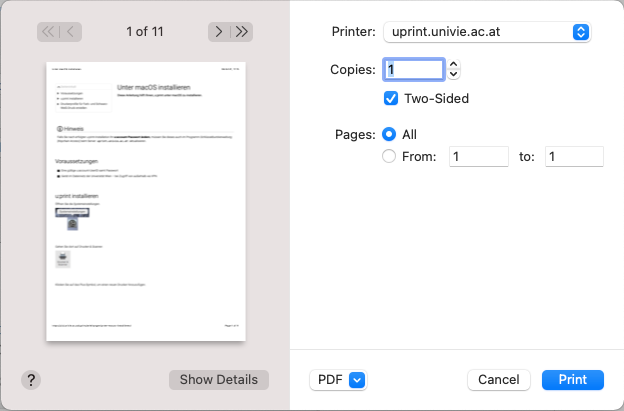
- Open any program with which you can access the macOS-specific printing dialogue for printing (e.g. Safari).
- There, open the printer menu in the menu bar under File – Print... or by pressing the key combination cmd + P.
- Check that the u:print printer is selected.
- If you cannot see all settings, click Show Details.
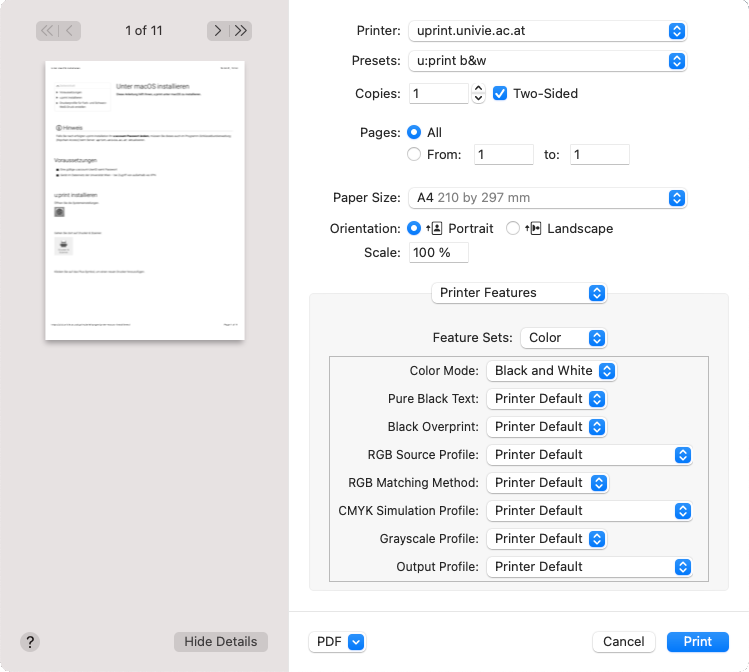
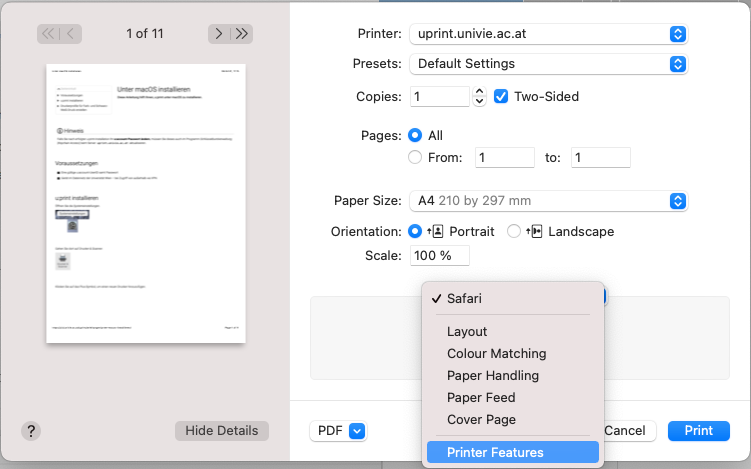
The printer menu should now be displayed as follows:
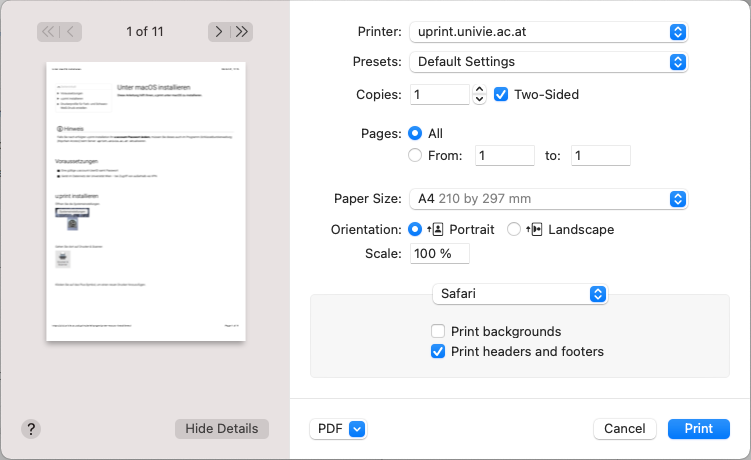
In the selection menu at the top of the grey area, select the Printer Features menu item.
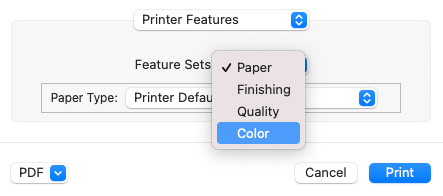
In the Feature Sets, select the Color menu item.
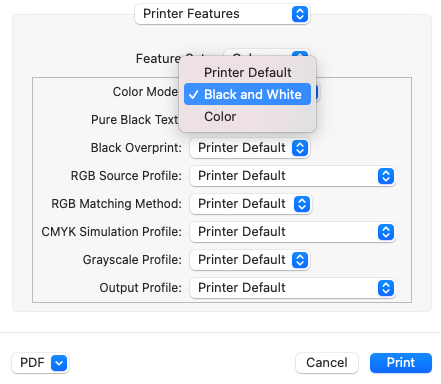
Set the Color Mode to Black and White.
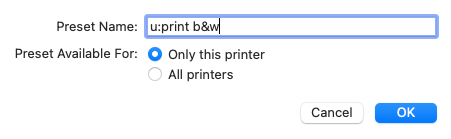
Under Presets, you should save these settings by clicking Save Current Settings as Preset….
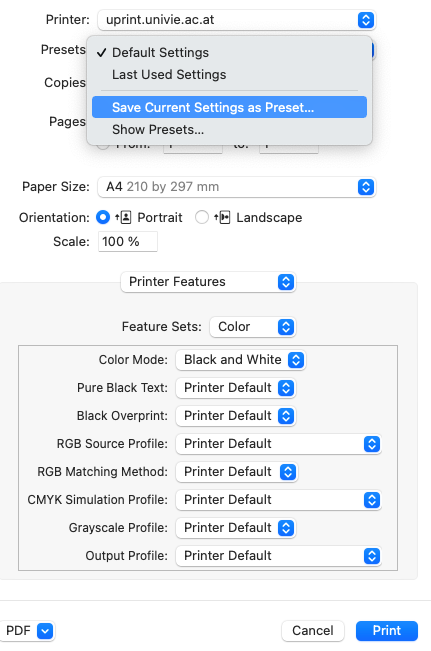
Save this preset as u:print b&w.
Accordingly, you can also define a preset for colour printing. Take the same steps as described above, but select the Color option instead of the Black and White option.
Now, when printing, you can choose between black-and-white and colour print under the Presets item.