Recording
This user guide helps you to record meetings in Zoom and manage and share these recordings subsequently.
Requirements
- You are an employee of the University of Vienna, have already registered a Zoom account with your u:account details and acquired a Zoom licence.
- This function is not available in the default and recommended end-to-end encryption setting. If you would like to record a meeting, you have to manually select the enhanced encryption during planning.
Recording a meeting
Click Record in the meeting controls at the bottom of your Zoom window.

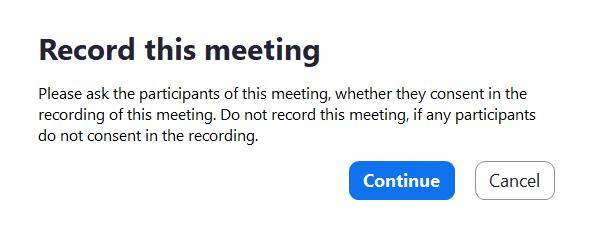
When starting the recording, the host is prompted to inform the participants about the recording.
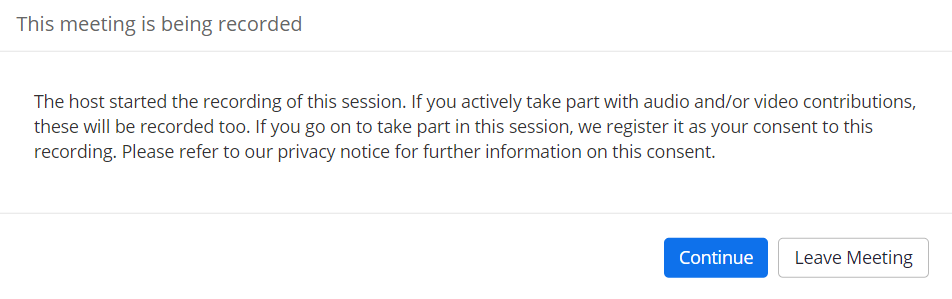
Simultaneously, the participants see a window that informs them about the start of the recording. By clicking Continue the participants consent to the recording. If they do not consent, they can leave the meeting now.
Alternatively, they can turn off their microphone and video to further participate in the meeting without being recorded.
Note
All participants have to consent to the recording.
In addition to an audio notification when starting and stopping the recording, a REC icon indicates that the meeting is being recording.
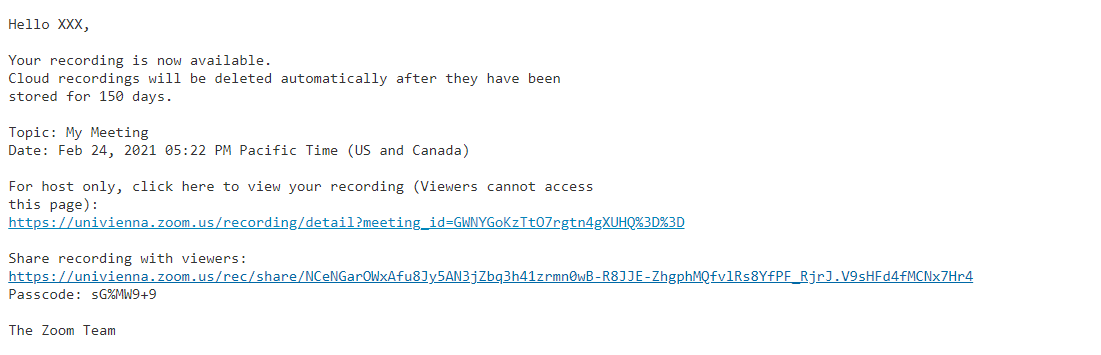
After the recording has been processed, the host and all co-hosts receive an e-mail notification with the link to the recording. The processing may take several hours.
Sharing a recording
Note
Participants cannot download shared recordings.
As soon as your recording has been processed, you as a host receive an e-mail notification. Click the link under For host only to access your recording.
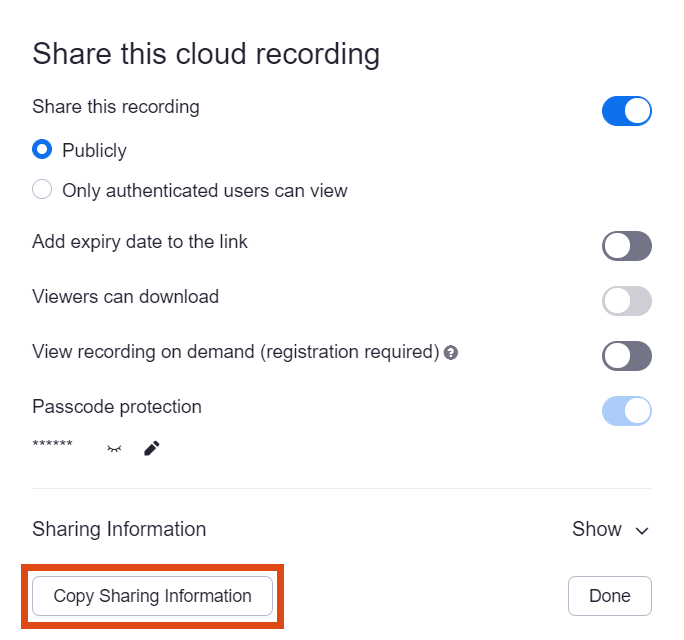
In the appearing window, you can make changes, such as adding an expiry date to the link or changing the passcode.
You can copy the information about recording sharing to the clipboard by clicking Copy Sharing Information.

Managing recordings
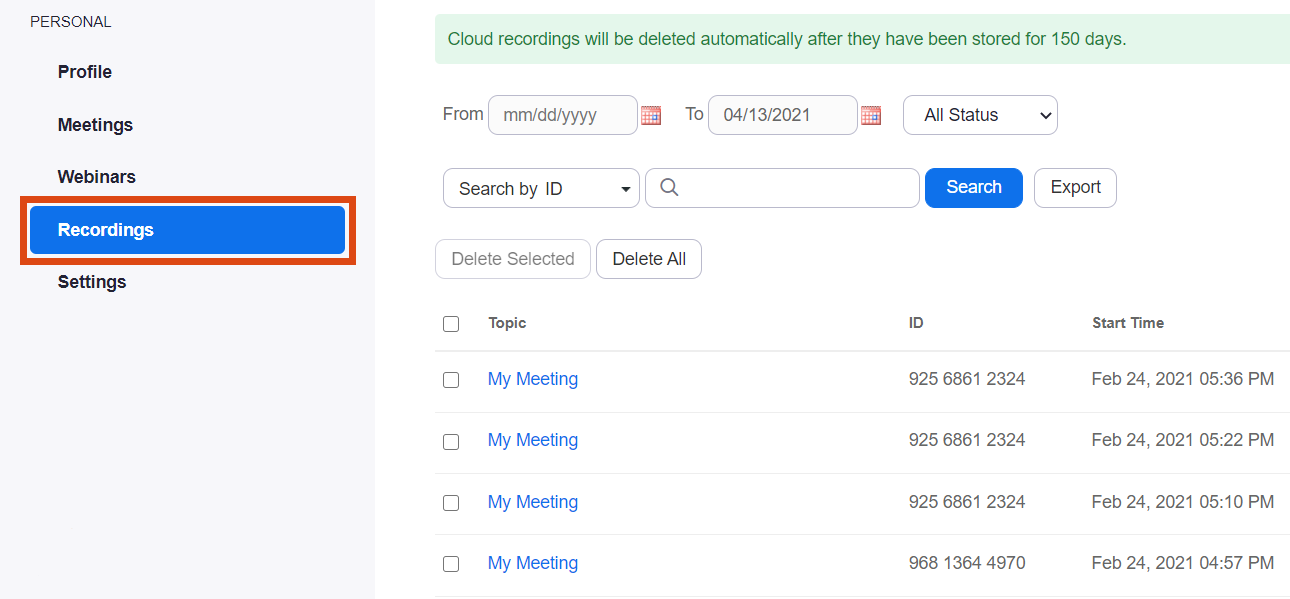
Sign in to Zoom and click Recordings. A list of all your account’s meetings for which recordings are available are displayed.
You can search the list via the search menu on top. You can define a time period and search for the host, meeting ID, subject or keyword.
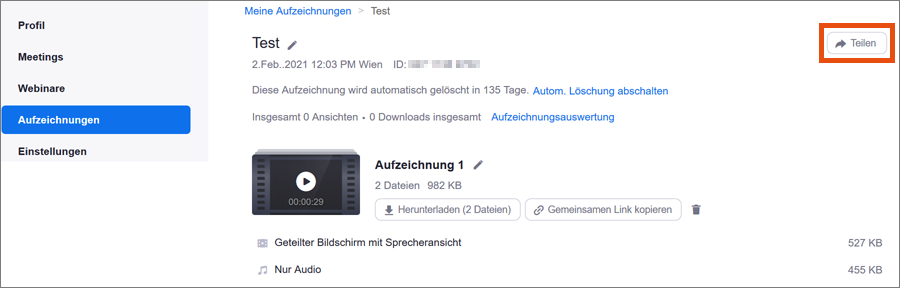
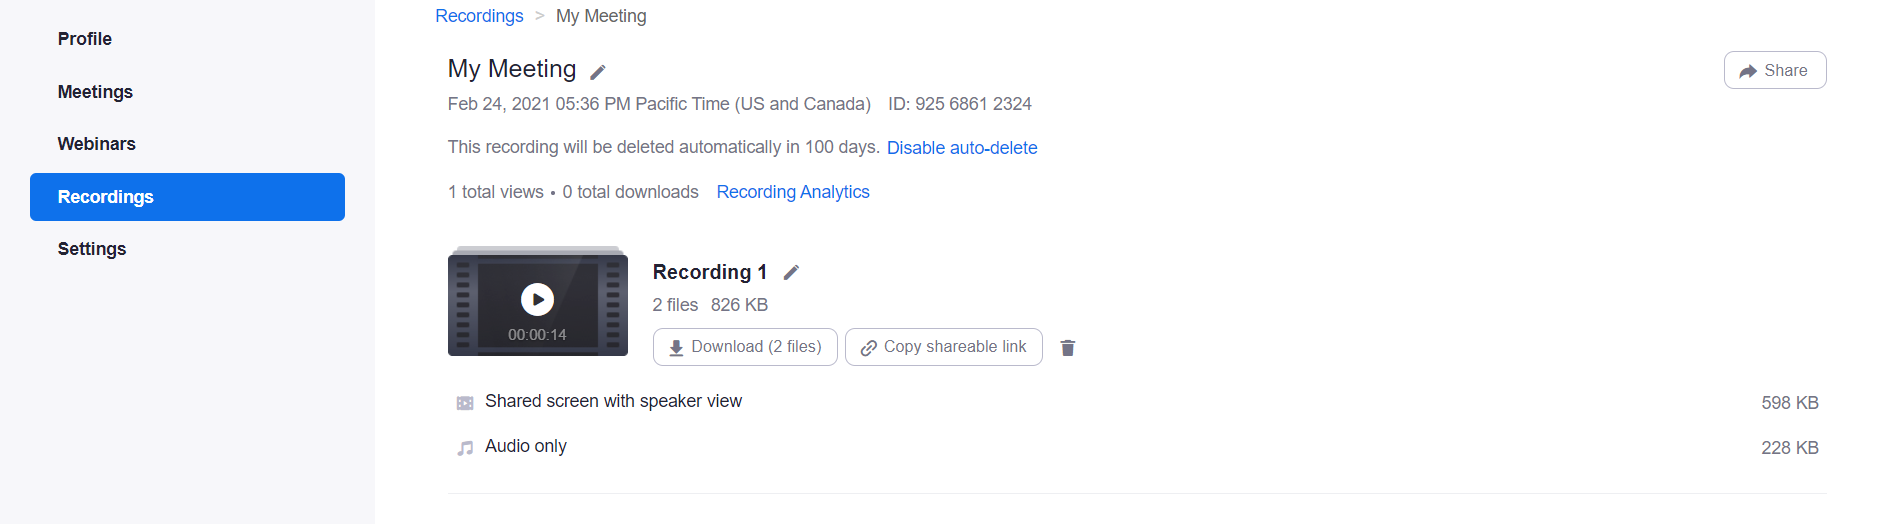
Click the title of the meeting to manage its recording.

A list of all available recordings for this meeting is displayed. For each recording, Zoom generates 4 files with different contents:
- Shared screen with speaker view: shows both the speaker and the shared content
- Speaker view: only shows the speaker
- Shared screen: only shows the shared content
- Audio only
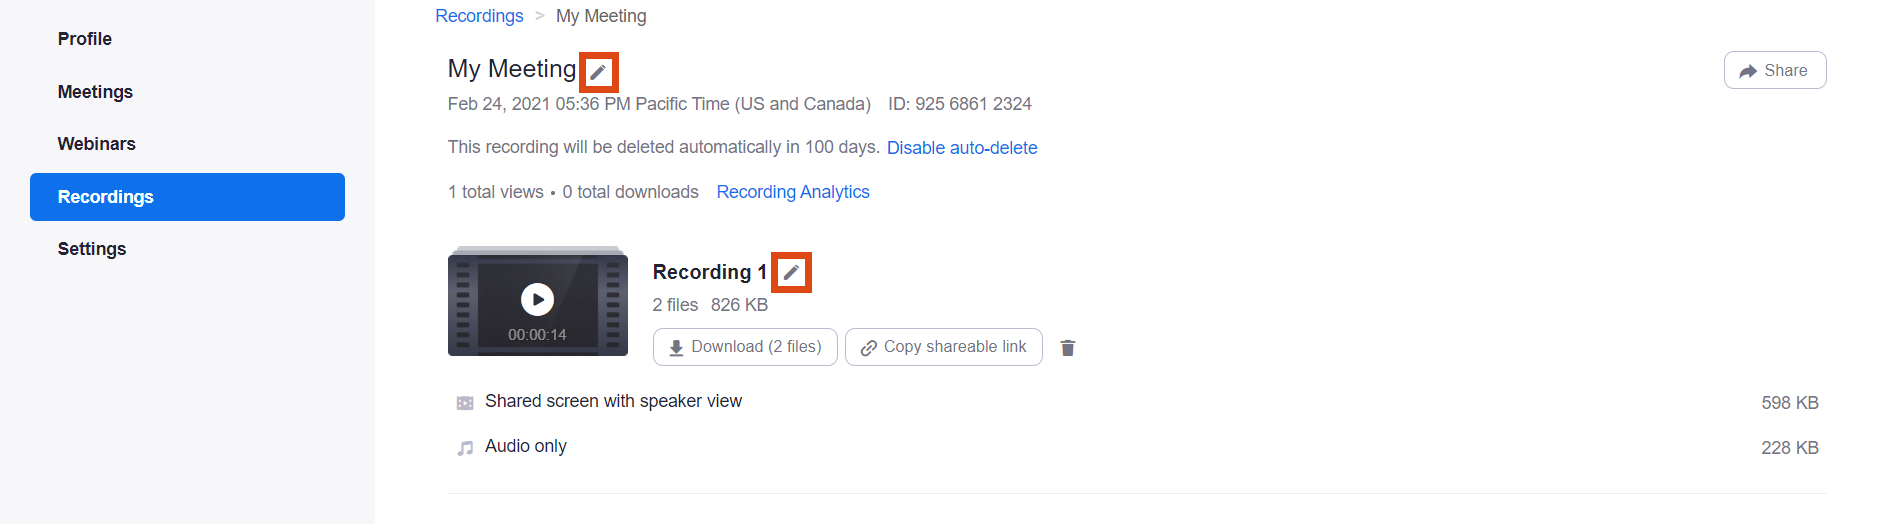
If you would like to change the title of the meeting or the recording, click the pencil icon next to the current title.
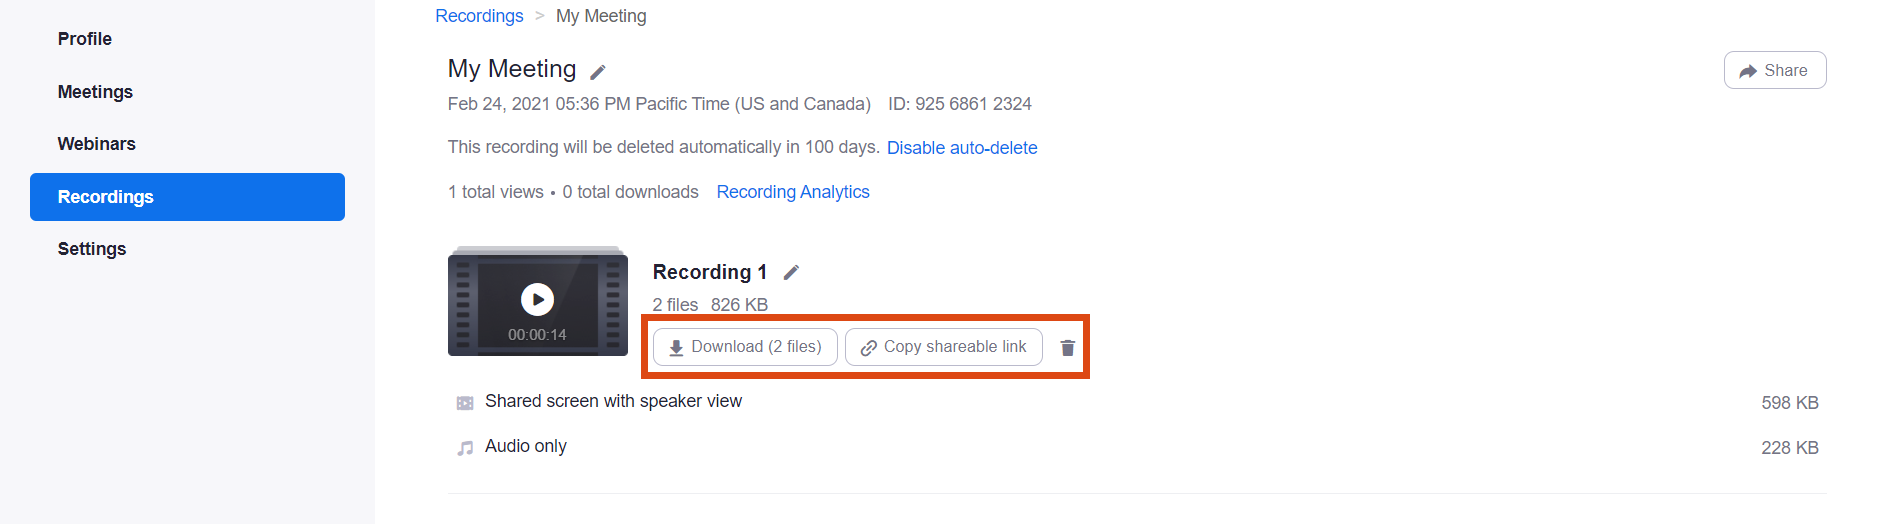
To play the recording, click the video or audio file.

You can also perform the following actions:
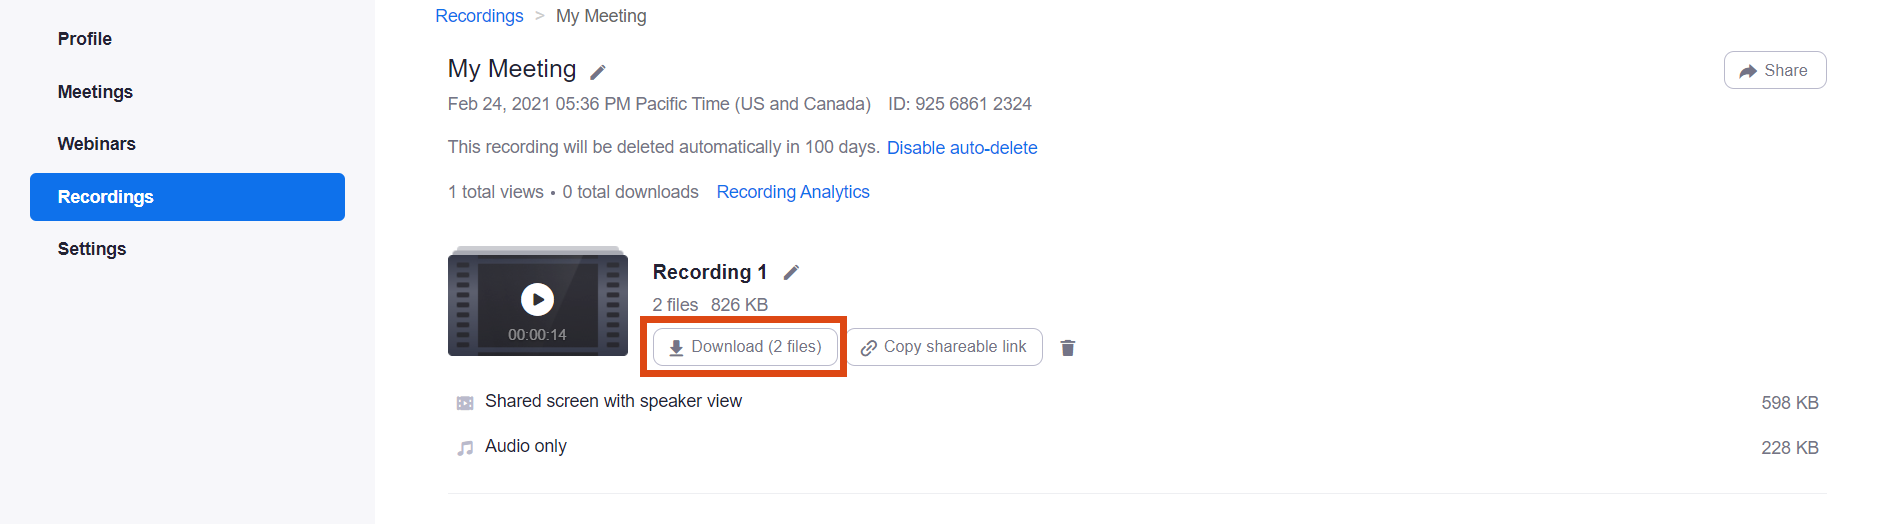
- Download: Store the file locally on your device.
- Copy shareable link: Copy a link to the recording to the clipboard.
- Delete (recycle bin icon): Move the file to the recycle bin.
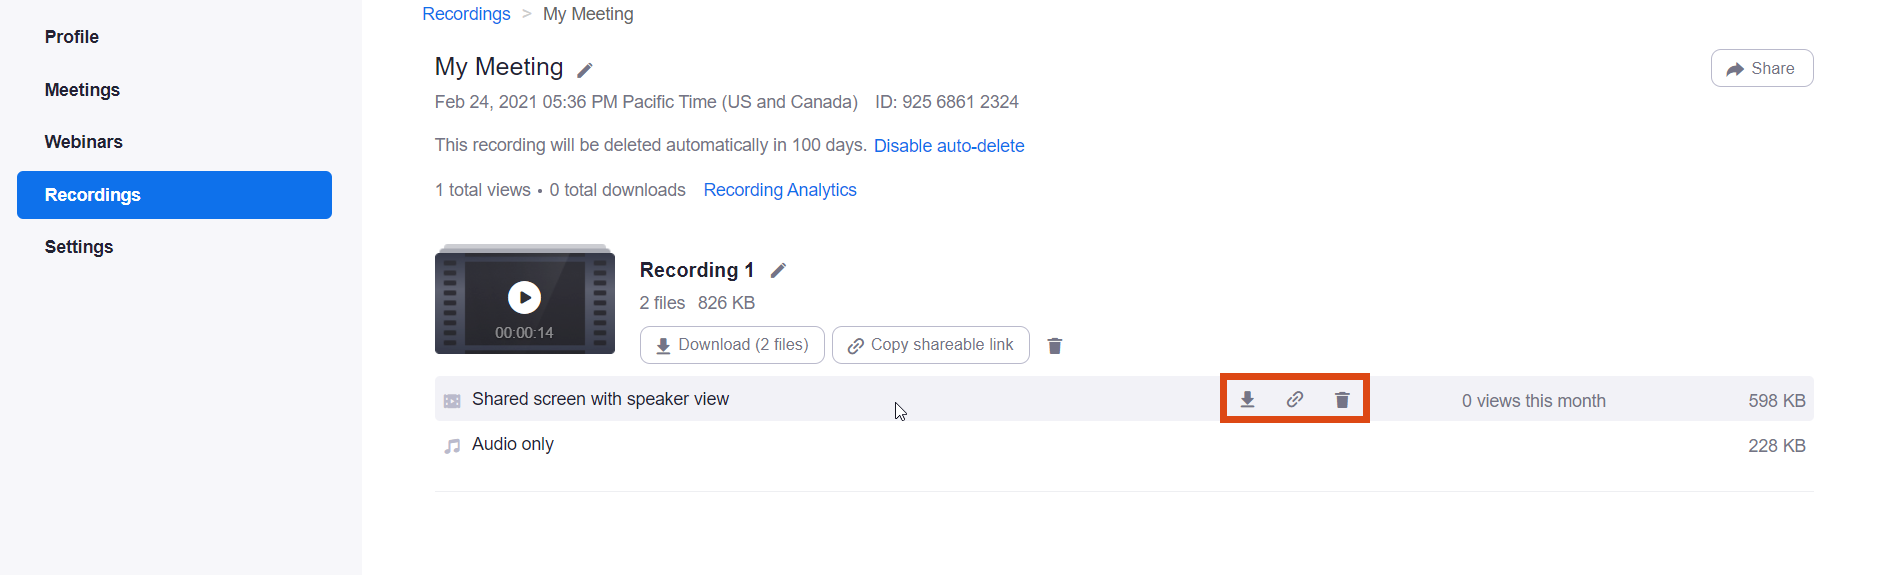
You can also edit individual files. Hover over the relevant line and click the relevant icon.
Archiving a recording
Recordings are deleted automatically after 365 days. As a host, you are notified of the approaching deletion by e-mail 7 days before.
As a host, you can download the recording before it is being deleted.
Note
In accordance with the applicable data protection regulations, recordings should only be stored for as long a period as necessary for the purpose.