Android
This user guide will help you to set up the synchronisation of Android devices with the Exchange server of the University of Vienna. You do not have to install an additional software. E-mails, appointments and contacts can be synchronised.
Note
If you experience delayed receipts of calls with HTC devices, you can turn off the function CFU query with camp on by typing in *#*#2347#*#*
Requirements
- Android device with installed and operating internet connection
- A valid u:account UserID and password
- A valid Exchange account of the University of Vienna
Installing Exchange
The installation can vary between the different Android devices.
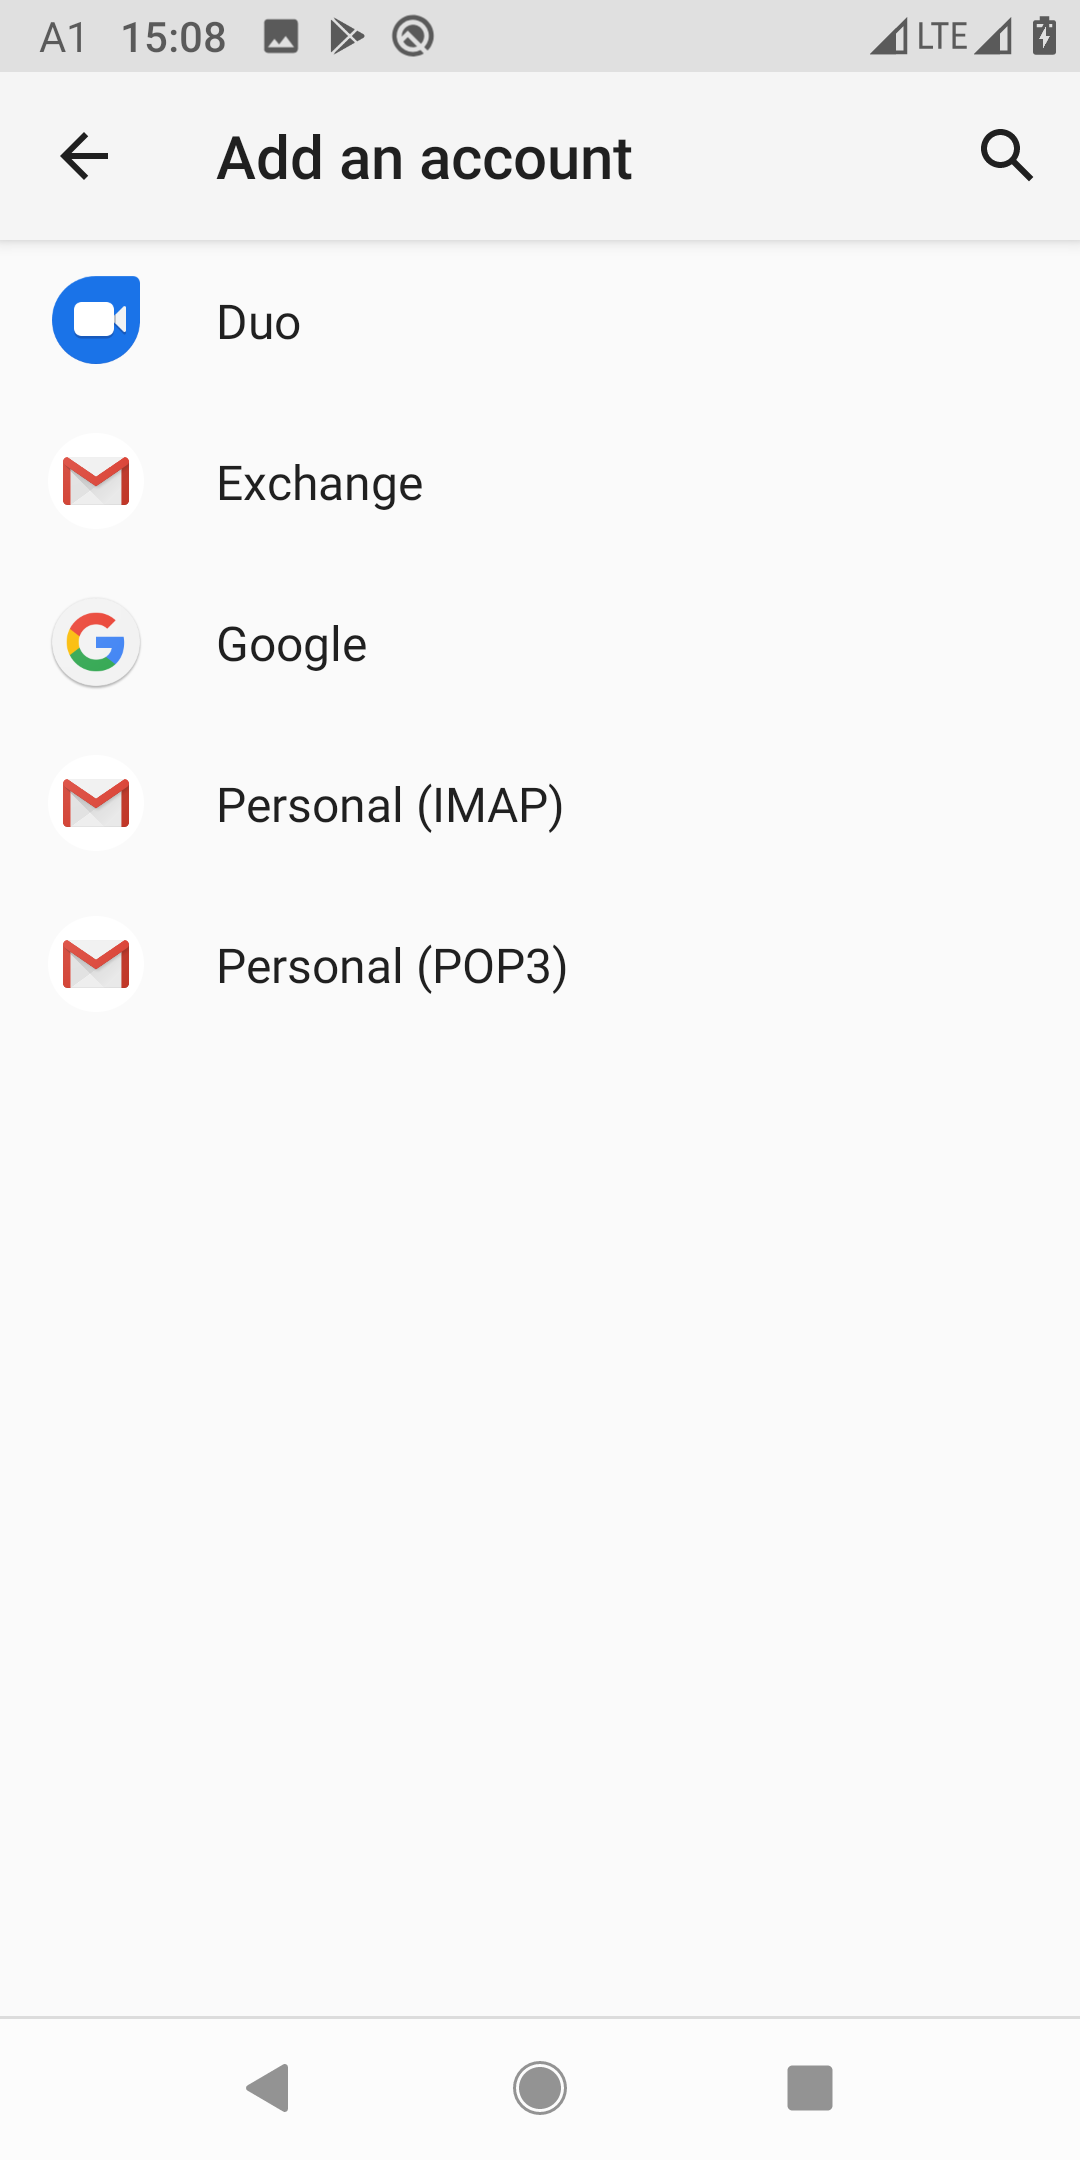
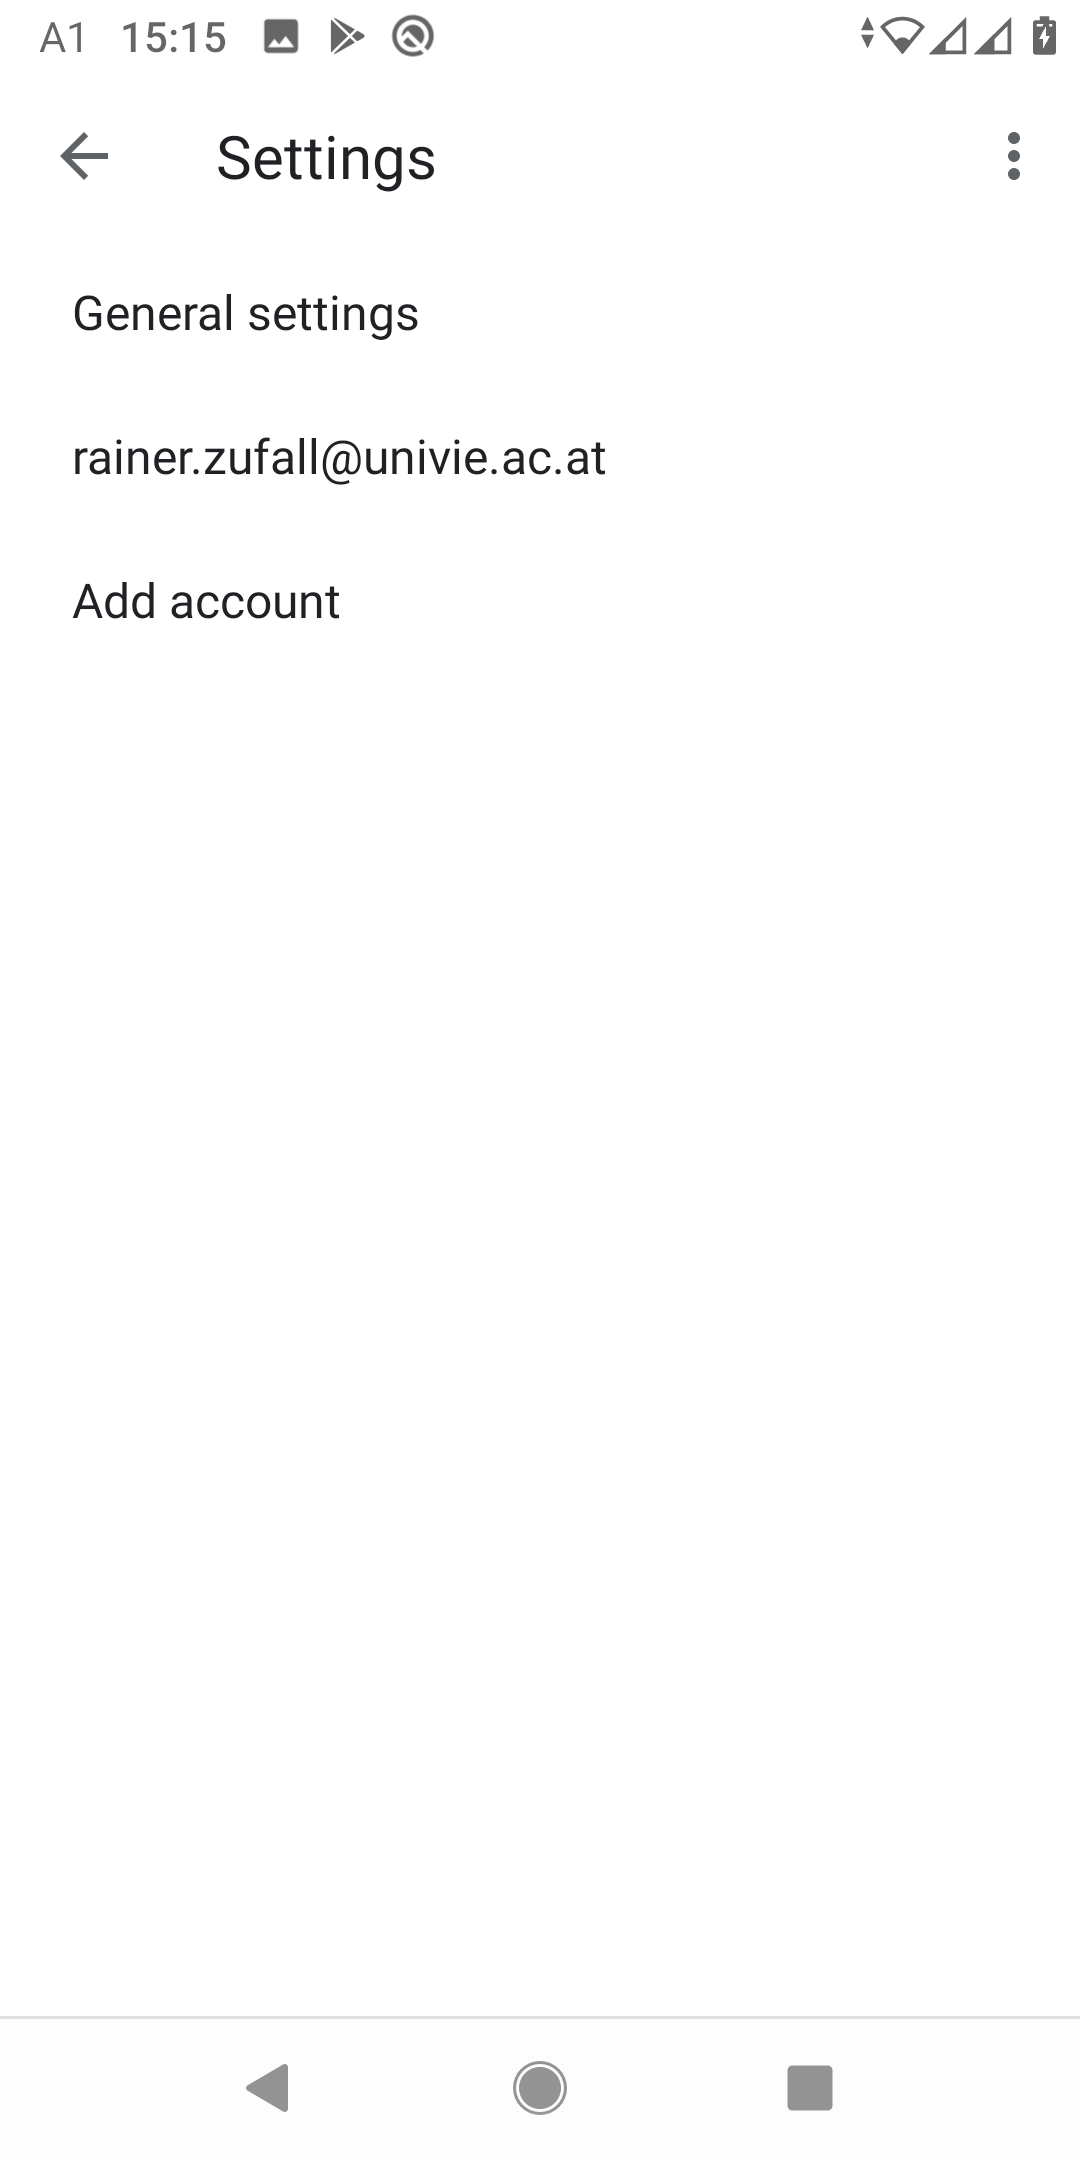
Go to the Settings of your Android smartphone.

Select Accounts in the menu.

Press Add account.

Select Exchange.
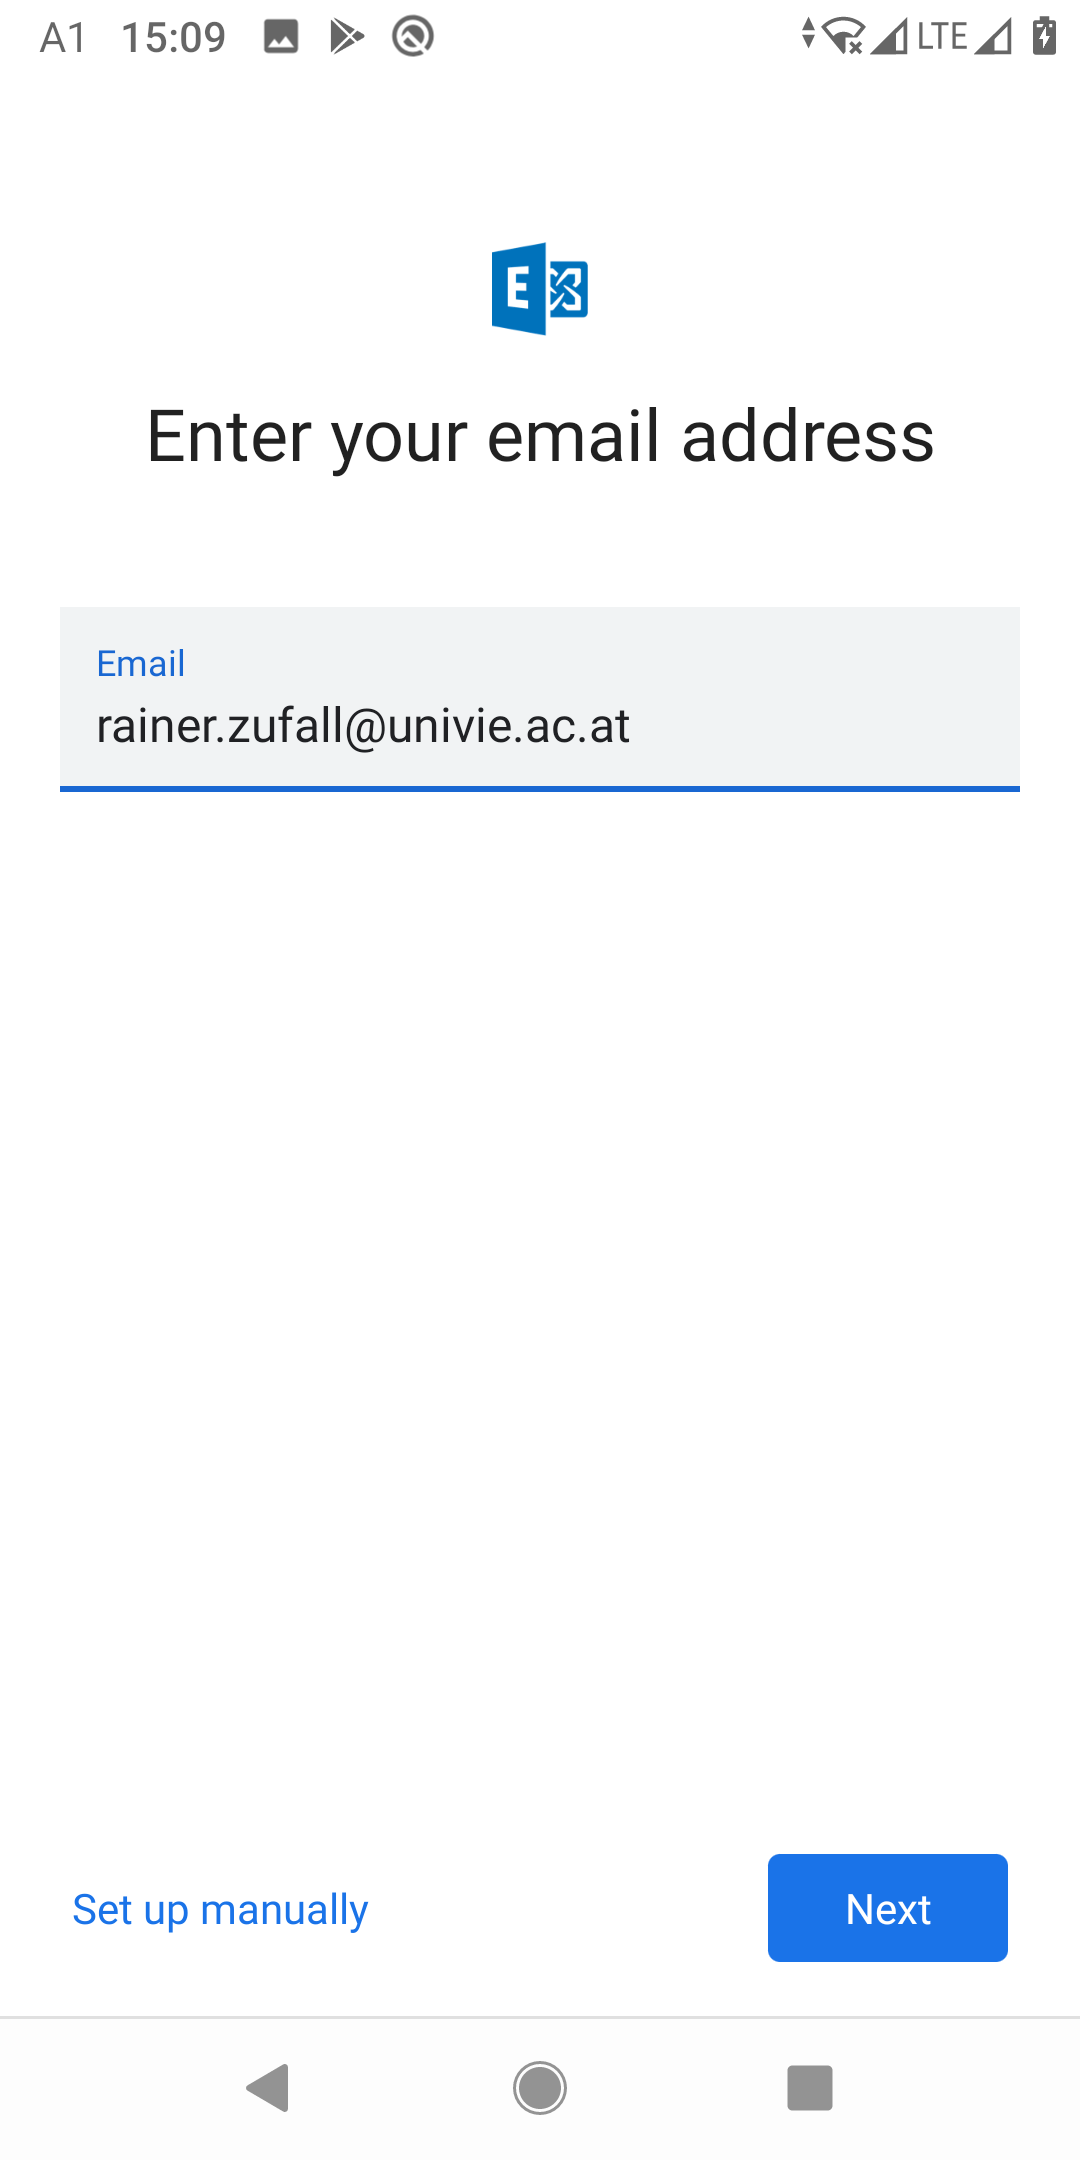
Type in your e-mail address of the University of Vienna. Then press Set up manually.
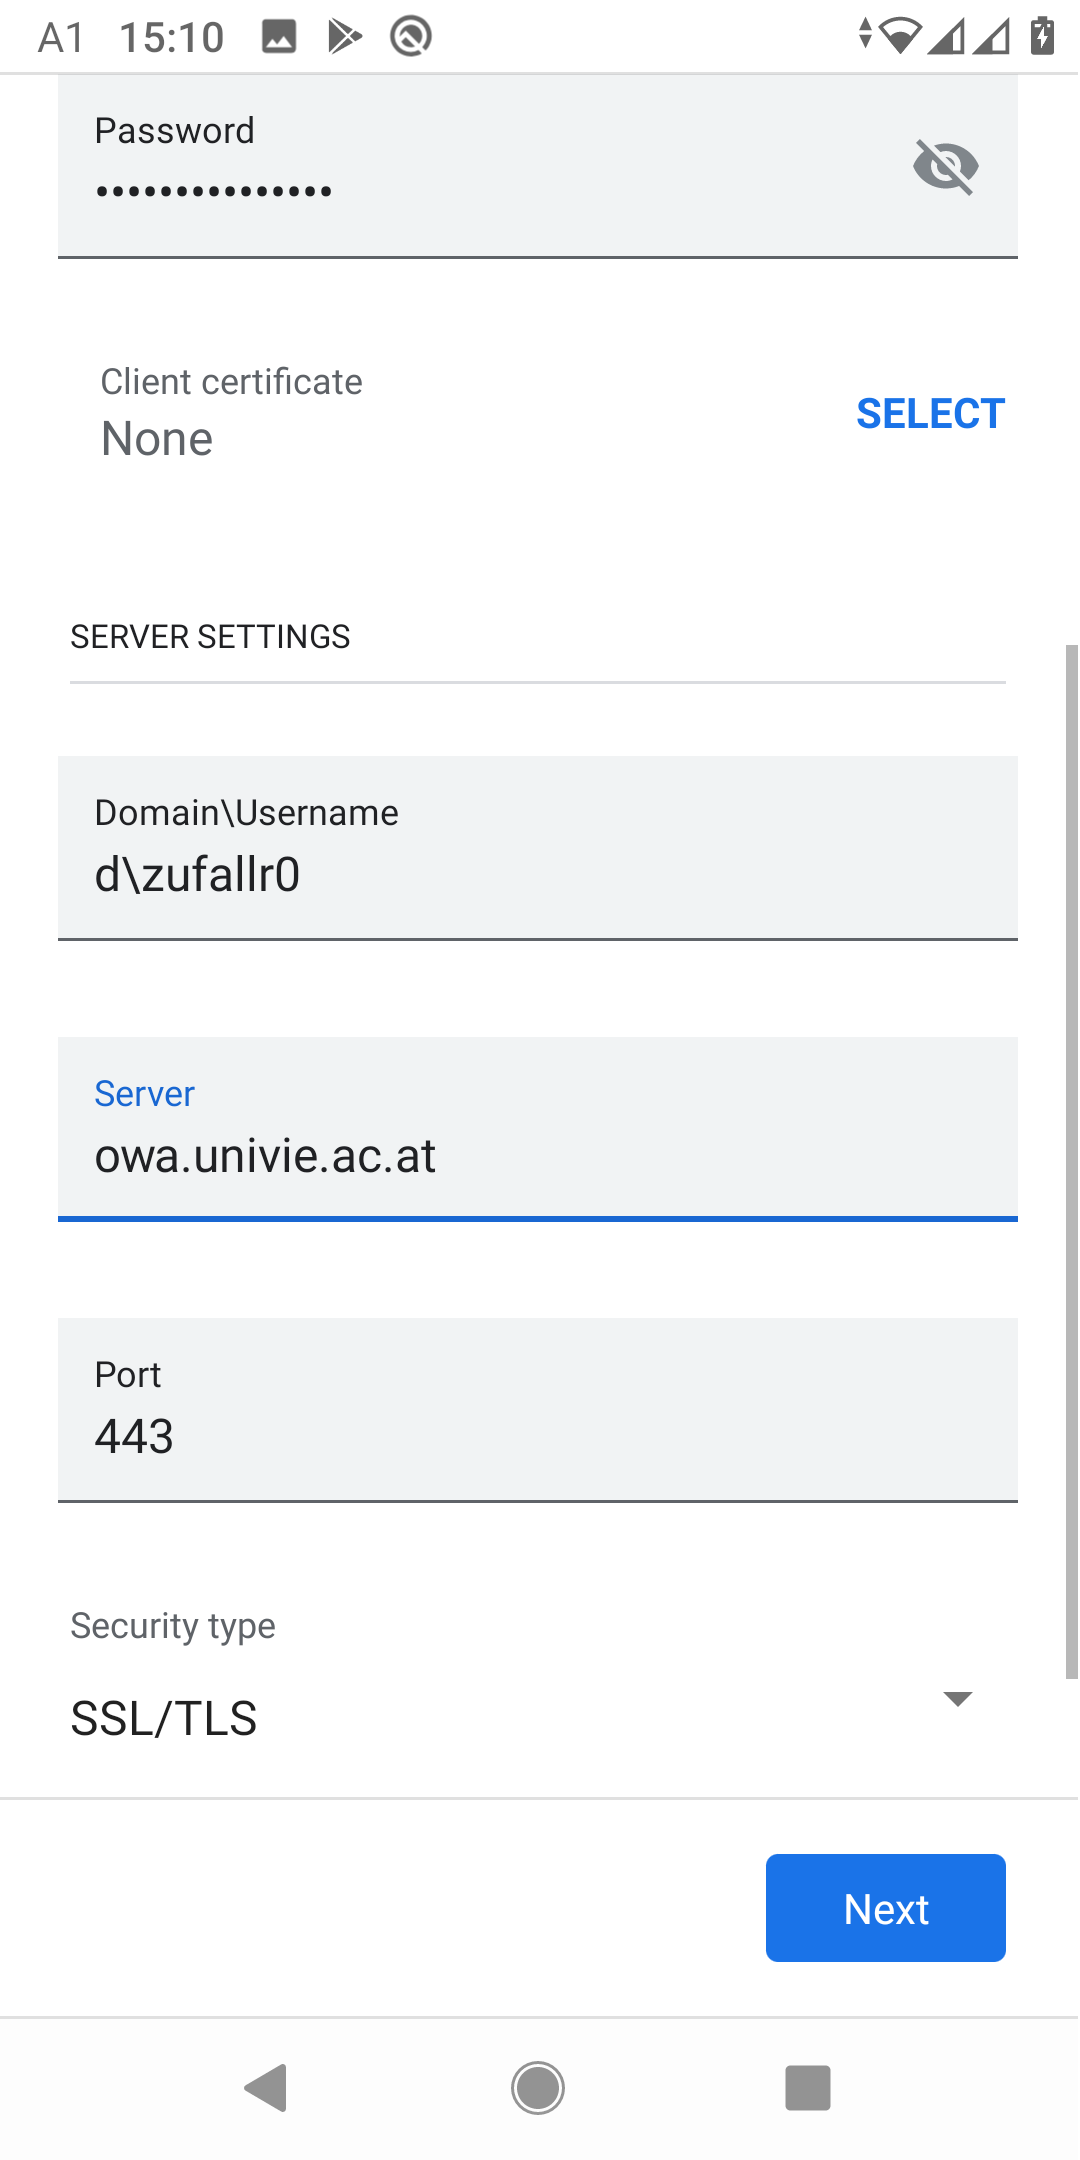
Type in the following details:
- Password: Your u:account password
- Domain\Username: d\u:account UserID (For example: d\zufallr0)
- Server: owa.univie.ac.at
Press Next.
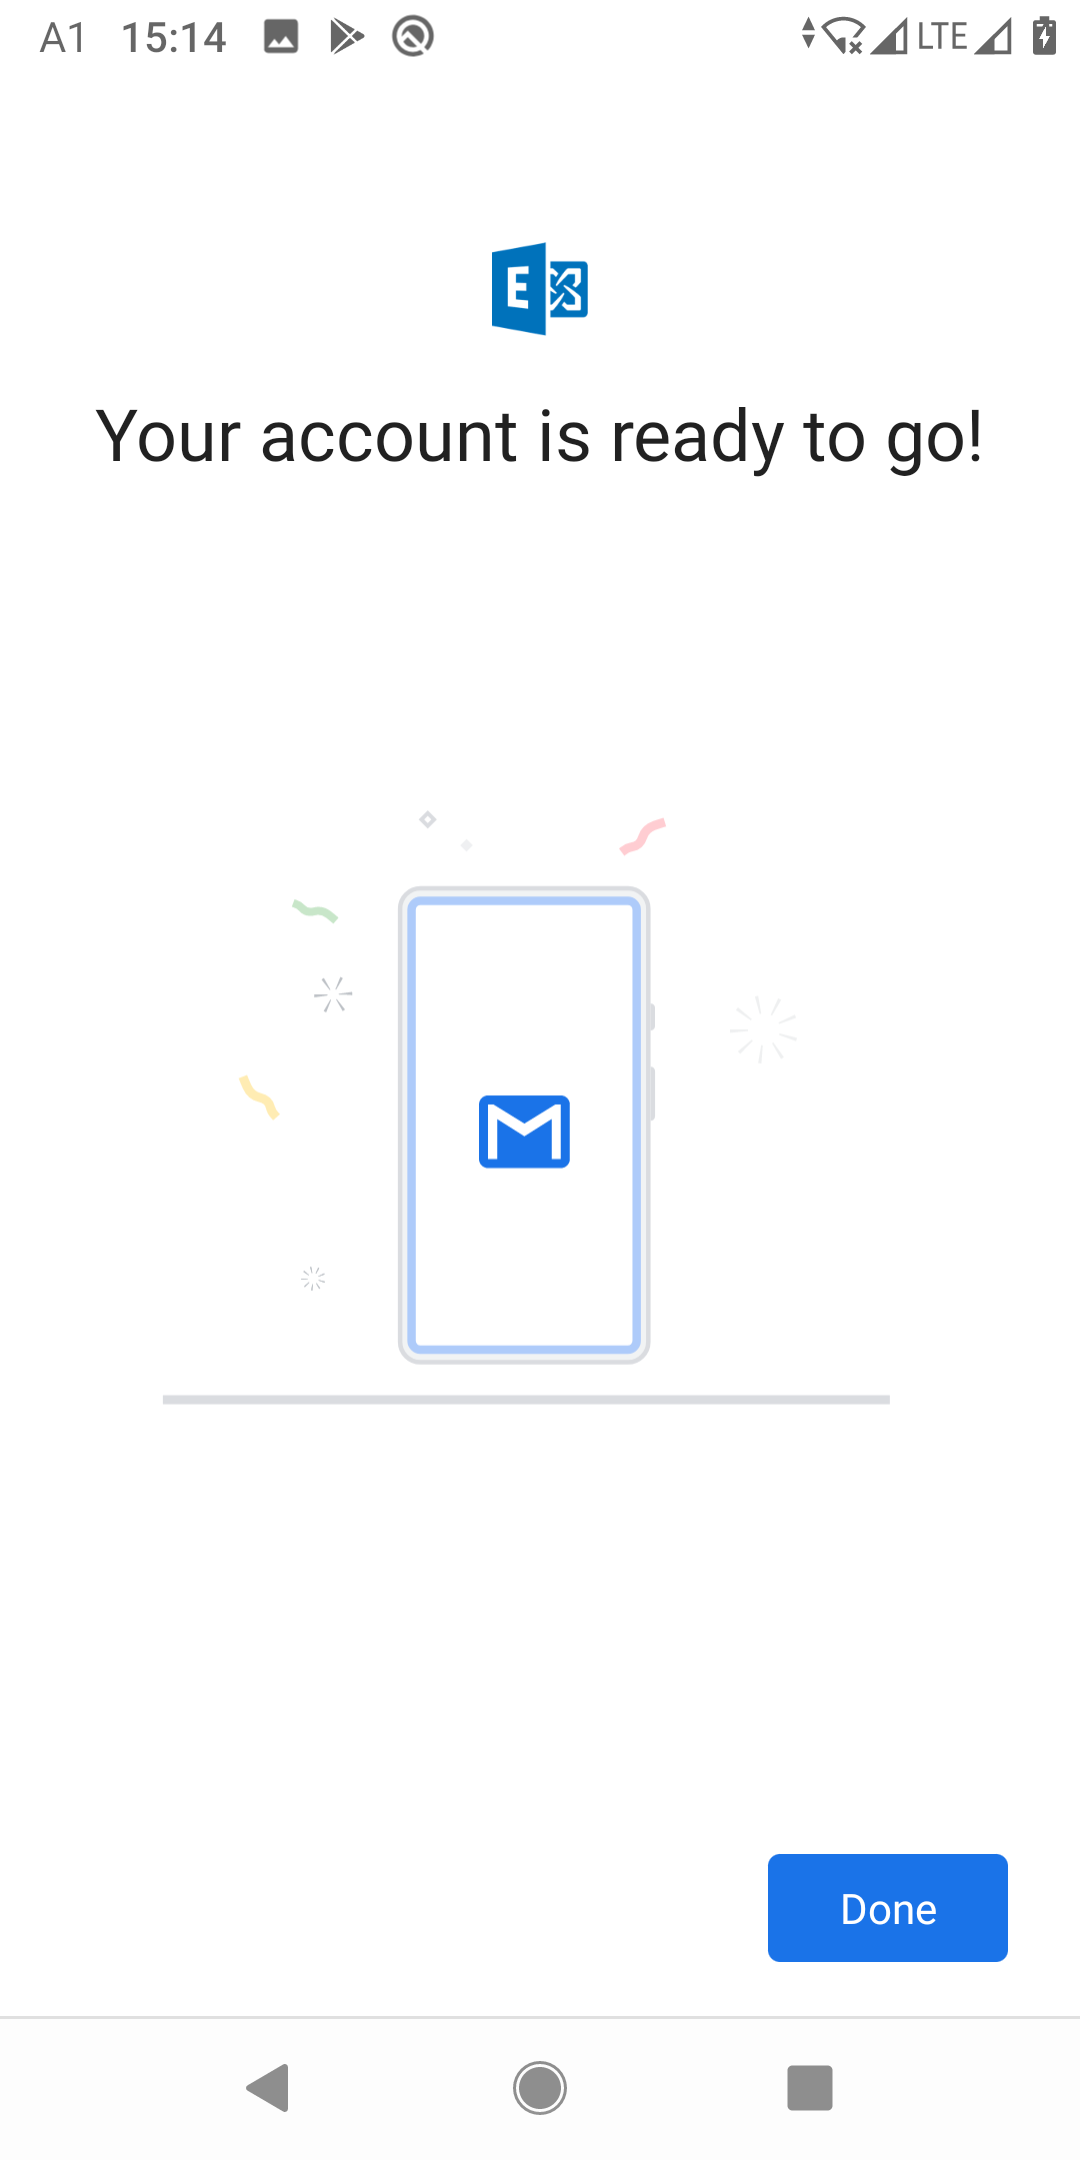
To complete the basic configuration press Done.
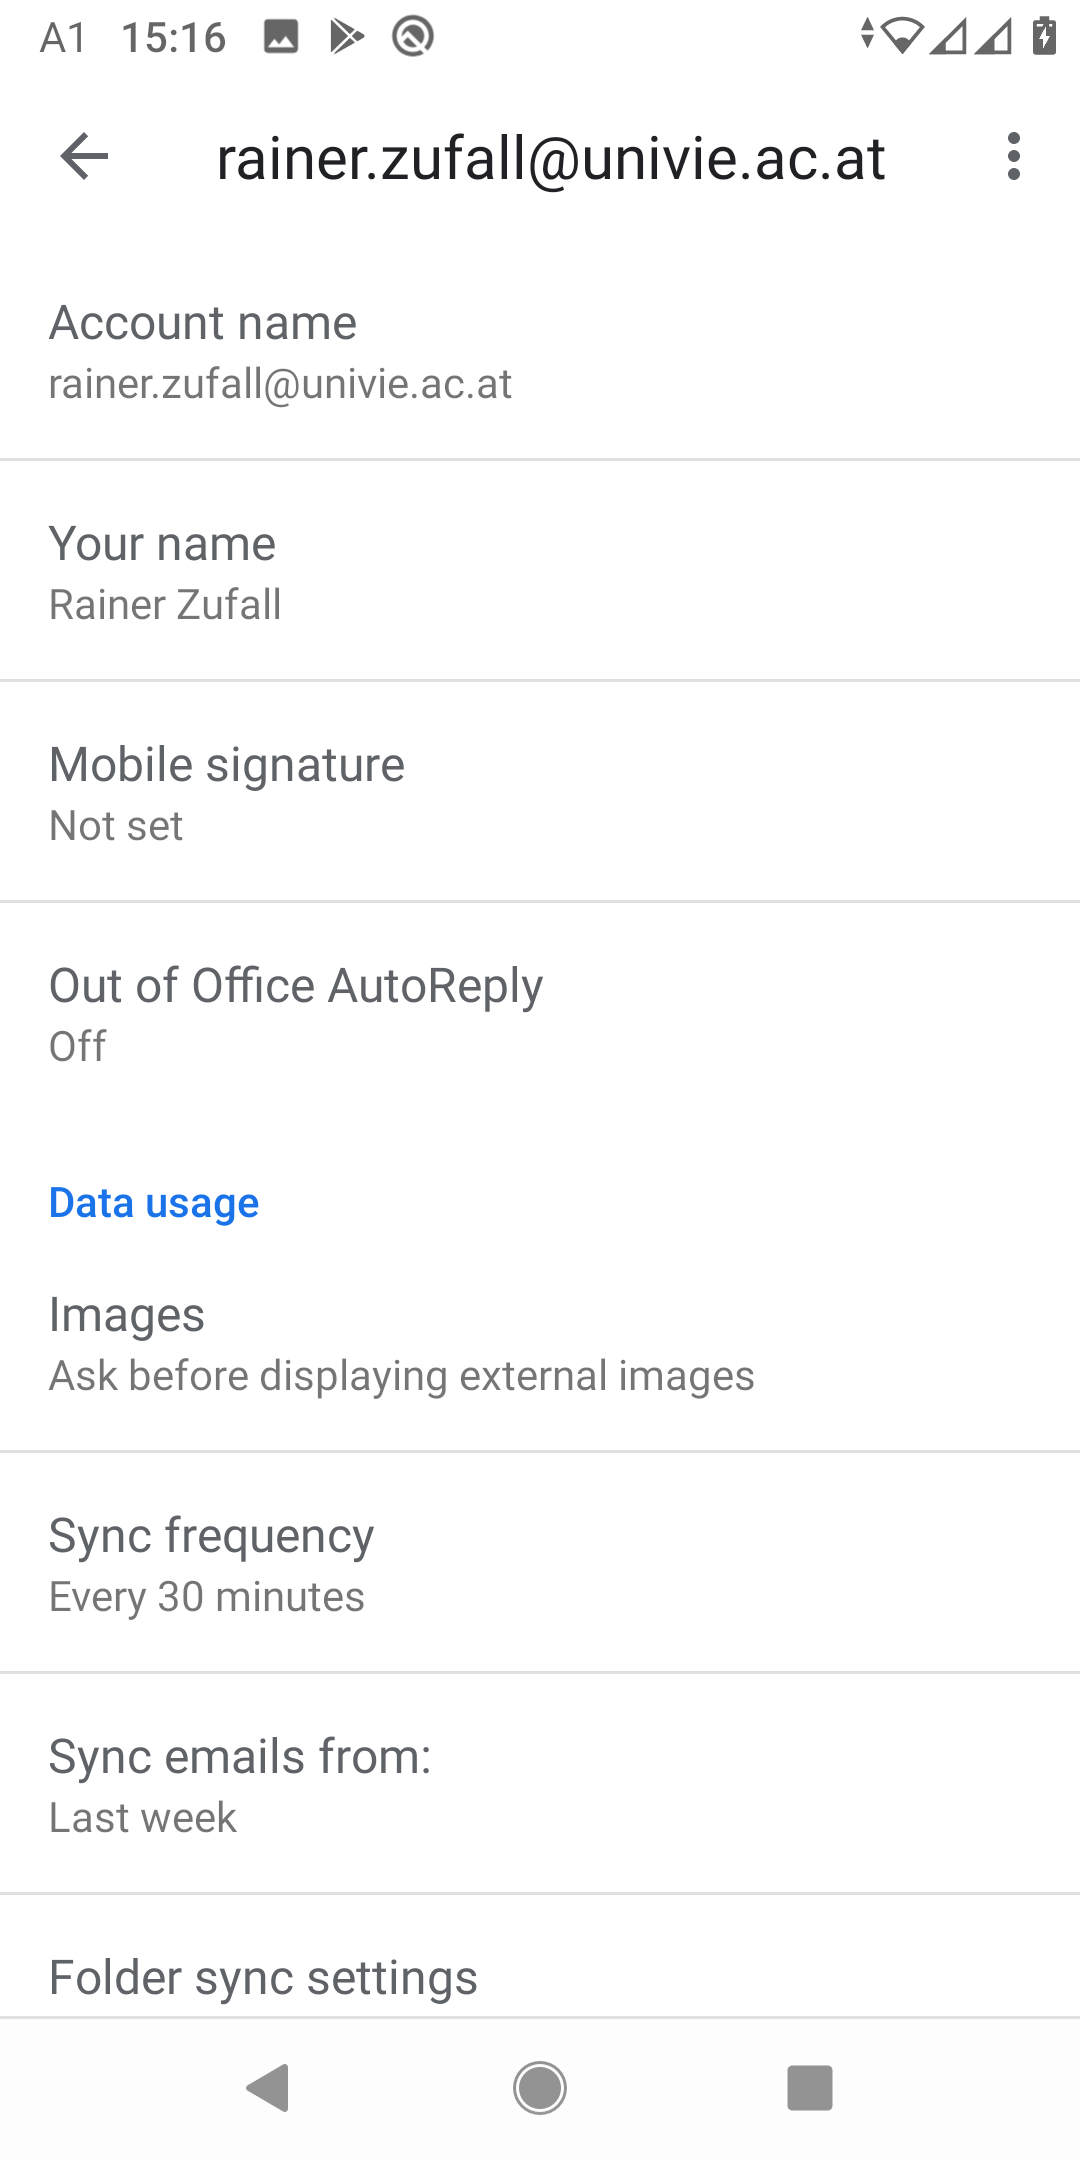
Open the Gmail App.
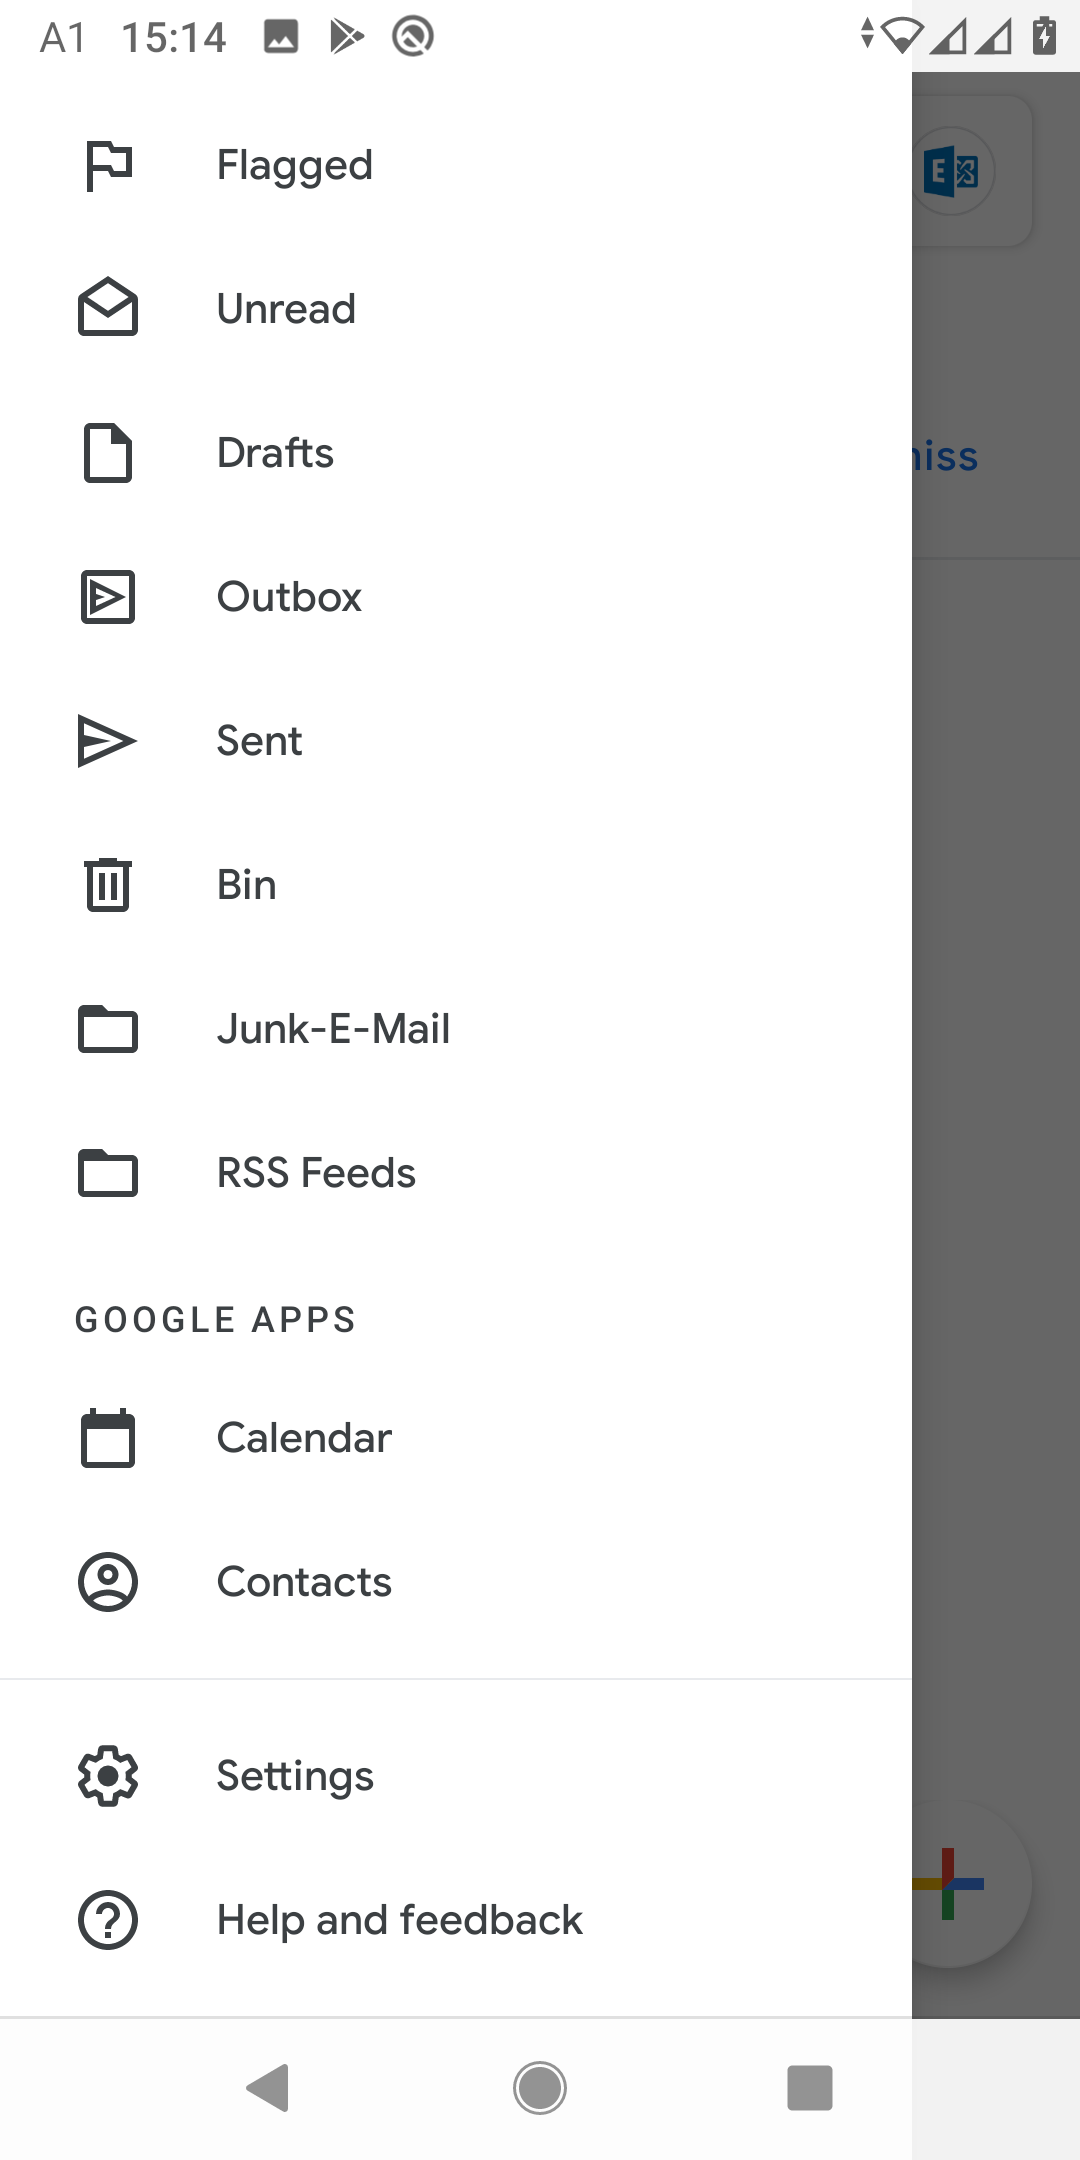
Press the menu icon in the upper left corner.
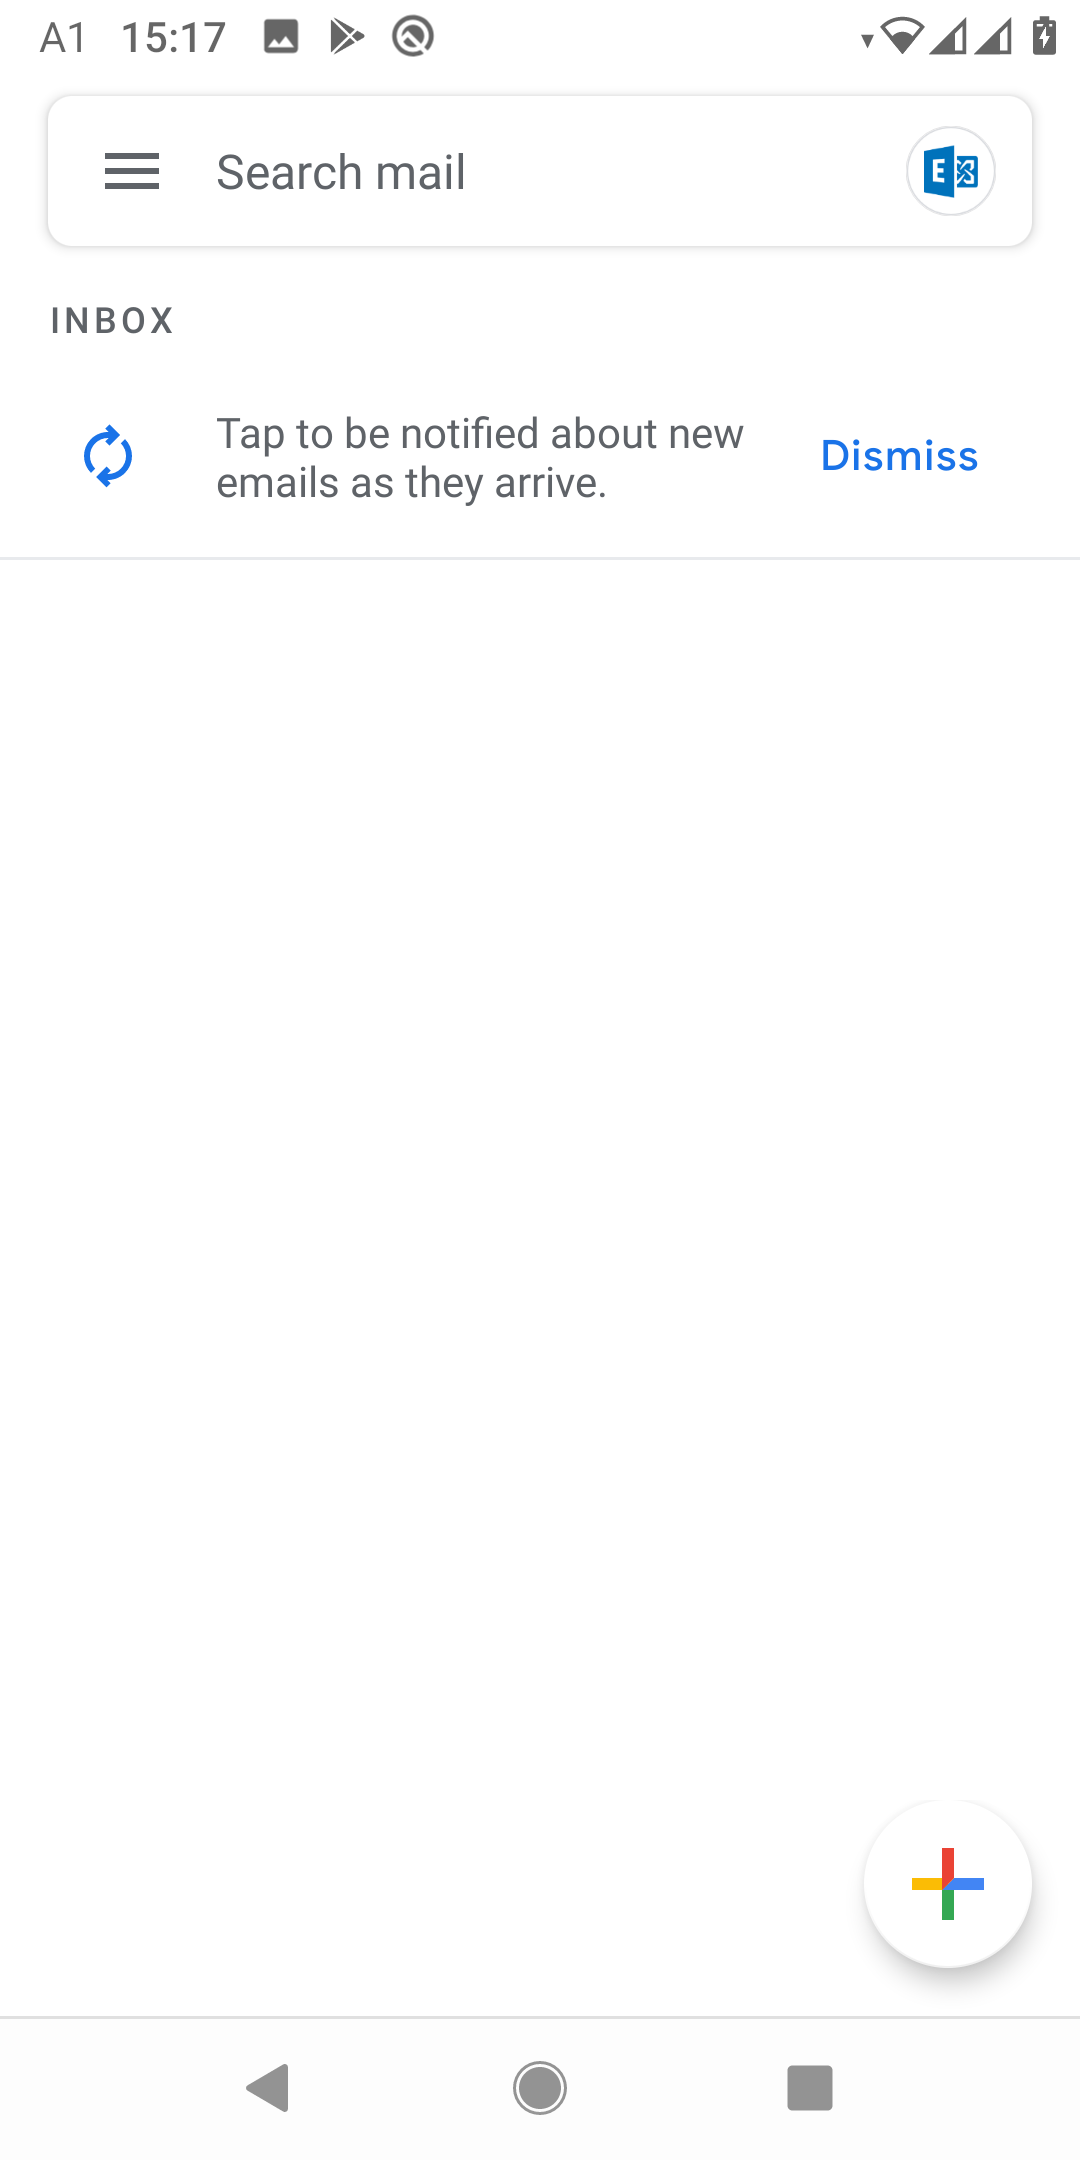
Choose Settings.
Select your exchange e-mail address.
Change the following details:
- Your name: Your name
- Mobile signature: Remove the default gmail advertisment. You can add your own signature instead.