Managing your contacts
This user guide explains how to create and manage personal contacts in the OpenScape Web Client.
Adding a contact
Adding a contact via the call history
- In the call history, click the name of the desired entry.
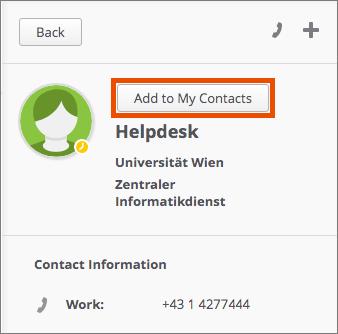
- The entry opens at the right hand side. Click the Add to My Contacts button.

Adding a contact via the search field
- Click the search and dial field.
- Then enter the name of the person you are searching.
- Press the Enter key or click Press enter to search for more contacts.
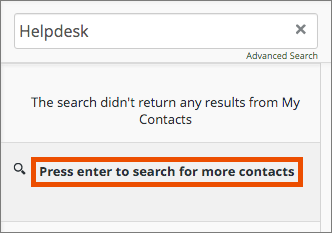
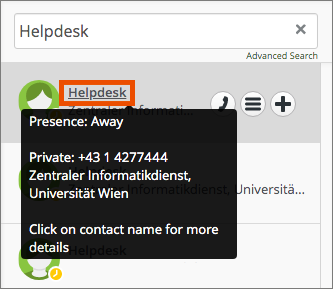
The telephony directory of the University of Vienna is browsed and all entries that match your search are displayed. Click the name of the correct entry.
Click the Add to My Contacts button.
Adding a contact manually
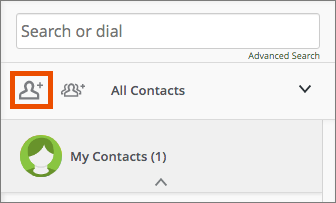
Below the search and dial field, click the add contact icon.
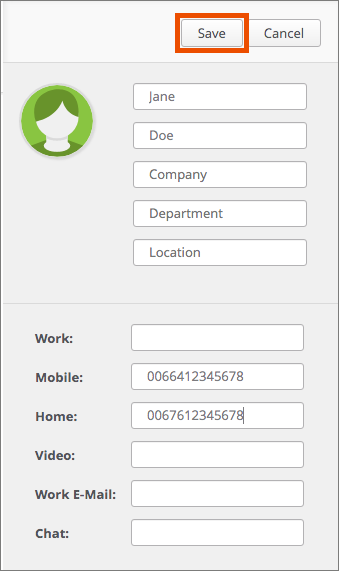
Enter the desired data of the contact and click Save.
How to enter the phone number correctly :
- Extension of the University of Vienna: 5-digit extension (for example, 14699)
- Business mobile phone: 90extension (for example, 9014699)
- Private mobile phone: 00664xxxxx, 00676xxxxx …
- Phone number Vienna: 001xxxxxxx
- Phone number Germany: 00049xxxxxxx
Deleting a contact
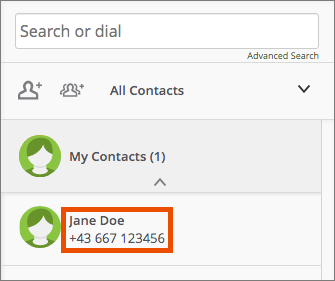
Click the name of the contact you would like to delete. Then click the Remove from My Contacts button.
Grouping contacts
Group contacts to easily start a conference call, an e-mail to all group members or a group chat. Contact groups you create can only be used by yourself, not by the group members.
To make these and other functions available to all members of a group, create a UC team.
Click on the group symbol in the contact column on the right and select Create new group.

Give the group a name and add the desired contacts.
When you have finished, click on Save.

Using group functions
Move the mouse pointer in the contact column on the right to the desired group. Click on the Communication Options icon and select the desired action:
- Call group: Start conference call with the group
- E-mail group: Compose e-mail to all group members
- Chat with group: Start team chat with all group members
- Edit group: Change group name, add or remove members, delete group

Deleting group
Move the mouse pointer in the contact column on the right to the desired group. Click on the Communication Options icon and select Edit Group.

In the next window, click on Delete Group at the bottom right.


