Adobe Creative Cloud EDU for students
This user guide helps students to install and manage Adobe applications locally via Adobe Creative Cloud.
Notes
- The software is not free. You can order it from AcadCloud.
- The licence is valid for 1 year from the completed order in AcadCloud, after which you must order it again. You can find out how long the licence is still valid in AcadCloud in your account under My Software.
- You can install an Adobe application on multiple devices, but you can only activate it on two devices at the same time, i.e. stay logged in. You can only use the application on one device at a time.
- You can still access data stored in the Adobe Creative Cloud for 6 months after the licence expires. Back up any data you still need to another storage location in good time.
Ordering Adobe Creative Cloud EDU and logging in
- Order the Software product Adobe Creative Cloud EDU from AcadCloud. If necessary, use the user guide Placing an order.
- Open the Adobe webpage How to download & install Creative Cloud apps.
- Click Download Creative Cloud apps.
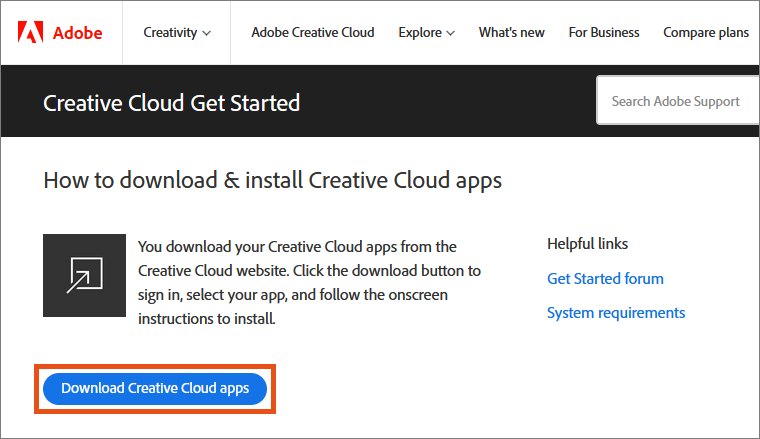
You will be asked to log in.
Note
If you have already created an Adobe account using your University of Vienna e-mail address to use Adobe in the Computer Rooms, you can use this to log in.
If you do not have an Adobe account yet, follow the user guide Create an Adobe account using your email address. To create the account, use your University of Vienna e-mail address in the form aStudentIDnumber@unet.univie.ac.at (example: a12345678@unet.univie.ac.at).
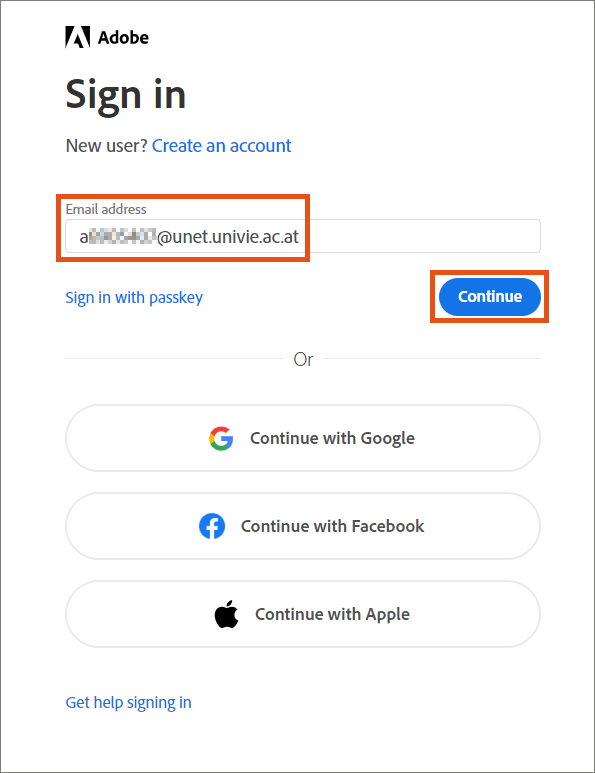
In the Sign in window, enter your University of Vienna e-mail address in the form aStudentIDnumber@unet.univie.ac.at (example: a12345678@unet.univie.ac.at) and click Continue.
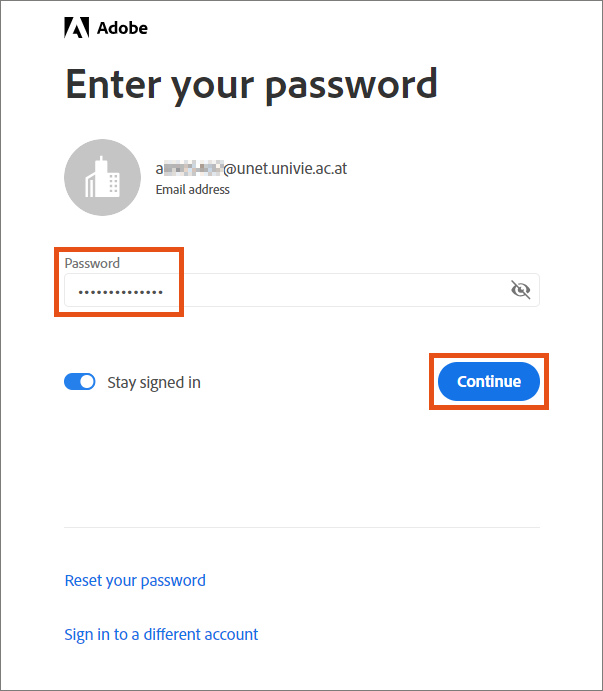
In the next window enter the password of your Adobe account.
You may be prompted to enter additional information such as mobile phone number or another e-mail address. You can skip these prompts by selecting Not now. This data can be entered later via your Adobe account under Edit profile.
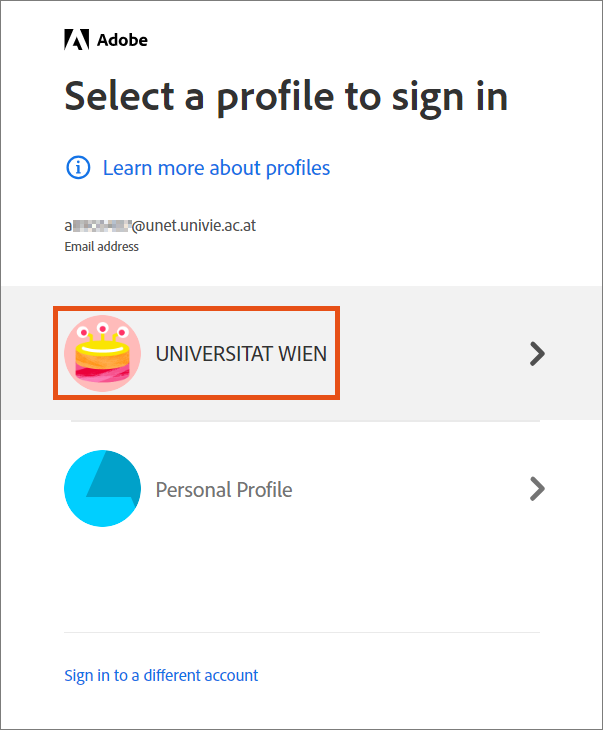
In the next window choose the option Universitat Wien.
After successful login, you will be taken to the Creative Cloud.
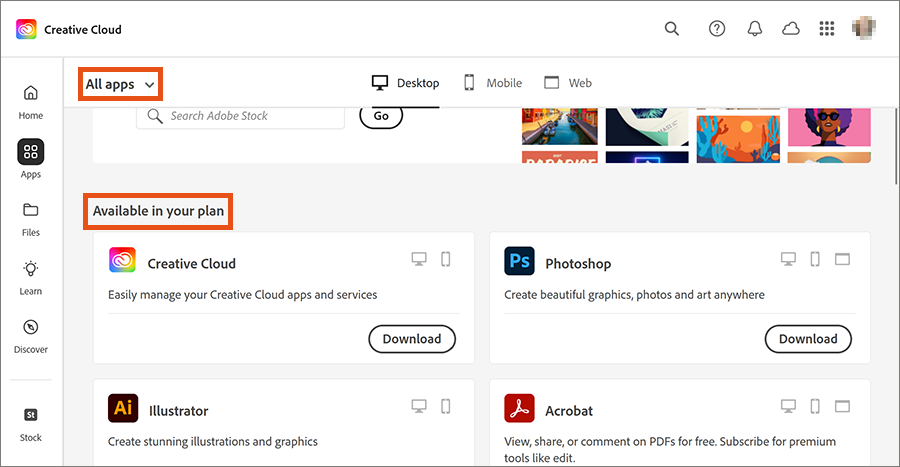
Under All apps in the Available in your plan section, you will get an overview of all Adobe products available to you under the licence.
Installing application
You decide which Adobe apps you install on your device. Adobe Creative Cloud shows you on the Creative Cloud webpage under All Apps in the section Available in your plan all the applications available to you:
Select the desired application (Photoshop in this example) and click Download. You can add more applications later at any time.
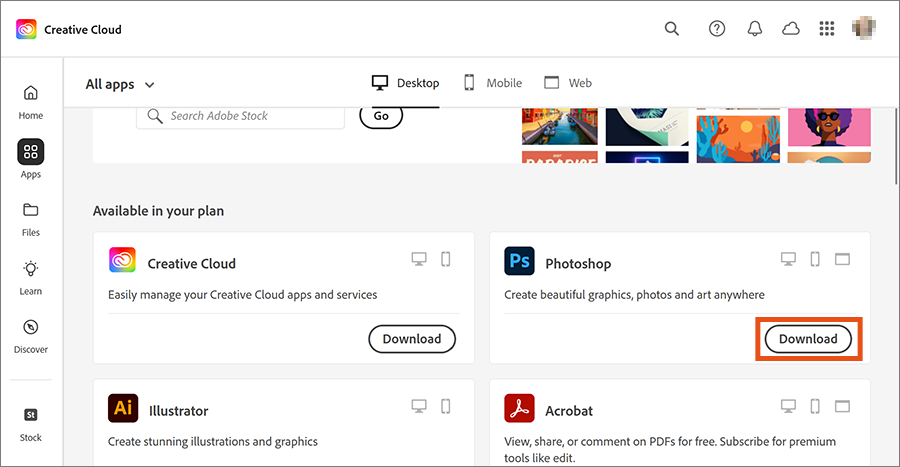
- The application is now being downloaded.
- Double click on the downloaded file to start the installation.
- Follow the instructions in the installation process.
- At the same time as the first application is installed, the Adobe Creative Cloud client is also installed, which allows you to manage the Adobe applications on your device.
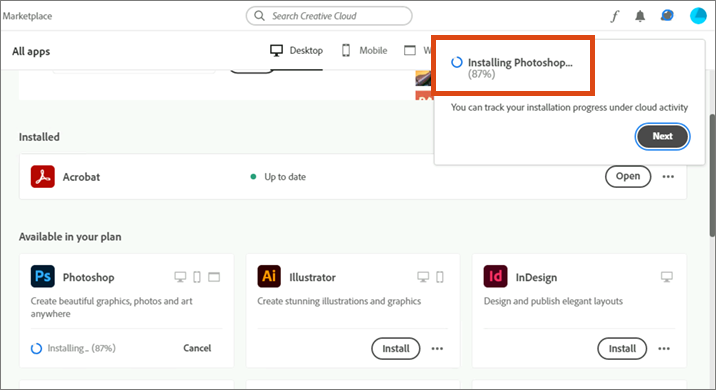
The progress of the installation process is displayed as a percentage.
Once the installation is complete, a corresponding note appears at the bottom right of the screen.
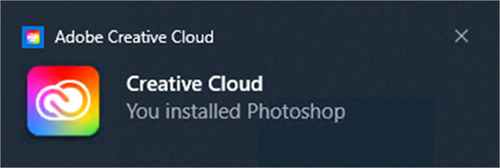
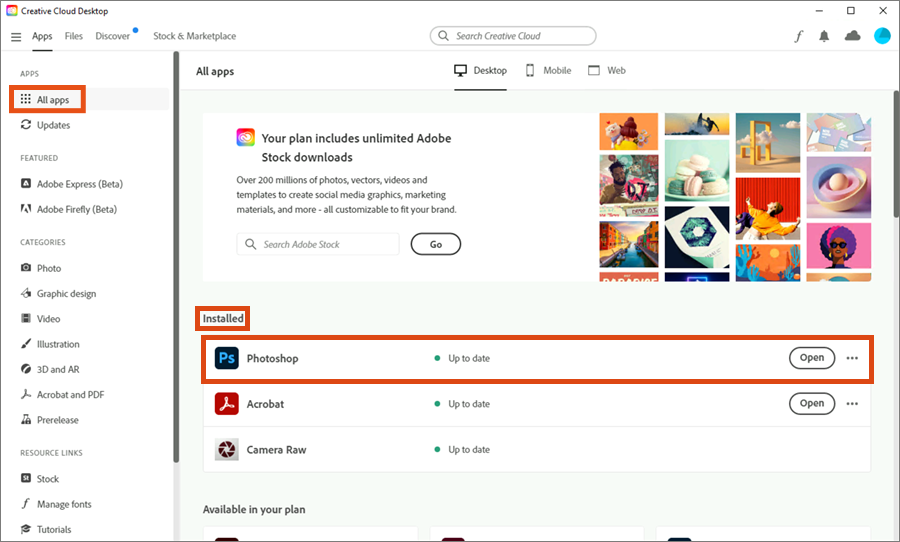
In the All apps overview, the newly installed application is now also displayed under Installed. It can be opened directly in Adobe Creative Cloud or via the Windows start menu.
Updating application
Any application you install on your device through Adobe Creative Cloud must be updated by you.
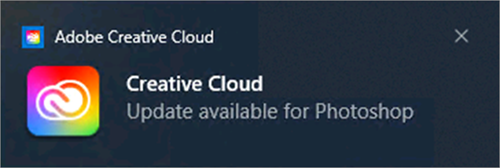
You will be notified with a message on the bottom right of the screen when updates are available.
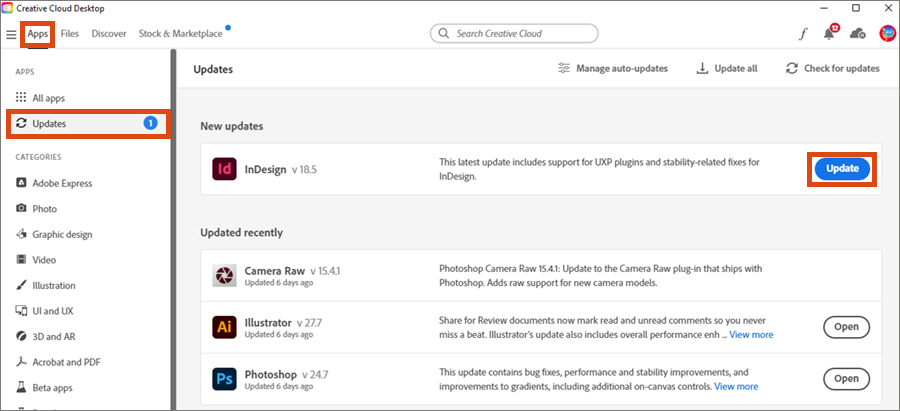
Start Adobe Creative Cloud and select Updates under Apps. Click Update for each application to download the pending updates.
Uninstalling application
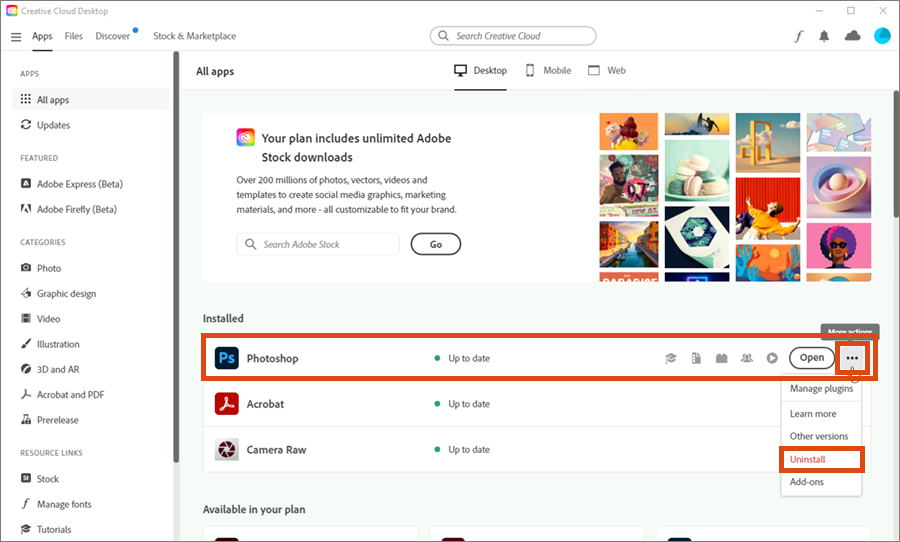
To uninstall an application, click on the three dots next to the name of the application in Adobe Creative Cloud. In the menu that opens, select Uninstall.
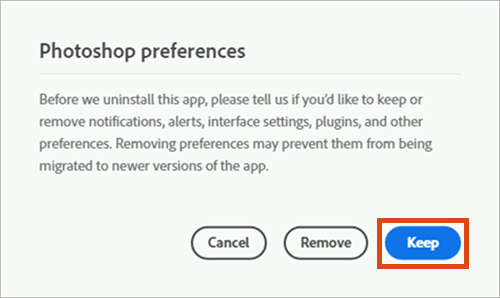
You will be asked how to deal with any default settings you may have made. The ZID recommends that you keep the default settings.
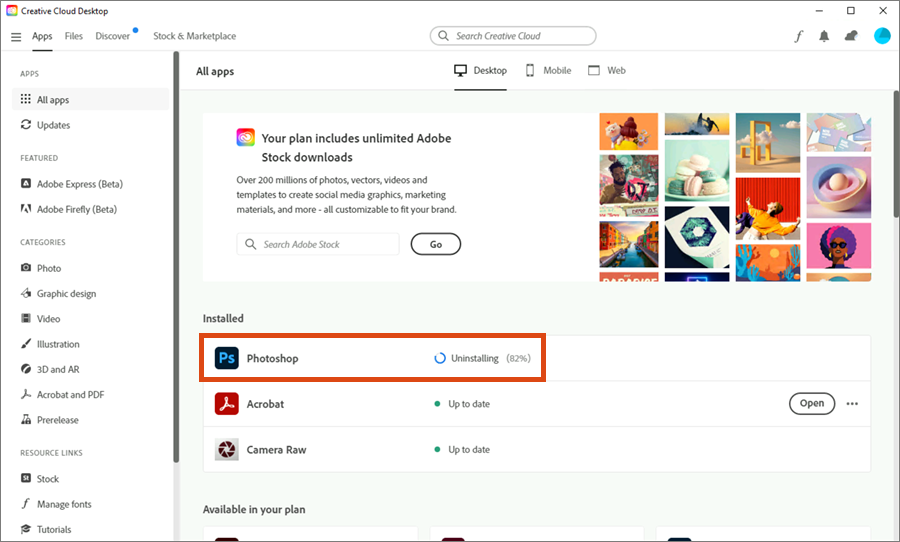
Now the uninstallation has started. The progress is displayed as a percentage.
Once the uninstallation is complete, the app will appear under Available in your plan and can be reinstalled.