Video conferencing – Zoom
Using the video conferencing system Zoom, employees and students of the University of Vienna can hold events and meetings online. Zoom enables users to share their screen and presentations, interact on a virtual whiteboard or carry out polls. Participants can provide feedback via video, audio or the chat.
Zoom is a stand-alone tool that is also embedded and available in Moodle.
Note
To meet the high requirements of the University of Vienna regarding security and data protection, the ZID offers a Zoom licence that has been tailored to the needs of the University of Vienna. Its configuration ensures that employees and students of the University of Vienna can use Zoom for university purposes without second thought.
Direct Link
Using Zoom
As part of the campus licence, employees and students of the University of Vienna can
- schedule any number of meetings with a duration of up to 24 hours
- plan meetings with up to 200 participants (end-to-end encryption) or 300 participants (enhanced encryption) per meeting.
It does not matter whether the meeting participants are employees, students or persons from outside the University.
In general, only the host requires a Zoom licence. Guests and/or participants do not need a Zoom account to join a Zoom meeting.
All Zoom accounts of the University of Vienna have the following settings that cannot be changed:
- Recordings are stored on servers located at a data centre in Germany.
- The integration of calendars and contacts from the locally installed software (such as Google Calendar, Microsoft Exchange and Microsoft Office 365) was deactivated. Sending an invitation via e-mail programmes is still possible.
- Using apps from the Zoom App Marketplace is not possible.
If you create a Zoom account as part of the campus licence of the University of Vienna, you will find the following specifications under Account Profile: Account Type Education, Account Name Universität Wien. If you see any other specifications, your account is not yet connected to the campus licence. If this is the case, please see the user guide Migrate existing account to connect your account to the campus licence.
To register your Zoom account now, see Registering a Zoom account.
Roles in a Zoom meeting
Host: Every meeting can have only one host. The host has scheduled the meeting and is entitled to start it. If the host would like another person to start the meeting, they can specify an alternative host. The host has full permissions for managing the meeting. The following controls can only be used by the host:
- Start closed captioning or authorise a participant or service provider to enter closed captions
- End the meeting for all participants
- Promote a participant to co-host
- Join a breakout room and move from one breakout room to another
- Set up a waiting room
Co-host: A meeting can have one or several co-hosts. The host must assign a co-host during the ongoing meeting. A co-host has a wide range of controls and can take charge of administrative tasks in the meeting. For example, they can send participants to waiting rooms, let participants enter the meeting from the meeting room or remove them from the waiting room. However, a co-host cannot start a meeting.
Alternative host: The alternative host requires a Zoom account and can be specified already when planning the meeting. They have access to the same controls as a co-host and can additionally also start the meeting.
Participant: By default, all participants are muted when joining a meeting. However, every participant can unmute their microphone as soon as they have joined the meeting.
Recommendations for hosts
- Disable Join before host: The ZID recommends disabling the Join before host feature to maintain full control of the meeting. Participants can then only join the meeting after the host has joined it.
- Do not use your personal meeting ID: Every Zoom account has a personal, unchangeable meeting ID (comparable to the room number of an office). As soon as a person knows the link to your personal meeting ID, they can join any time you have a meeting. However, Zoom creates a new ID for every meeting and webinar, which becomes invalid after the meeting has ended.
- Send the access details for your meeting only via secure and transparent means, such as via e-mail or by providing them in a closed Moodle course. Never provide them on a public website.
- Secure your Zoom meeting with a passcode: Please note: By default, the passcode is included in the meeting link. If you share the link to your meeting publicly, remove the last part of the link that starts with ?pwd=xxxx. Alternatively, you can also disable the option Embed passcode in invite link for one-click join in your settings.
- Use the waiting room: It allows you to see who is trying to join the meeting before you admit them to enter.
- Lock your meeting room as soon as all participants have joined. To do so, click the Security icon in the navigation bar.
- Regulate the features: If you do not need a certain feature (e.g. the chat), disable it already before the meeting.
- Use the participant list: Here, you can mute all participants at once and remove certain participants.
- Disable the feature Allow removed participants to rejoin: If you have removed persons from your meeting, they cannot join the meeting again.
Registering a Zoom account
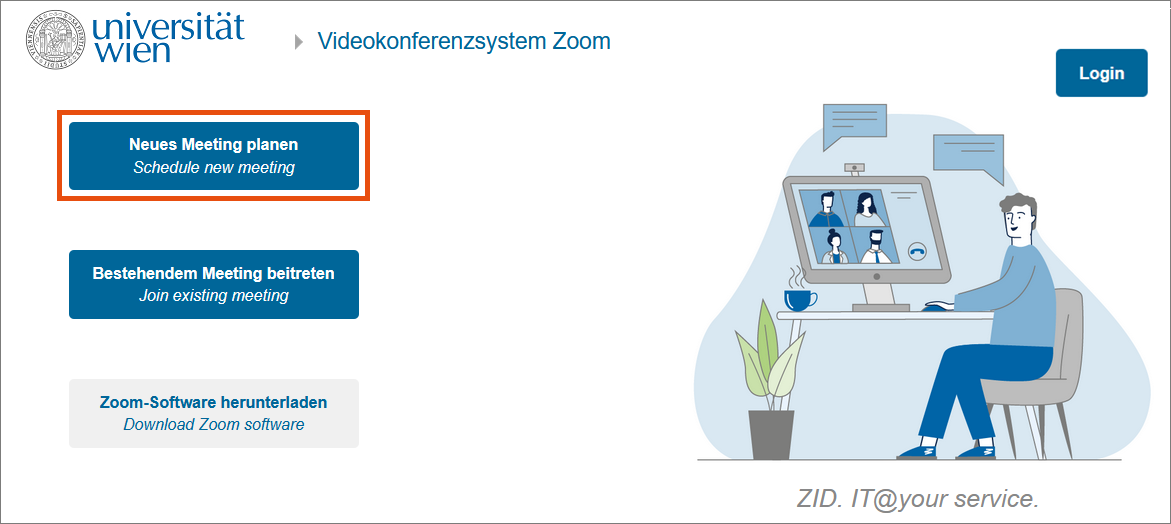
Go to the Zoom page of the University of Vienna and click Schedule new meeting.
Note
If you already have a Zoom account, you will be automatically redirected to your existing account. In this case, log off from Zoom completely (in the locally installed software, on the Zoom page of the University of Vienna and on the Zoom website) and follow the user guide Bestehendes Konto migrieren (migrate existing acount).
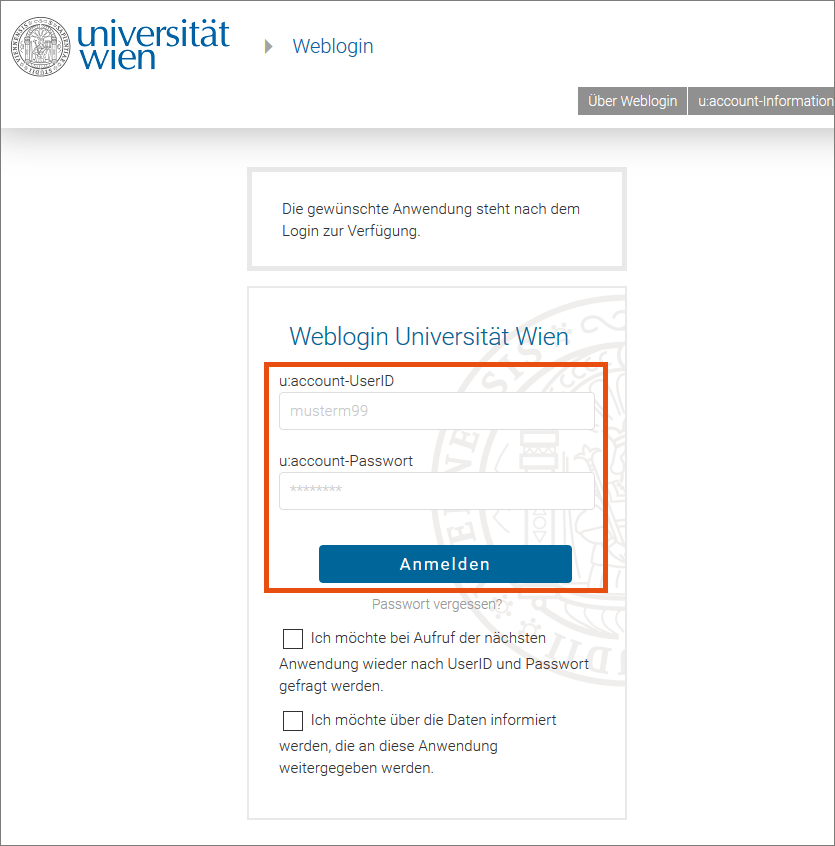
You will be automatically forwarded to the weblogin of the University of Vienna. Enter your u:account UserID and the corresponding password and click Anmelden (log in).
You will be automatically redirected to Zoom.
Confirm that you consent to the user regulations of the University of Vienna for using Zoom by clicking Agree.

Your Zoom account is being created.
- As an employee or student, you receive a licence with the designation Licensed.
You can immediately schedule a meeting directly in Zoom. The ZID does not have to activate your account first.
You can check the licence that has been assigned to you under Profile.
Downloading the Zoom software
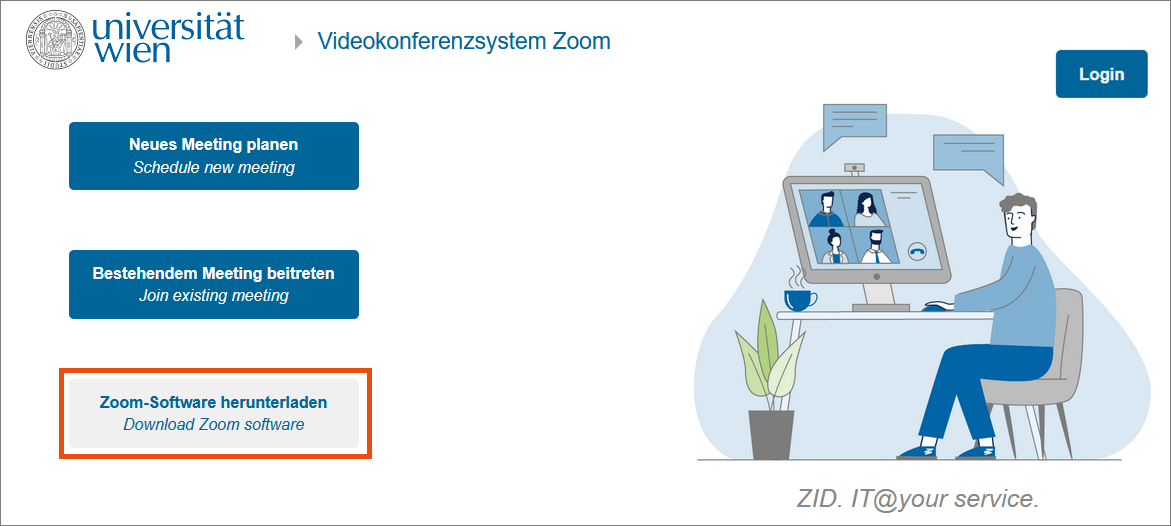
Go to the Zoom page of the University of Vienna and click Download Zoom software.
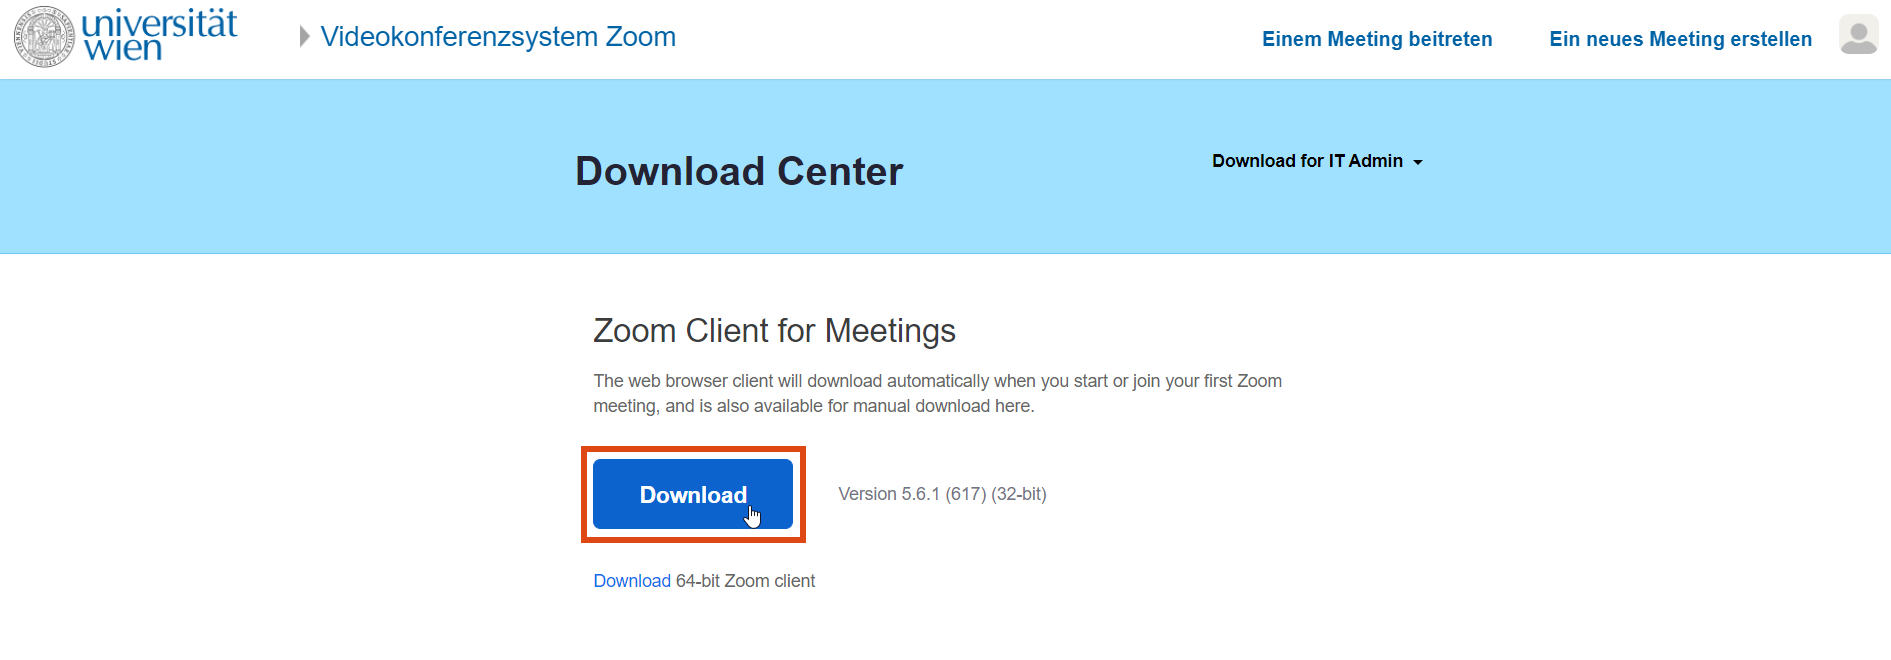
You will be redirected to the Download Center. Under Zoom Client for Meetings, click Download and select a software version that is suitable for your device.
The installation file is downloaded to your computer. Click Save File and install the software as usual.

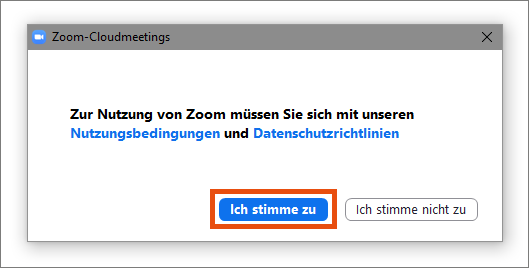
Agree to the terms and conditions and privacy policy of Zoom.
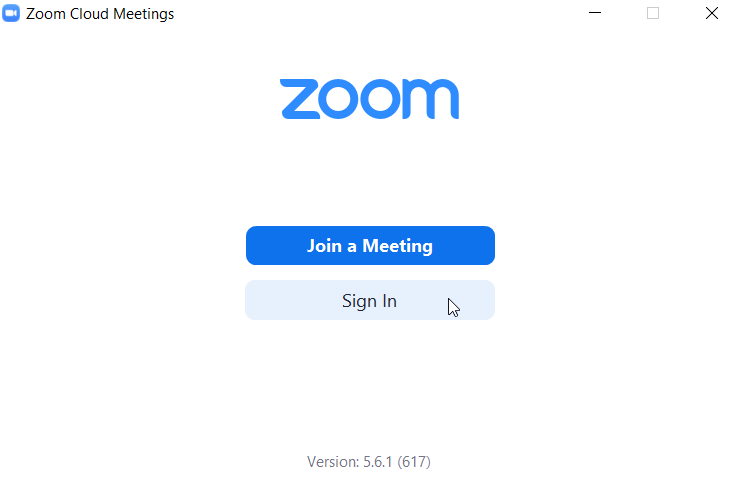
You can now join a meeting or sign in to schedule a meeting or configure the settings of your account.
Signing in to Zoom
Signing in via the Zoom home page of the University of Vienna
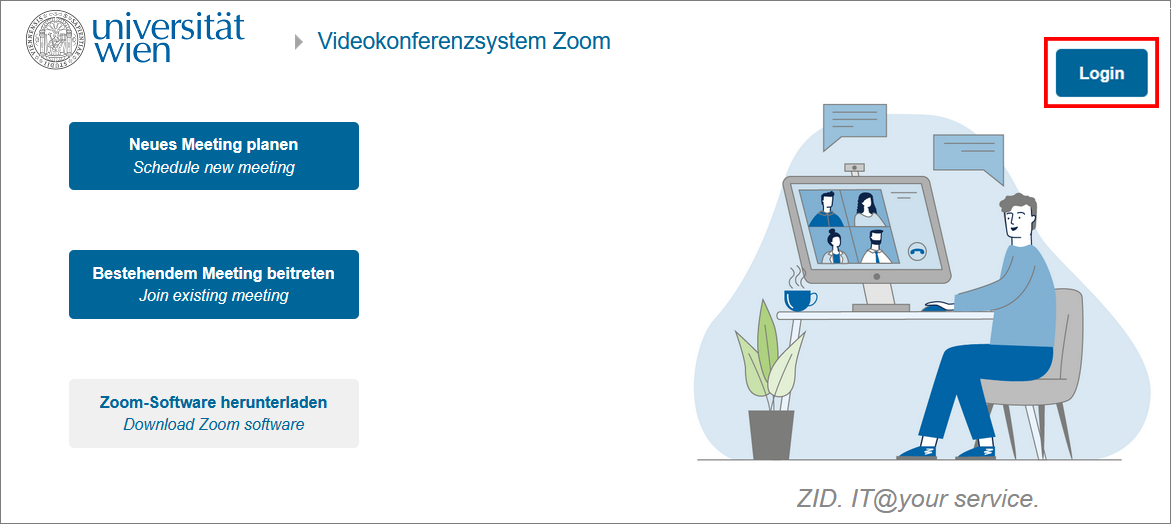
Go to the Zoom page of the University of Vienna and click Login.

You will be automatically forwarded to the weblogin of the University of Vienna. Enter your u:account UserID and the corresponding password and click Anmelden (log in).

You will be automatically redirected to Zoom.
In the menu on the left-hand side, you can immediately schedule a meeting or configure the settings of your Zoom account.
Signing in via the Zoom website
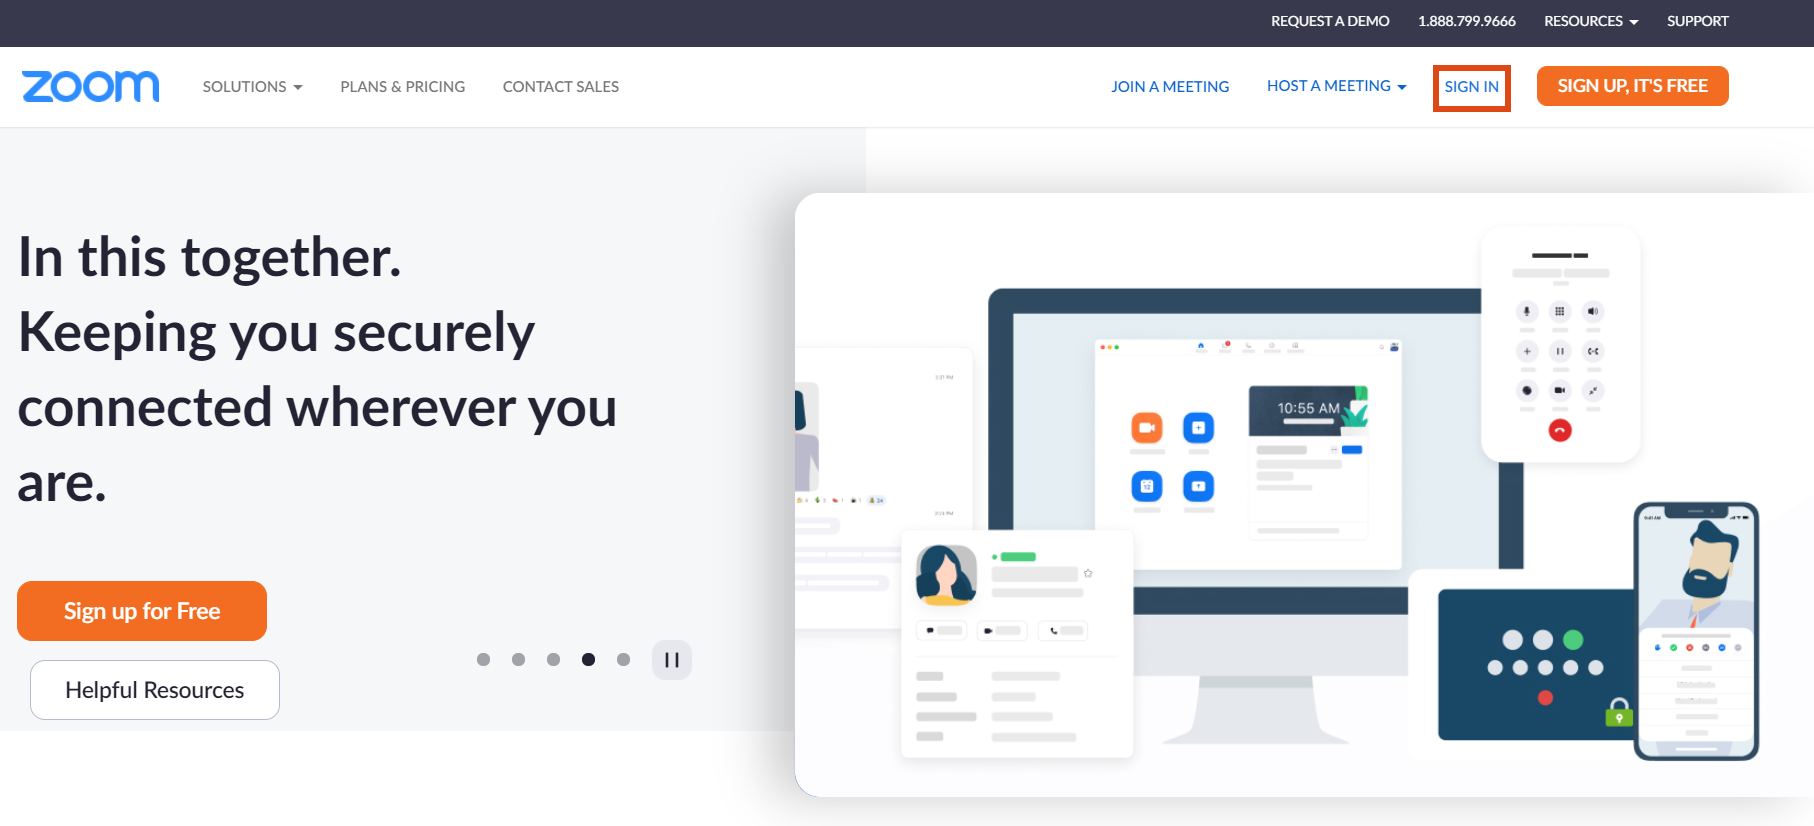
Click Sign In in the top-right corner of the Zoom website.
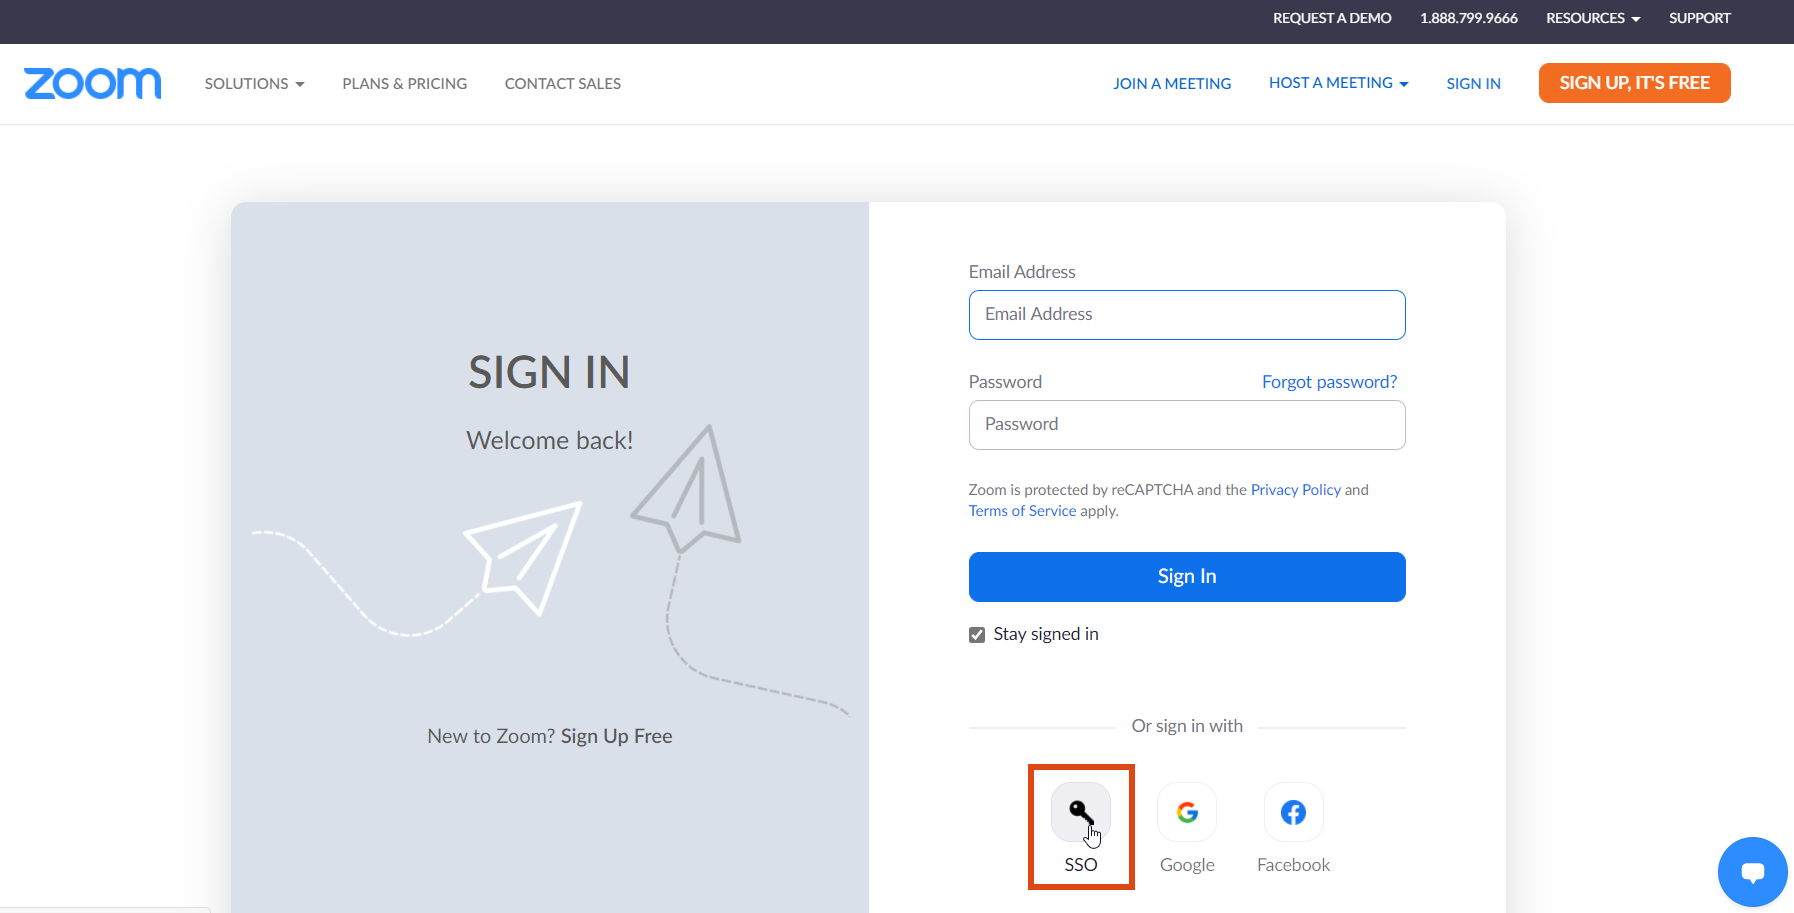
Next, select Single Sign-On (SSO).
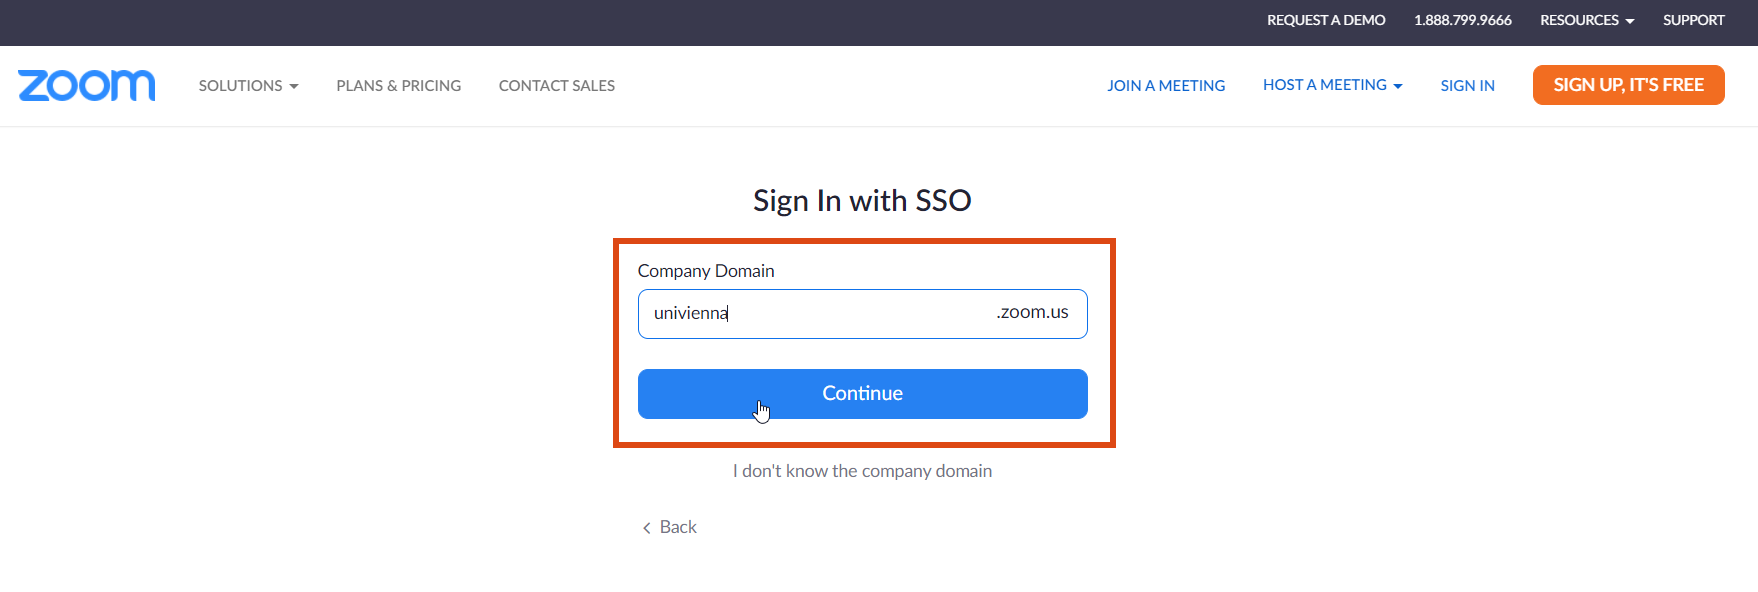
In the next window, enter univienna under Company Domain and click Continue.
You can immediately schedule a meeting or configure the settings of your Zoom account.
Signing in using the locally installed Zoom software
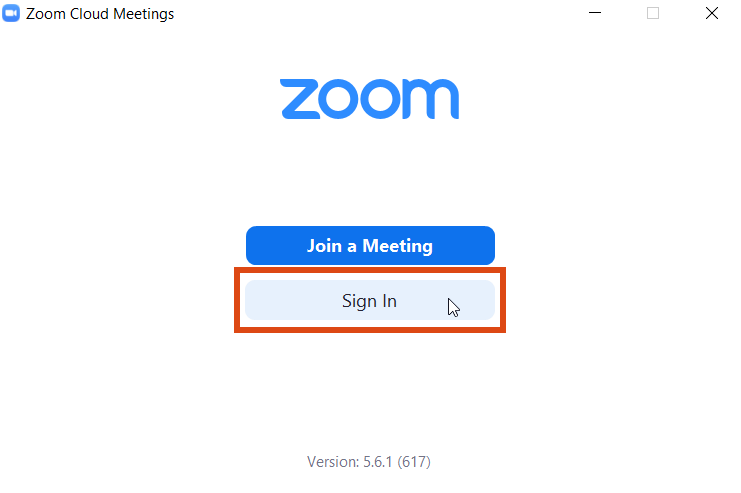
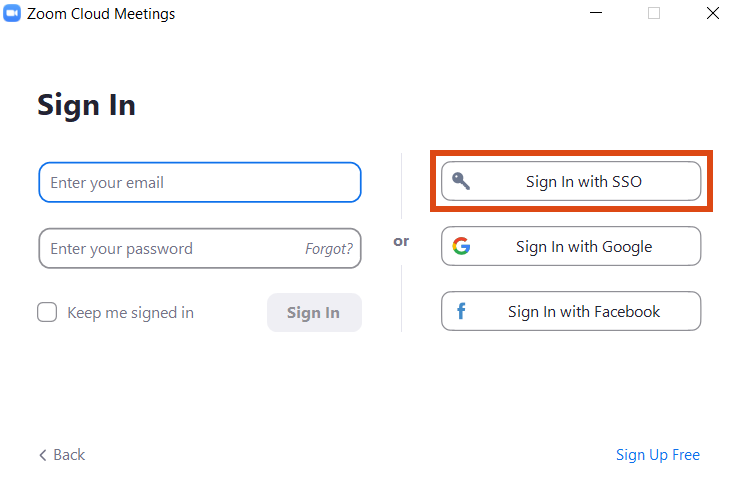
Open the software and click Sign In.
In the next window, click Sign In with SSO.
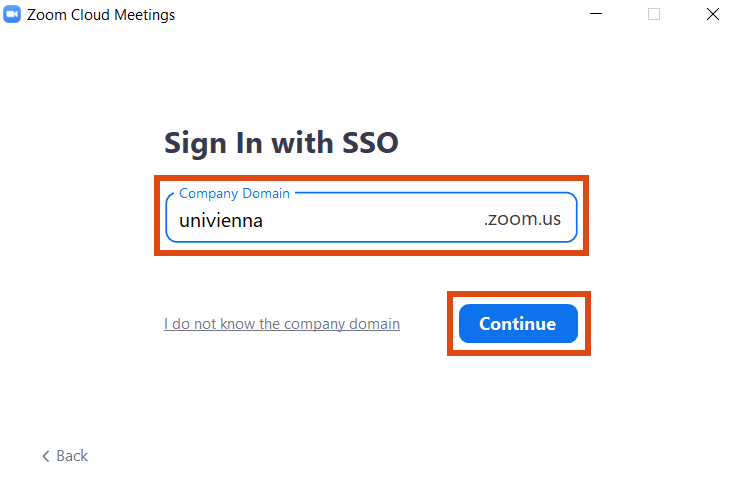
Under Company Domain, enter univienna and click Continue.
You will be automatically forwarded to the weblogin of the University of Vienna. Enter your u:account UserID and the corresponding password and click Anmelden (log in).
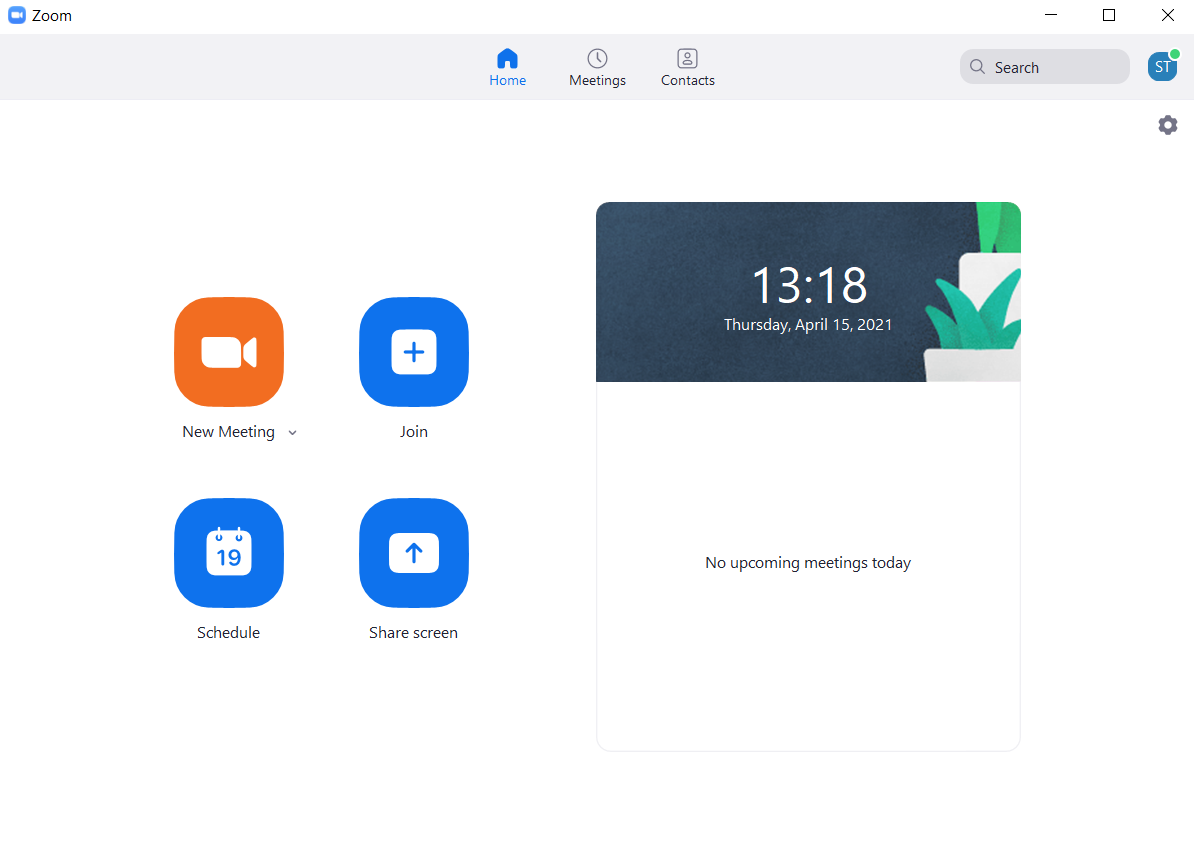
You will be automatically redirected to Zoom. You can immediately start a new meeting, join a meeting, schedule future meetings, share your screen or edit meetings and contacts.
Scheduling a meeting
Hinweis
A meeting is a collaborative event where all participants are able to share their screens, turn on their video and audio and see the others present.
In a webinar, only the moderator and all designated panellists can share their video, audio and screen. Other people can only participate as viewers. The number of possible participants is higher than in a meeting: up to 500 or up to 1,000 people are possible. To hold a webinar, you need an additional licence. The University of Vienna has a limited number of these licences available for teaching purposes.
In the next window, you can schedule your meeting.
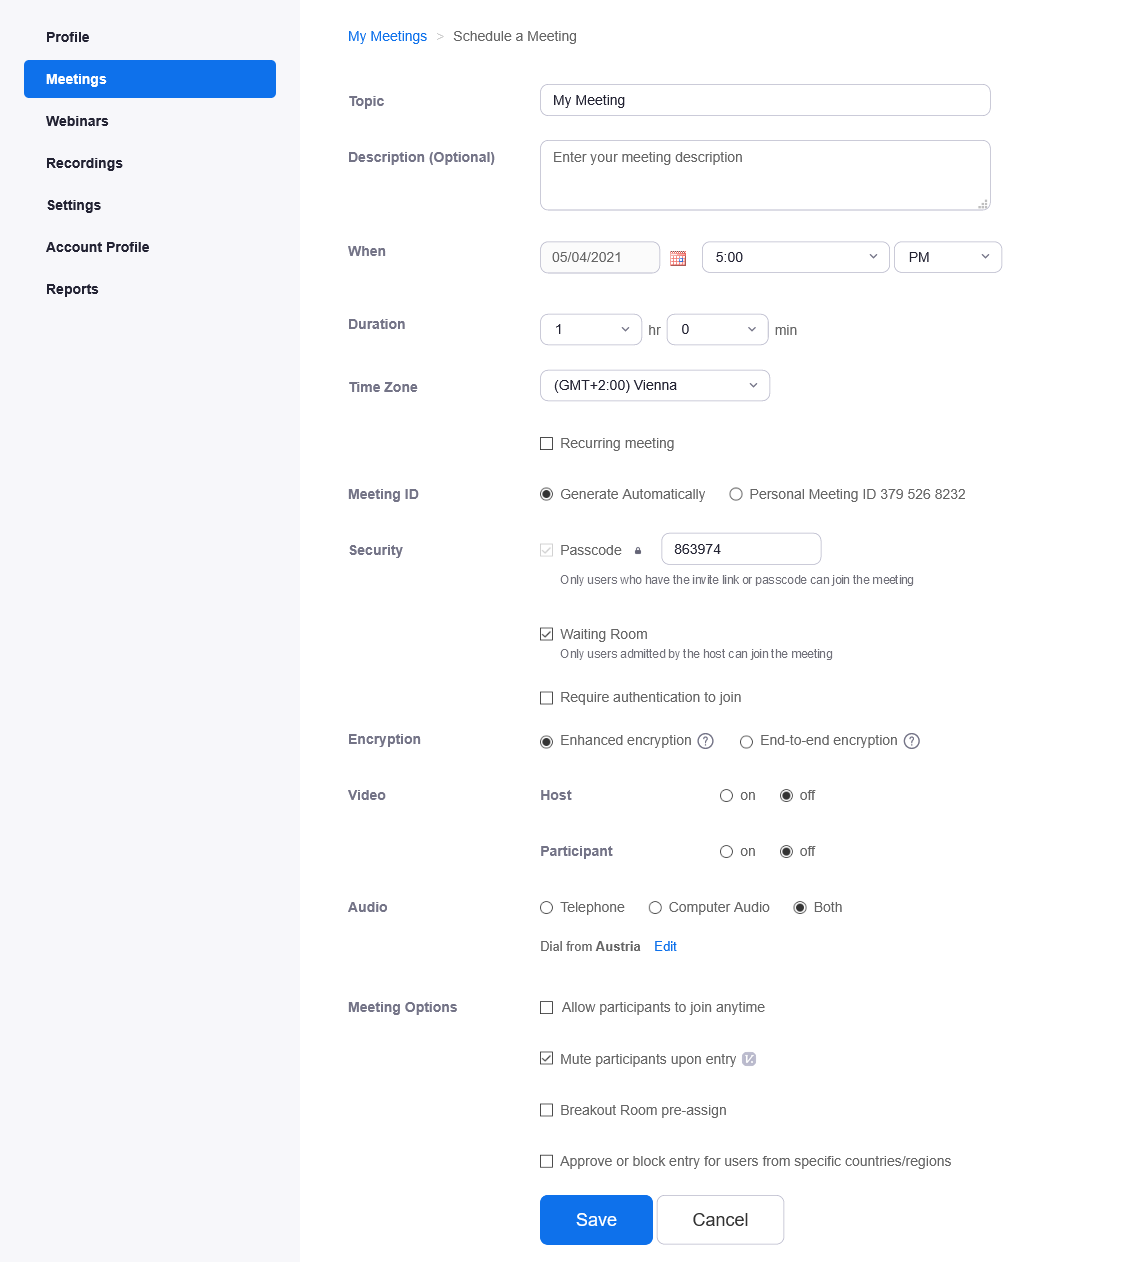
Topic: title of your meeting
Description (optional): further information about the content of your meeting
When: date and time
Duration: Inform your participants about the expected duration of the meeting. The meeting continues without interruption after the scheduled duration, until you end it.
Time Zone: By default, Zoom uses the time zone that you specified in your profile. If necessary, select a different time zone from the drop-down menu.
Recurring meeting: Tick this checkbox to open the settings for a recurring meeting. The available options depend on the interval at which you want the meeting to recur.
Registration: Select the Required checkbox. This way, only registered participants are allowed to join your meeting. Participants will receive a registration link instead of a join meeting link. – If registration is required for a recurring meeting, select whether participants have to register once to be able to participate in all meetings, whether they have to register separately for every meeting, or whether they can select certain meetings when registering once.
Meeting ID: The default setting is Generate Automatically. The ZID recommends keeping this setting: The Personal Meeting ID is unchangeable (comparable to the room number of an office). As soon as a person knows the link to your personal meeting ID, they can join any time you have a meeting. An automatically generated meeting ID, on the other hand, becomes invalid after the end of the meeting.
Passcode: The passcode to your meeting is included in encrypted form in the meeting link. If you have to share the link to your meeting publicly, remove the last part of the link that starts with ?pwd=xxxx. The system suggests a passcode that you can overwrite. It has to meet the following requirements:
- At least 10 characters
- Distinction between upper and lower case
- The ZID recommends using alphanumeric characters and the following special characters: @ * _ -
Waiting room: Participants cannot join a meeting before the host admits them from the waiting room. The ZID recommends enabling the waiting room.
Require authentication to join: Every participant requires a Zoom account and has to sign in before joining the meeting.
Encryption: The default setting is end-to-end encryption (E2EE). End-to-end encryption provides the highest level of data protection but does not allow you to use all Zoom functions. The features polls, breakout rooms, join before host, record, closed captions, private chat, join via phone call and join meetings from the browser are not enabled. In addition, the number of participants able to join a meeting is limited to 200. If you do not need any of these features, the ZID recommends keeping the end-to-end encryption.
Video host, video participant: Select whether the camera should be turned on or off when joining the meeting. If you select that the camera is turned off when joining the meeting, it can still be turned on after joining the meeting.
Audio: If you selected enhanced encryption, you can specify if participants can join a meeting only by telephone, by computer audio, both (telephone and computer audio) or via 3rd party audio (if activated for your account). If you have activated Telephone or Telephone and Computer Audio for the meeting, click Edit to select the countries/regions from which participants can join the meeting. By default, these include the countries included in your Global Dial-in Countries/Regions, specified under Settings -> Meeting.
Allow participants to join any time (join before host): Only possible with enhanced encryption. Enable this function if you want to allow participants to join the meeting before the host. If you have enabled the waiting room, you cannot use this function.
Mute participants upon entry: Every participant can independently unmute their microphone after joining the meeting.
Approve or block entry for users from specific countries/regions: Only possible with enhanced encryption. You can block users from specific countries from joining your meeting and/or only allow users from specific countries to join. The ZID recommends keeping this setting disabled.
Alternative hosts: You can give additional persons host permissions, including the permission to start the meeting. Please only use the official e-mail address of the person as specified in u:find. When entering several persons, please separate them by a comma. By default, when you add an alternative host, this person receives a notification e-mail.
Click Save to complete the process.
Inviting participants
As soon as you have scheduled a meeting, the Manage My Meeting page opens. Here, you can add the meeting to your Outlook or Yahoo calendar and invite the relevant participants.
Alternatively, you can click Copy Invitation to copy the invitation text for your Zoom meeting and send it via a different channel.
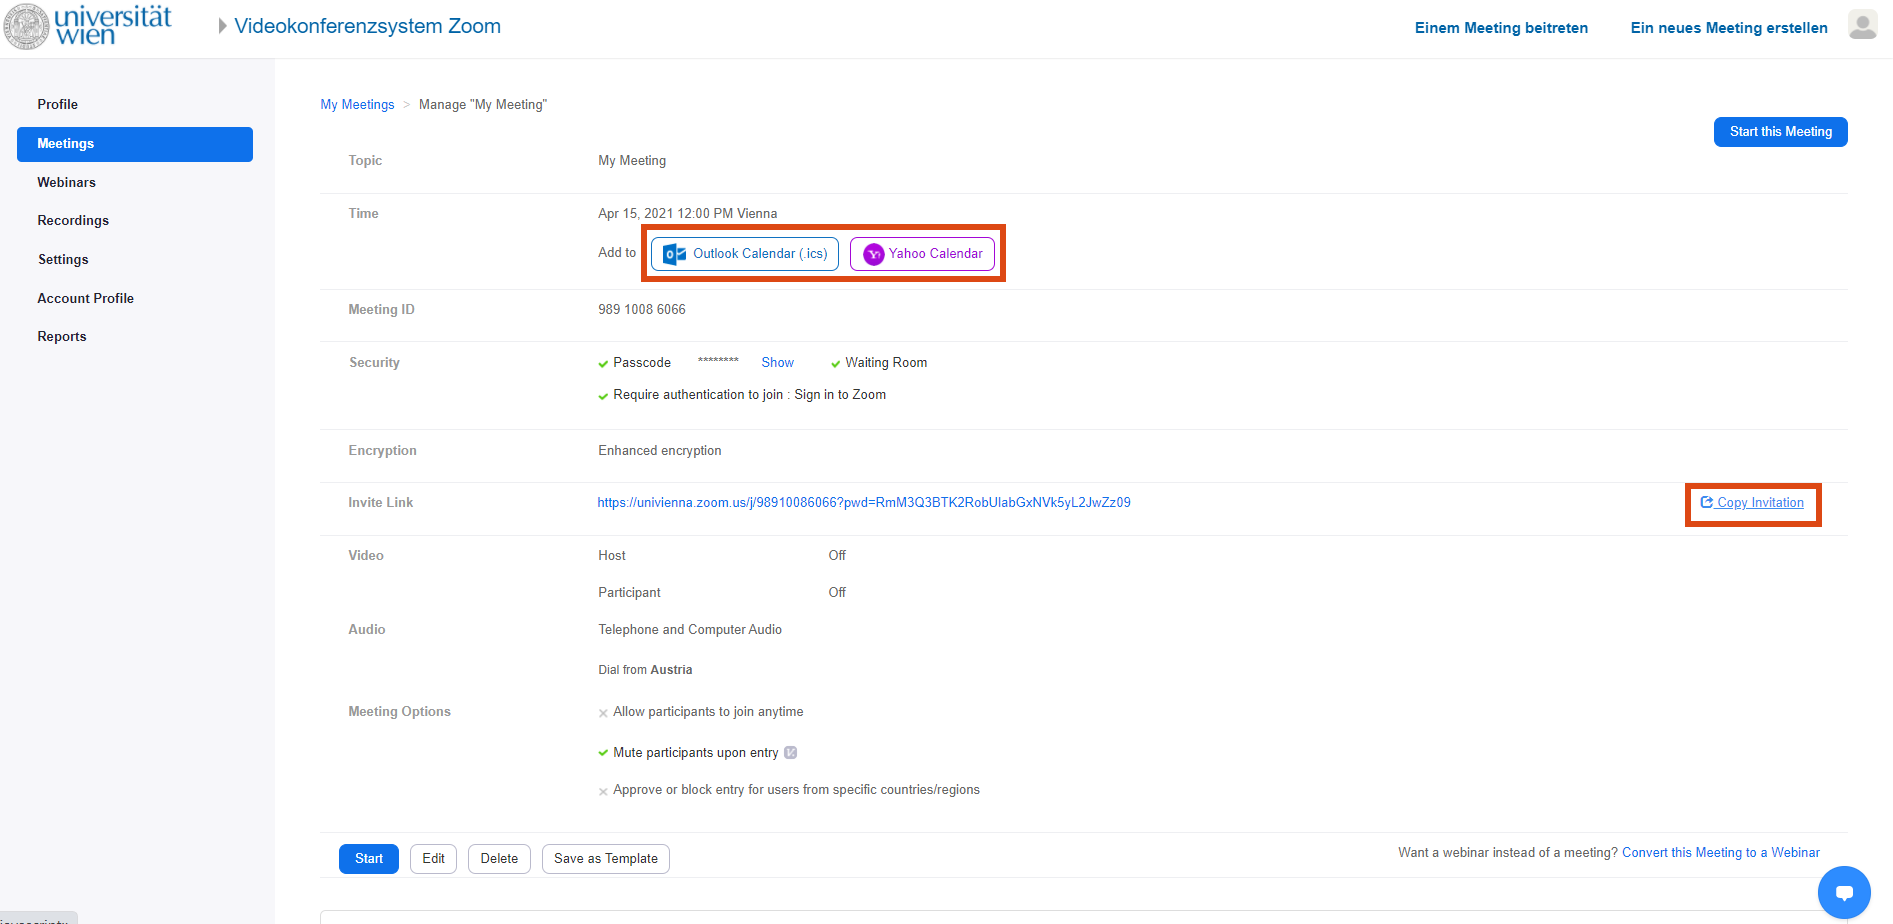
You can open the Manage My Meeting page any time again. Under Meetings, click Upcoming and select the subject of the relevant meeting.

Holding a meeting
Note
The default setting is end-to-end encryption (E2EE). This type of encryption provides the highest level of data protection. However, it requires holding the meeting via the locally installed Zoom software. To hold the meeting via the browser, you have to select Enhanced encryption when scheduling the meeting.
Under Meetings, click Upcoming and then Start next to the relevant meeting.

If you have already installed the software locally on your device, it will open automatically.
If you have not yet installed the software on your device, the system will suggest the download now. Click Save File and install the software as usual.
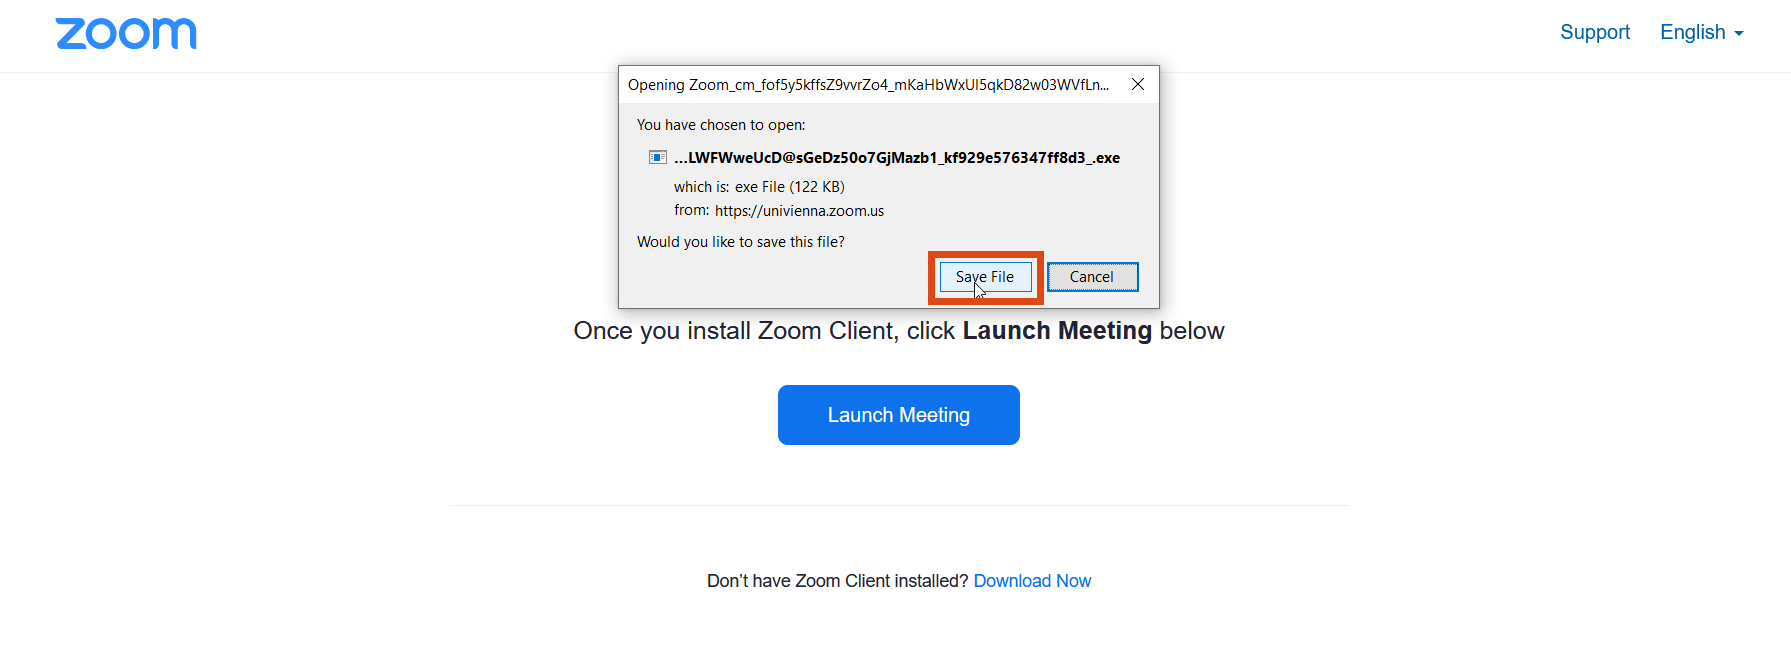
If you have selected enhanced encryption, you can also start the meeting in the browser via the link.
First, click Choose Application.

Make sure that Zoom Meetings is activated in the next window. Now, click Open Link.

The Zoom meeting will open in a new window. After starting the meeting, these functions are available.
To end the meeting, click End in the meeting controls at the bottom of your Zoom window.

You can either end the meeting for all or leave the meeting so that it can continue without you.
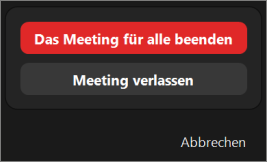
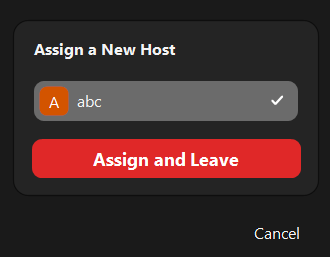
If you want the meeting to continue without you, please assign the host to another participant who will be in charge of the meeting after you leave.
