Installing Adobe apps on a centrally managed PC
This user guide helps employees install and manage Adobe applications on a centrally managed PC.
Ordering, registering
Order the service m: Adobe Creative Cloud All Apps in the Self-service portal of the University of Vienna. If necessary, use the user guide Ordering Adobe software.
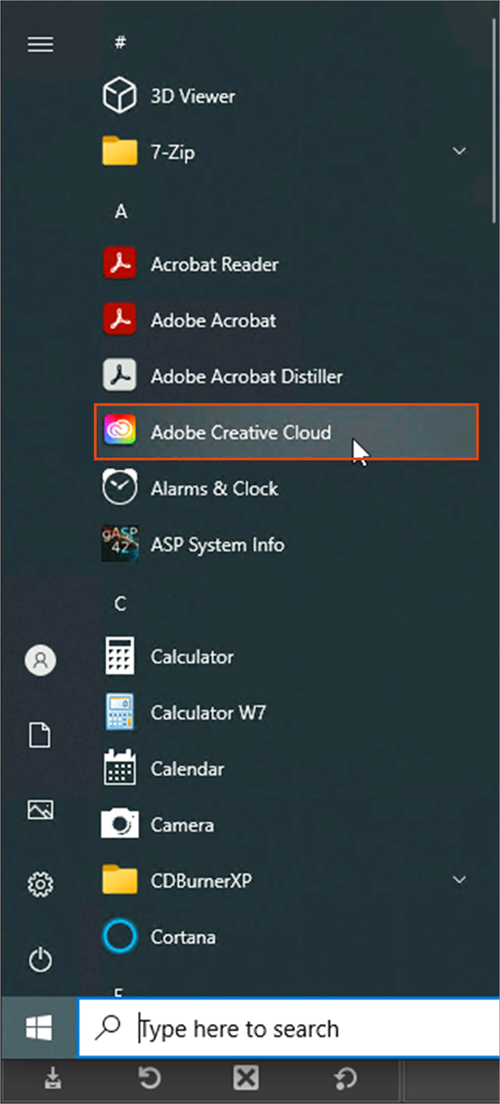
Once the software has been deployed to the selected device, select Adobe Creative Cloud from the Windows Start menu.
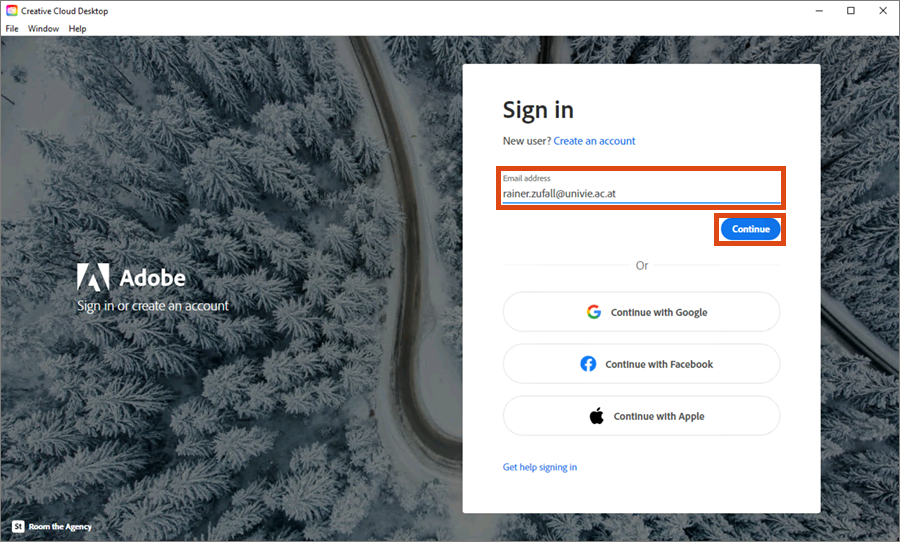
If you are asked to do so, enter your University of Vienna e-mail address in the Sign in window and click Continue.
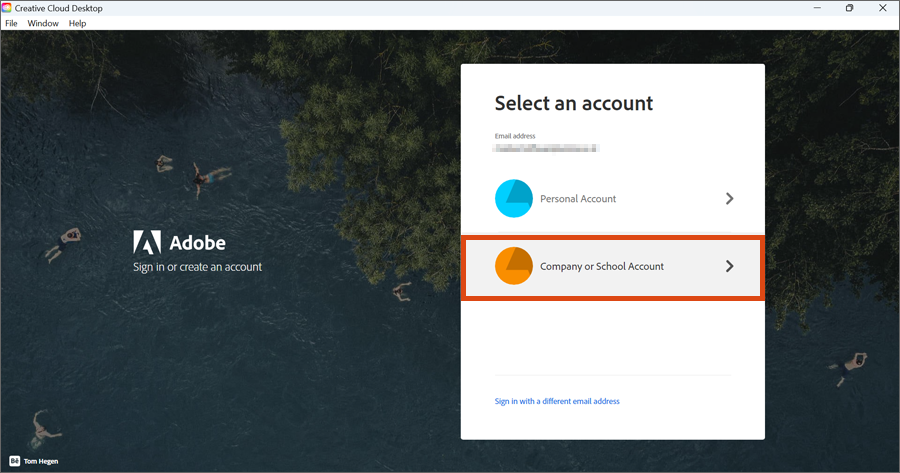
In the next Select an account window, select Corporate or School Account.
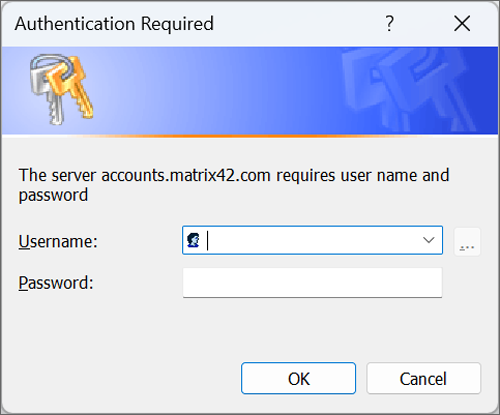
If you are asked for a username and password, enter your u:account details.
Now the registration with Adobe takes place.

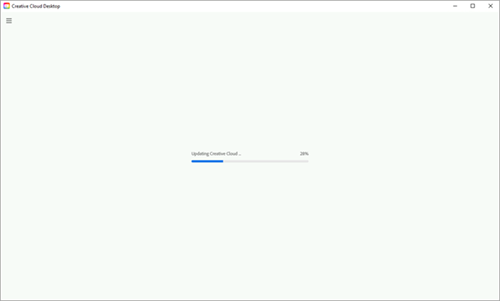
The software checks for updates for Adobe Creative Cloud and installs them automatically if necessary.
Note
If Adobe Creative Cloud no longer starts by itself after an update, open it again via the Windows start menu.
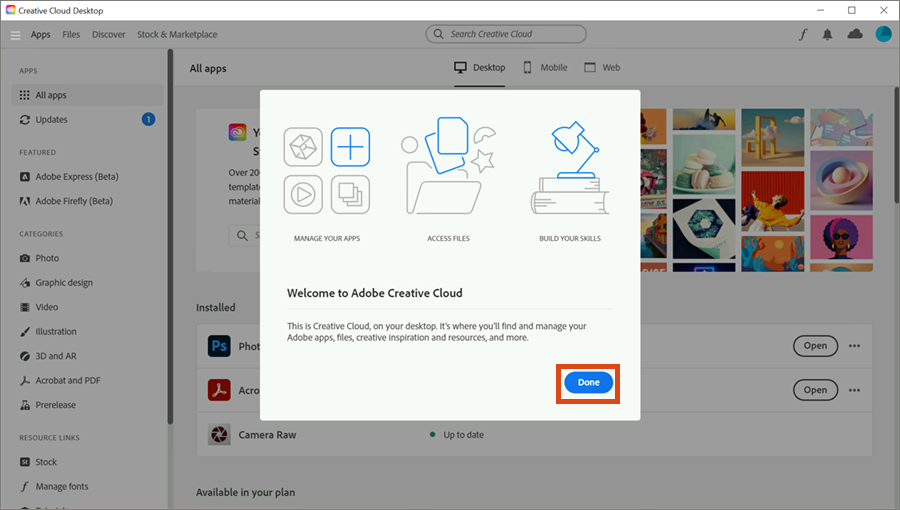
Adobe Creative Cloud will start. Confirm the Welcome screen by clicking Done.
Installing application
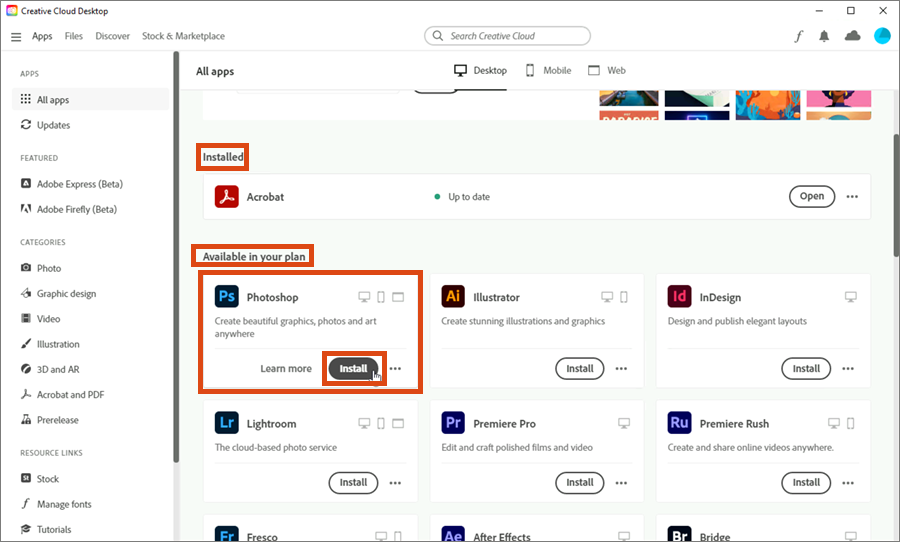
You decide which Adobe apps you install on your centrally managed PC. After starting, Adobe Creative Cloud shows you all the applications available to you:
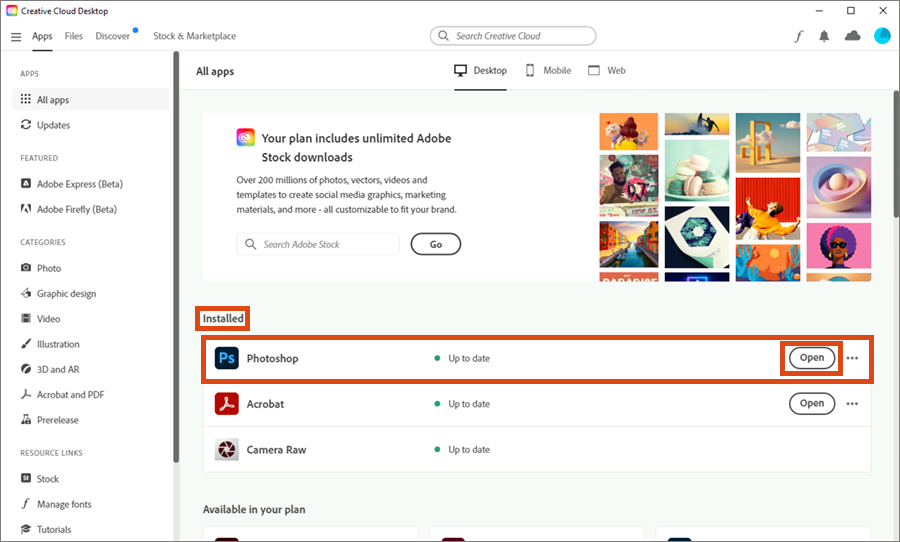
- If you have also installed the software package m: Adobe Acrobat, Adobe Acrobat is already displayed under Installed.
- Under Available in your plan you will see all other available applications.
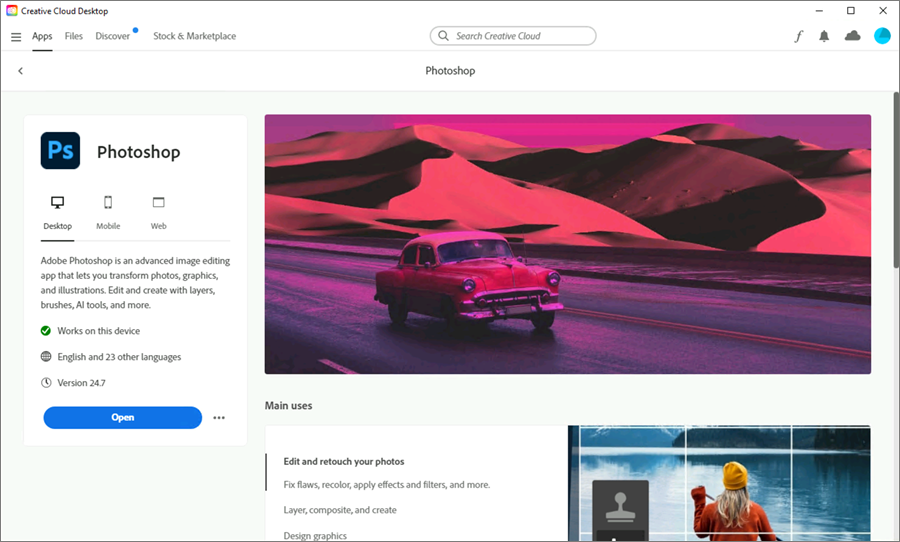
Select the desired application (in this example Photoshop) and click on Install. You can add more applications later at any time.
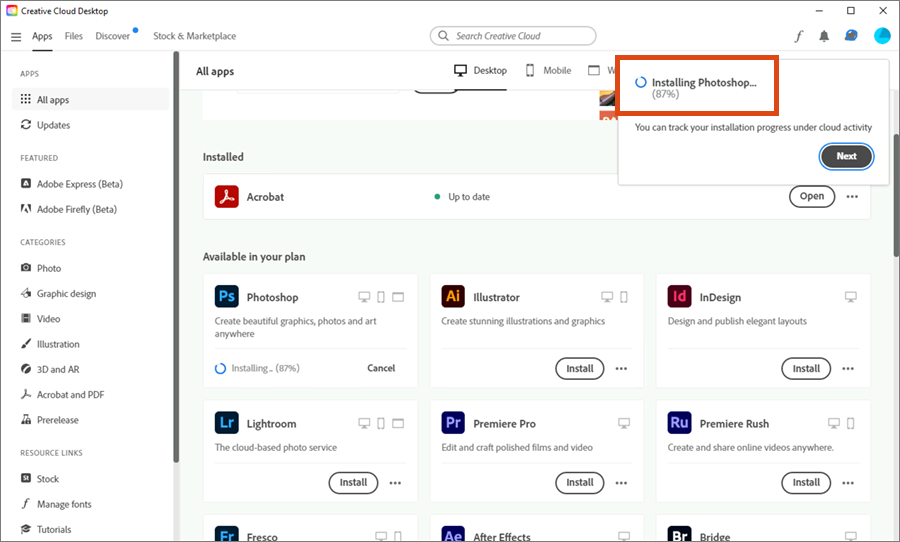
The progress of the installation process is displayed as a percentage.
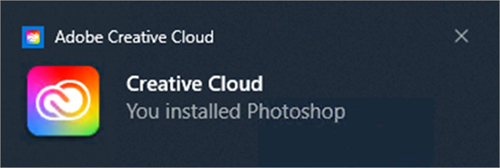
Once the installation is complete, you will see a description of the application.
In addition, a corresponding note appears at the bottom right of the screen.
In the All apps overview, the newly installed application is now also displayed under Installed. It can be opened directly in Adobe Creative Cloud or via the Windows start menu.
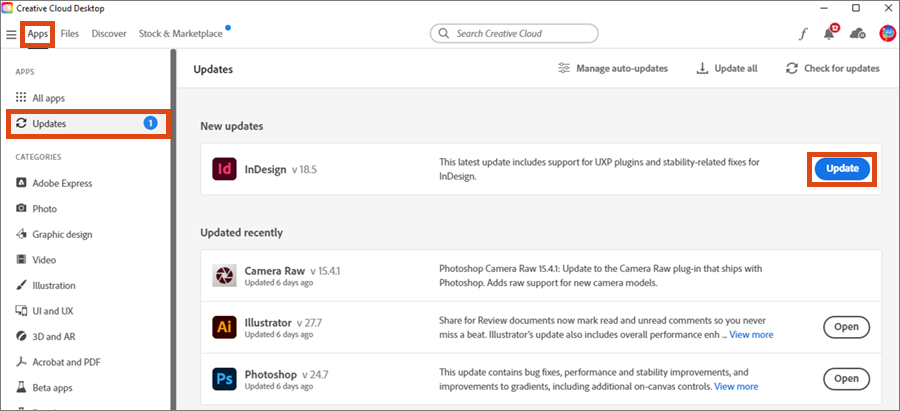
Updating application
Any application you install on a centrally managed PC through Adobe Creative Cloud must be updated by you.
You will be notified with a message on the bottom right of the screen when updates are available.
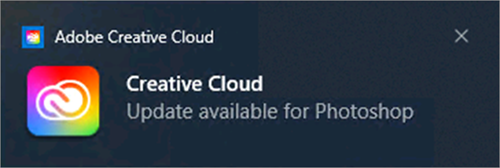
Start Adobe Creative Cloud and select Updates under Apps. Click Update for each application to download the pending updates.
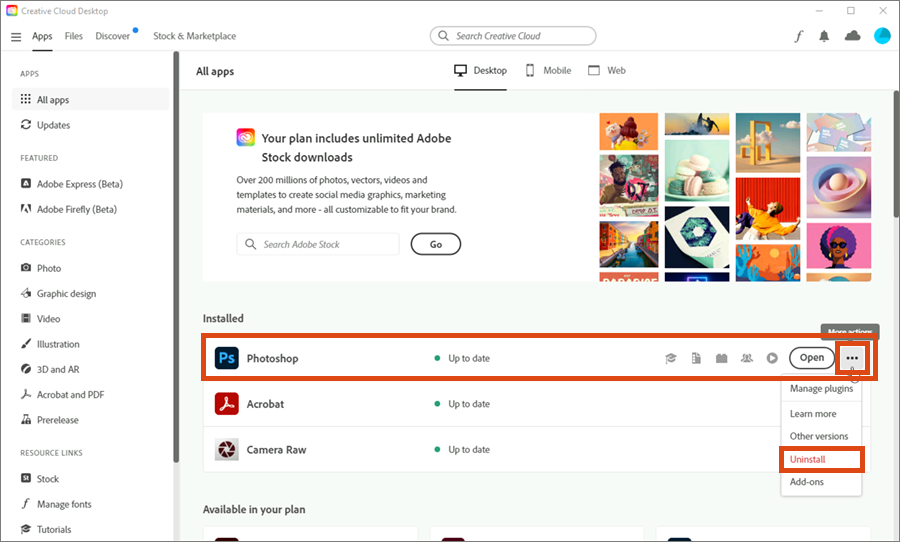
Uninstalling application
To uninstall an application, click on the three dots next to the name of the application in Adobe Creative Cloud. In the menu that opens, select Uninstall.
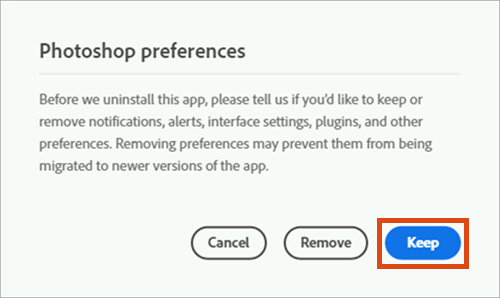
You will be asked how to deal with any default settings you may have made. The ZID recommends that you keep the default settings.
Now the uninstallation has started. The progress is displayed as a percentage.
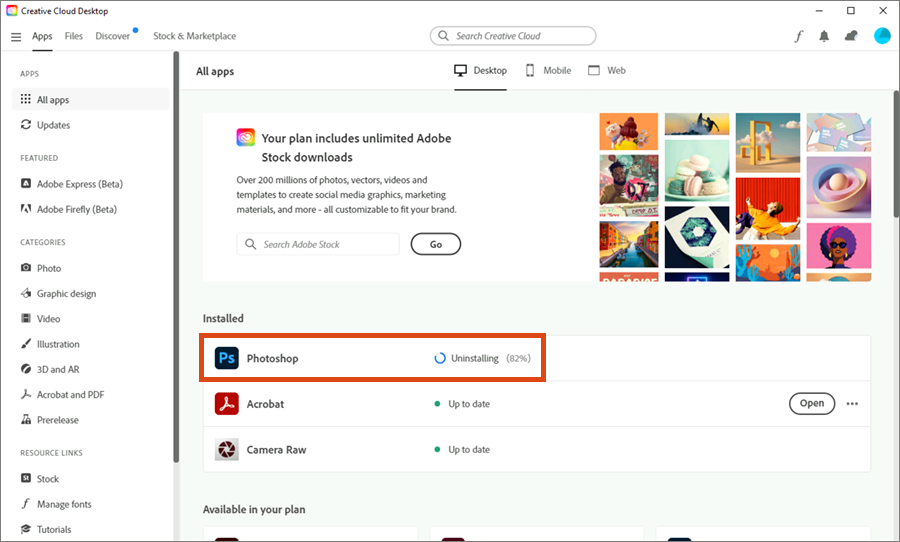
Once the uninstallation is complete, the app will appear under Available in your subscription and can be reinstalled.
Return
Before returning the software package m: Adobe Creative Cloud All Apps in the deployment system, you must uninstall all applications.
Adobe Acrobat
There are 2 ways to use Adobe Acrobat on a centrally managed PC:
- Software package m: Adobe Creative Cloud All Apps: The user is responsible for installing, updating and uninstalling the software.
- Software package m: Adobe Acrobat: Installation, updating and uninstallation are carried out automatically by the central deployment system of the University of Vienna.