Logging in to u:cloud again
This user guide will help users of centrally managed PCs to log in to the u:cloud again after 11.12.2023.
Once the u:cloud software has been updated on your device, a browser window for login will open. Click on Log in.
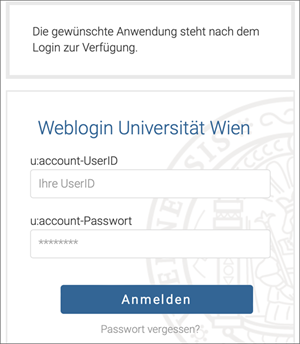
You will now be taken to the weblogin page of the University of Vienna. Enter your u:account UserID and the corresponding password.
Click Grant access to allow the software to access the u:cloud.
A confirmation is now displayed with the information Account connected.
You can close the website.
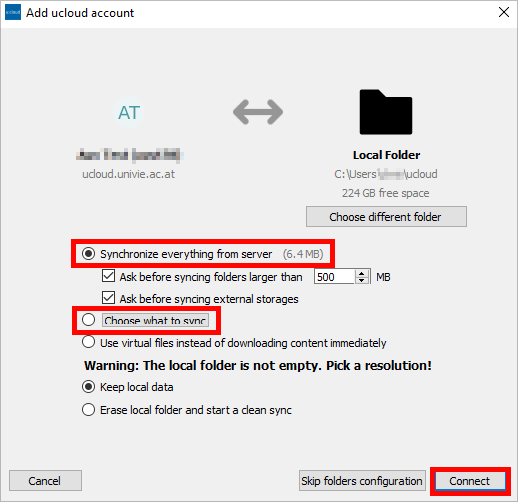
The window Add ucloud account now opens. You can either select Synchronize everything from server or Choose what to sync, if you want to select the elements you would like to synchronise.
Note
The option Use virtual files instead of downloading content immediately cannot be deactivated by the ZID. If you activate this option and data is lost, the ZID will not be able to provide support.
Once you have set up everything as desired, click on Connect.
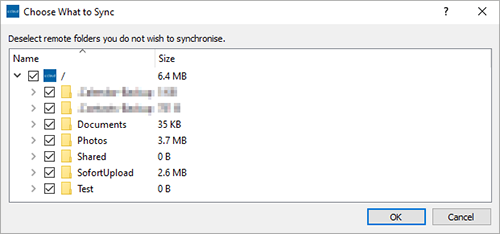
When you select the option Choose what to sync, you can choose the folders you would like to synchronise in the next step.
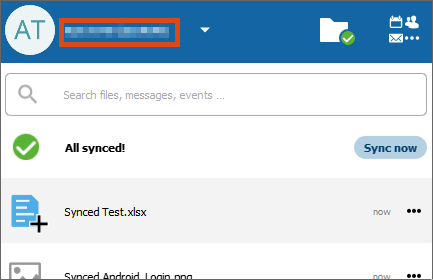
The main menu of the u:cloud software now opens with the notification that your folders have been synchronised.
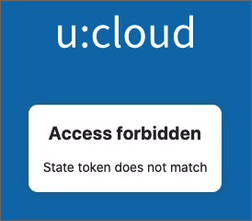
If the message Access forbidden appears, close the browser window. In the Add ucloud account window, click Reopen Browser. Repeat the login process and then click Grant access.
Note
You can find more information on the possible settings of the software (preventing automatic start, selecting folders for synchronisation) and how to use the software under Making settings.
