Setting up a calendar in Thunderbird
This user guide helps you to set up your u:cloud calendar in Thunderbird or to synchronise it with Thunderbird.

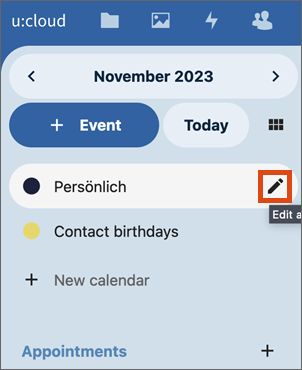
On the left side next to your calendars you can find the editing icon. Click on it.
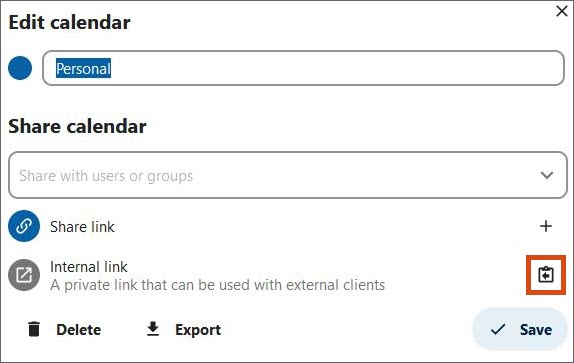
A window is opening. Click on the copy icon to the right of Internal link to save the link to the calendar to the clipboard.
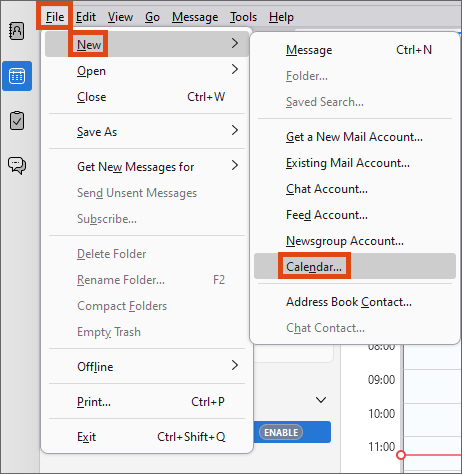
- In Thunderbird open the calendar tab.
- Create a new calendar with File – New – Calendar… or click on New calendar... under your existing calendar.
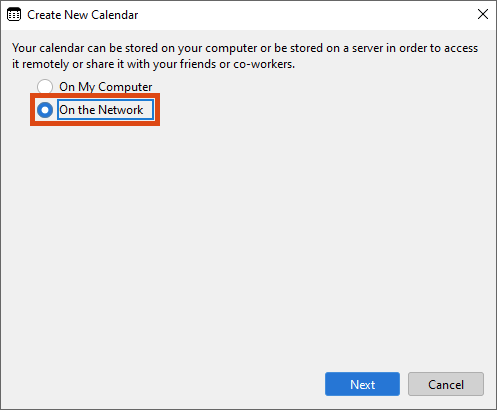
Select as location On the Network and confirm with Next.
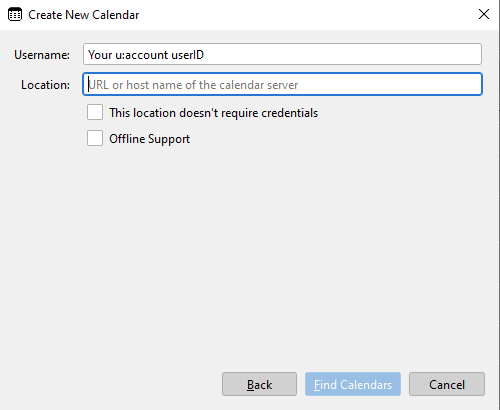
- Under Username enter your u:account UserID and under Location the internal link you copied earlier.
- Click Find Calendars and you will be asked to enter your UserID and password.
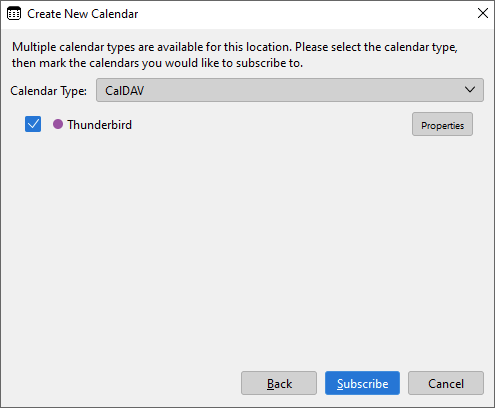
In the drop-down Calendar Type select the option CalDAV. Make sure that the checkbox at your calendar is activated. In the Properties you can, for example, change the colour, the name and other settings.
Finally, click on Subscribe.