Scannen
This user guide helps you to scan documents at a u:print device.
Requirements
- A valid u:account UserID and password
- A validated u:card with loaded credit. Following validation, it may take up to 5 hours until the u:card is activated.
- Employees after the end of their employment contract and students after the end of their studies: Scanning is only possible via USB stick or sending to the e-mail address of the University of Vienna as long as it is still active.
Scanning and saving in the online storage space
With the Scan and Send function, you can scan and save the scanned file in your online storage space.
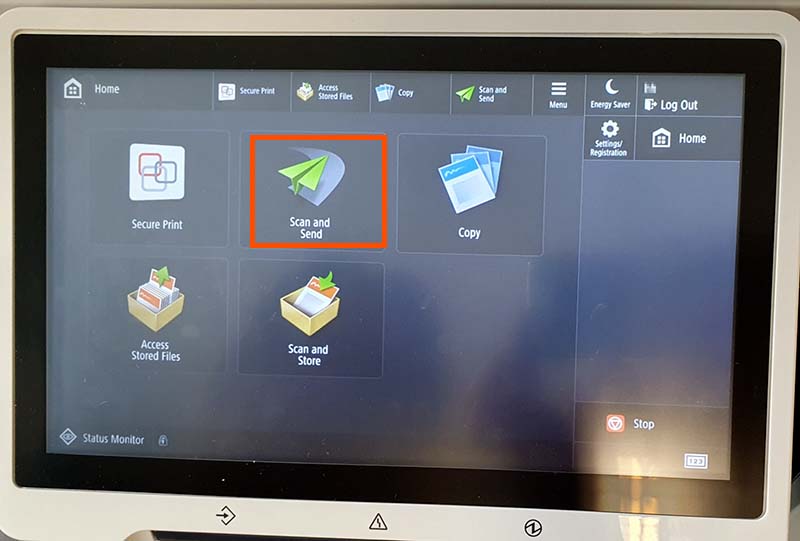
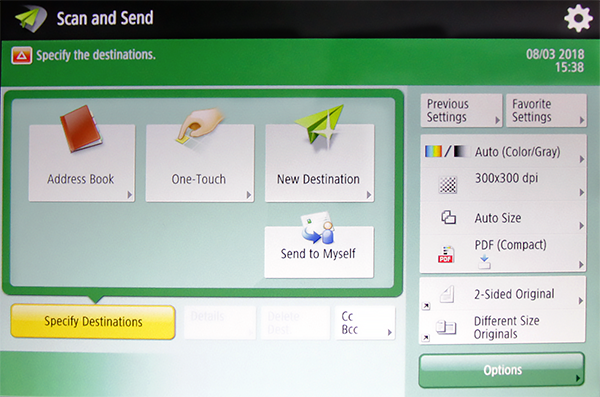
Selecting the function
Press the Scan and Send button on the touch screen.
Scanning
Place the original on the platen glass or use the automatic document feeder.
Please note that you can only place flawless originals in the automatic document feeder. These originals must not be
- stapled,
- rolled,
- wrinkled or
- bound with paper clips.
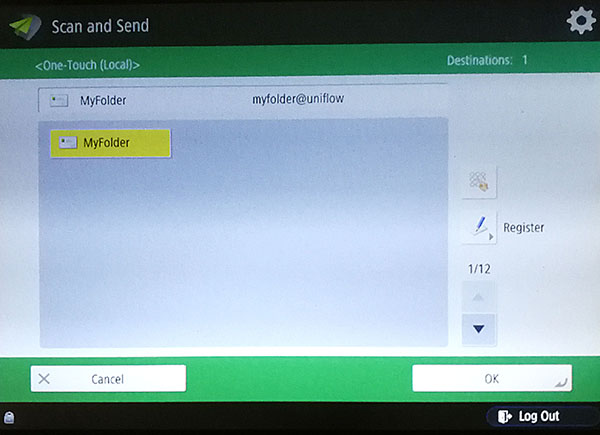
Select the MyFolder button and confirm by pressing OK.
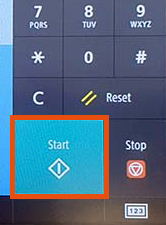
Start the scan process by pressing the start button on the right. As soon as you have scanned all the documents, press the Start sending button.
Your scans are then saved in your profile in the scans folder:
- To find out how to access this folder from other devices, see Online storage space.
- You have full rights to this folder and can delete or copy the files it contains.
- Your scans are not automatically deleted. Therefore, please pay attention to your storage space limit.
Scanning settings
By default, the device will save scanned documents in PDF format, with a resolution of 300 x 300 dpi.
The following options are available:
- Colour
- Resolution
- Size
- File format (PDF, JPEG, TIFF)
Scanning and saving on a USB storage device
With the Scan and Send function, you can scan and save the scanned file on a USB storage device.
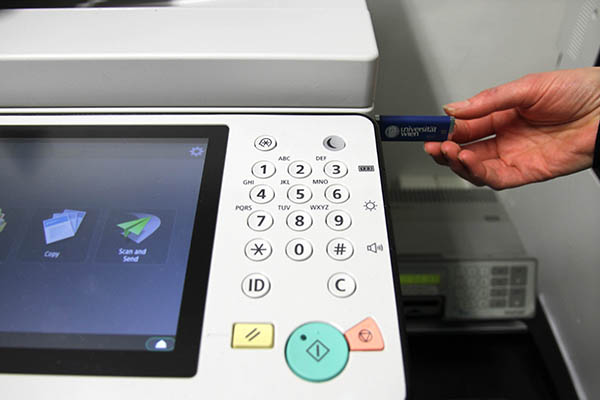
Selecting USB storage device and function
Insert your USB storage device into the USB port on the right side of the device.
Note
Your USB data medium (USB stick) must be formatted in FAT, FAT32 or exFAT format to be recognized by the u:print device.
For example the NTFS format, password protected data carriers, card readers, extension cables or USB hubs are not supported.
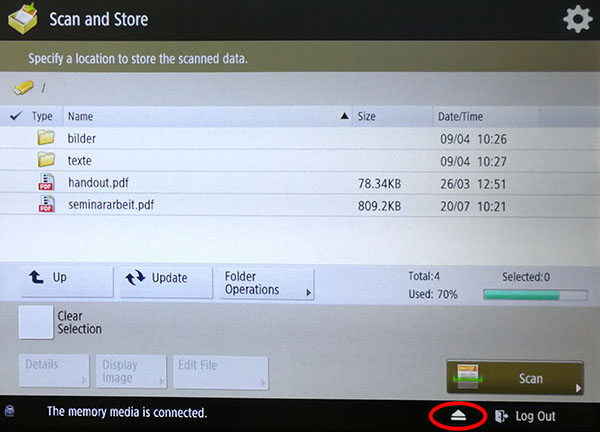
Press the Home button on the top right and select Scan and Store on the touch screen.
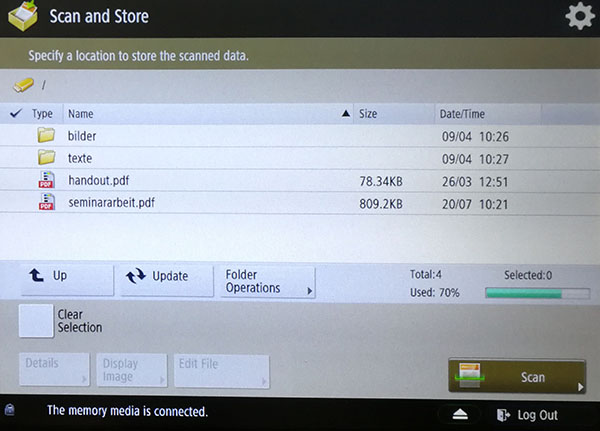
Select Memory Media (A:) (USB storage device).
You can also select the folder, in which the scan should be saved on the touch screen. With the Up button, you can go to the next level up.
If you do not select a folder, your scanned files are saved on the lowest level.
Scanning
Place the original on the platen glass or use the automatic document feeder.
Please note that you can only place flawless originals in the automatic document feeder. These originals must not be
- stapled,
- rolled,
- wrinkled or
- bound with paper clips.
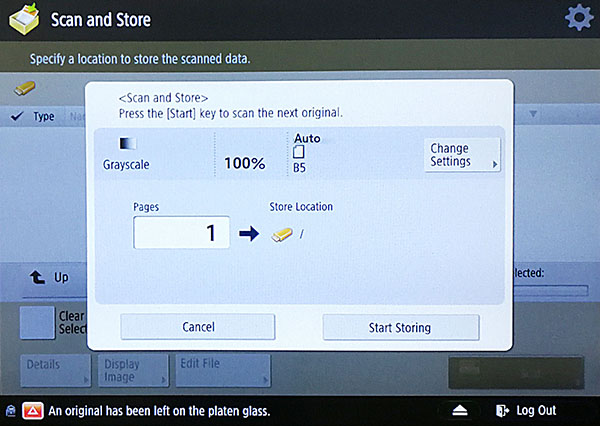
Press the Scan button.
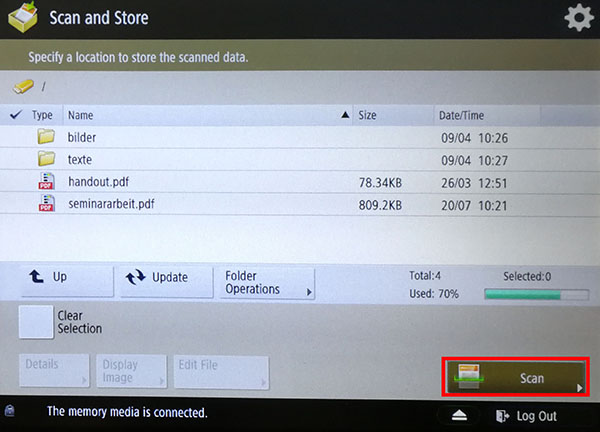
Start the scan process by pressing the start button.
Press the Start Storing button to send your scanned file to your USB storage device.
Scanning settings
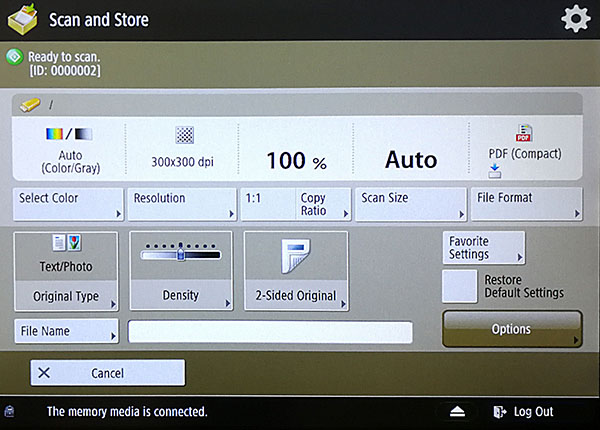
By default, the device will save scanned documents in PDF format, with a resolution of 300 x 300 dpi.
The following options are available:
- Select Color – colour setting
- Resolution
- Copy Ratio – Increase or reduce the size of the copy
- File Format – format of the scanned file (PDF, JPG, TIFF, XPS)
- File Name – you can also type a file name of your choice
Removing a USB storage device
After all desired documents have been scanned, remove the USB storage device:
- Press the Eject icon in the footer of the touch screen.
- Select Remove and press OK twice.
- Remove your USB storage device from the u:print device.