Creating new job
This user guide will help you to send one or more PDF documents for signature with u:sign.
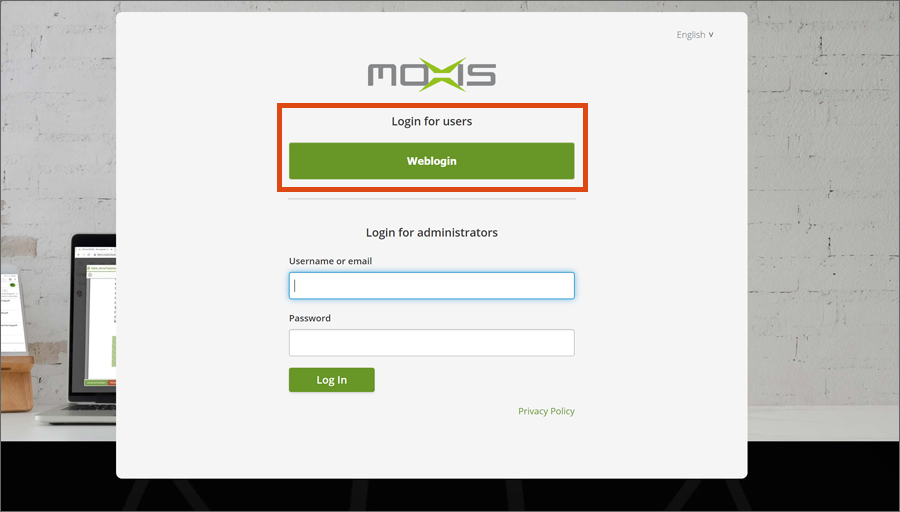
Open u:sign at usign.univie.ac.at. You will be redirected to the Moxis login page. Under Login for users, click on Weblogin.
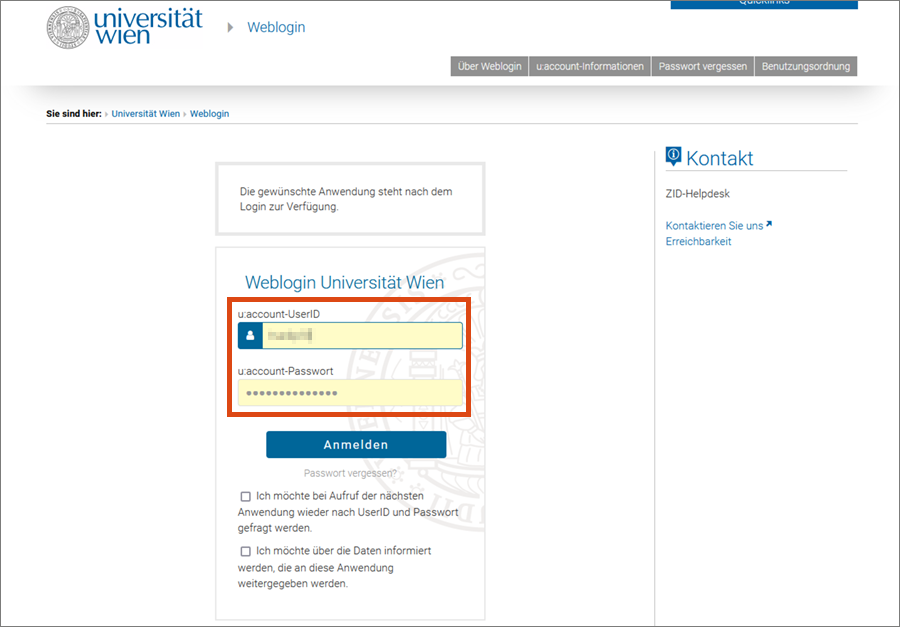
You will be redirected to the weblogin of the University of Vienna. Log in with u:account UserID and password.
Create job
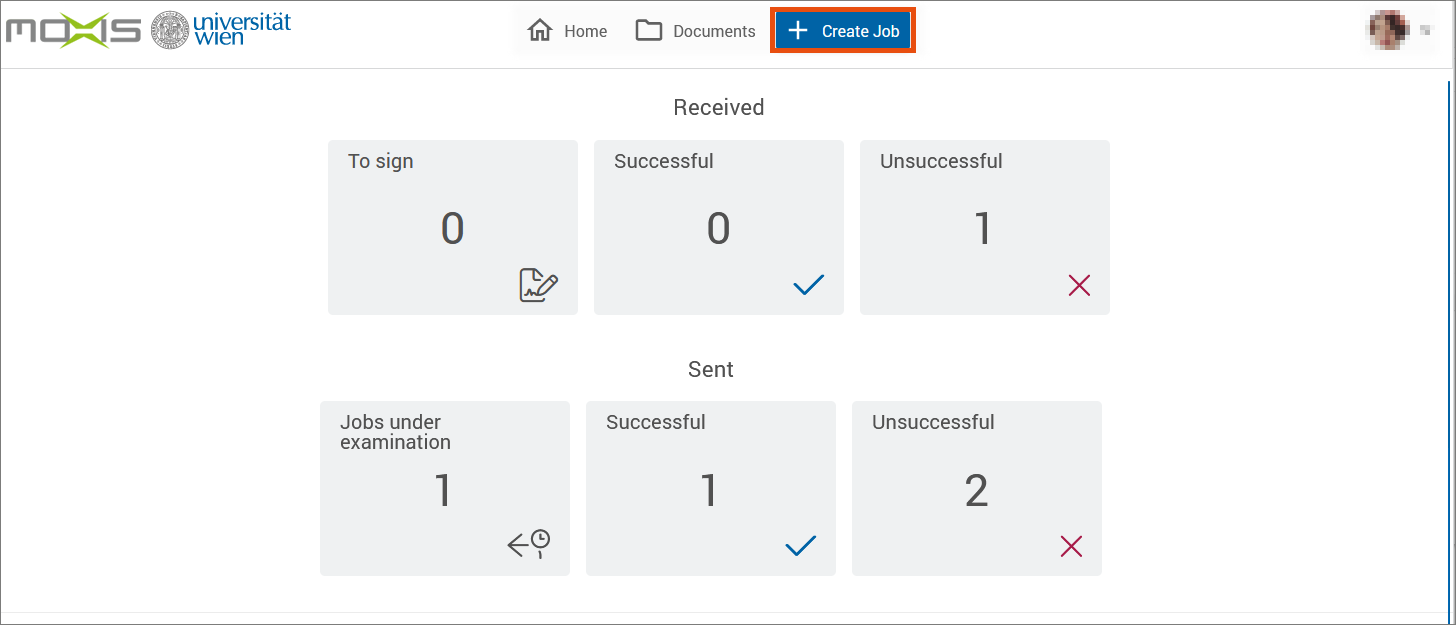
The system will take you back to the u:sign start page. Click on Create job.
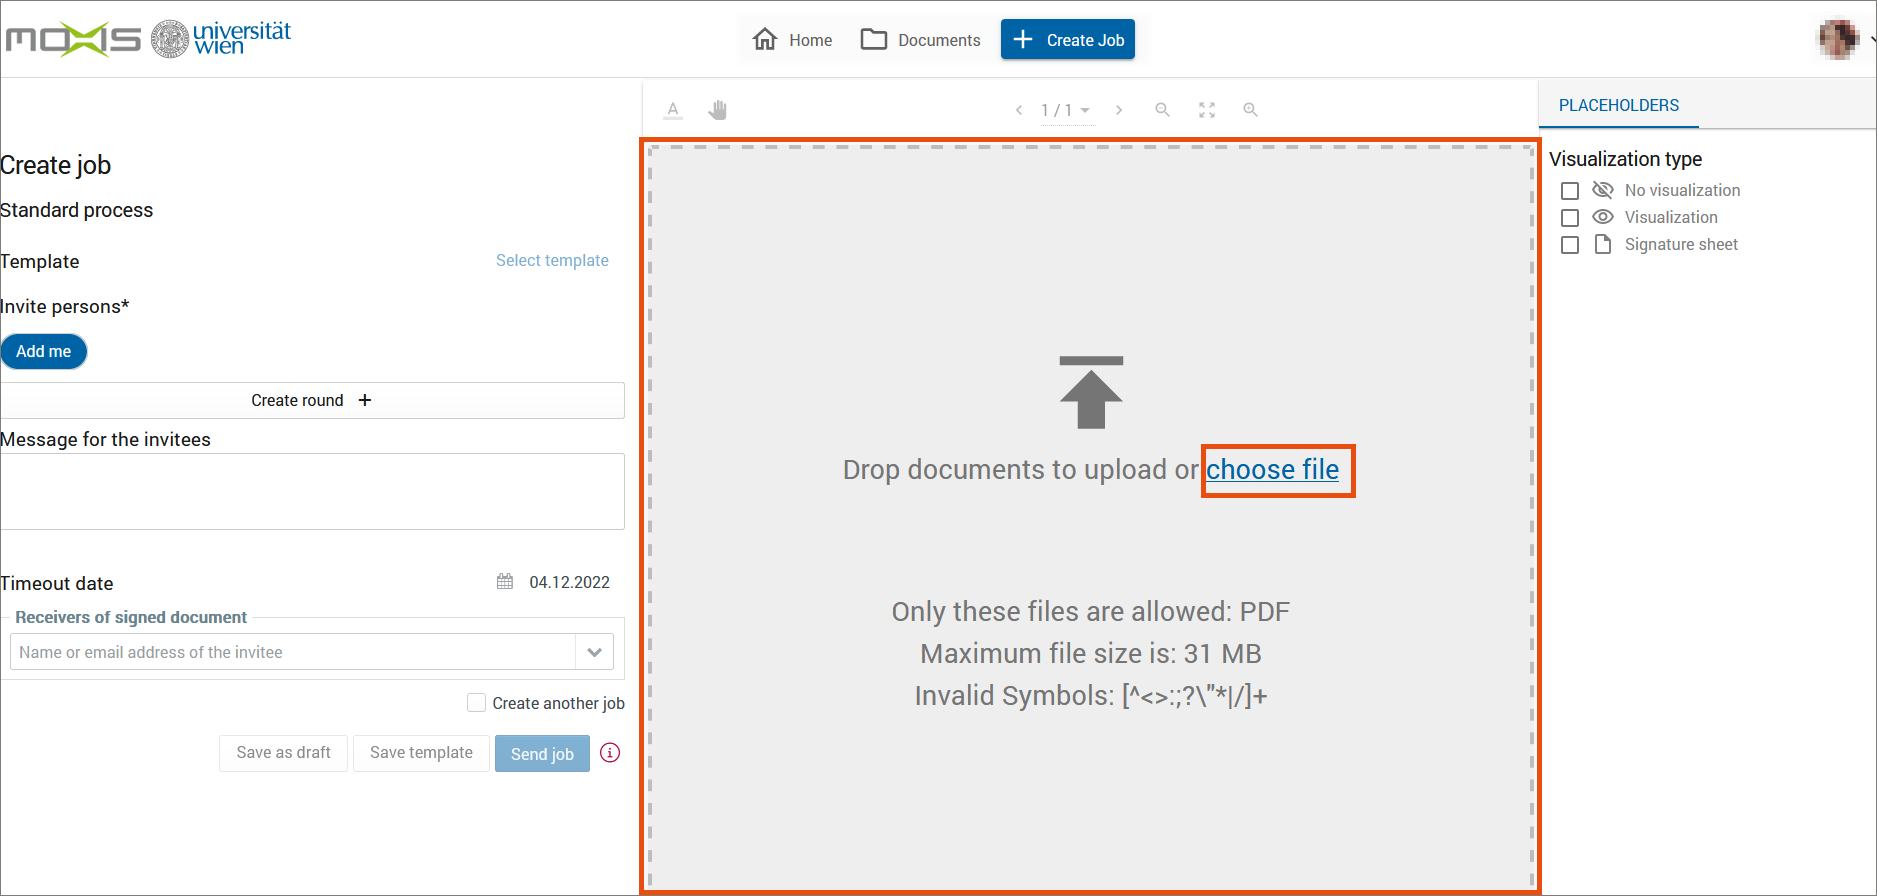
In the following window, upload the PDF document you want to sign. Drag and drop it into the grey area or click on Choose file to select the document via the file browser.
Now decide who should sign the document:
- Click on Add Me to add yourself as a signer. This function is only available if you have completed your profile.
- Enter the name or e-mail address of the other signers in the free text field. The address book offers you already registered u:sign users to choose from. Invite employees of the University of Vienna who are not found in the address book to register with u:sign. For external users, you must enter the full e-mail address and then click on the e-mail address to create an entry in your personal address book.
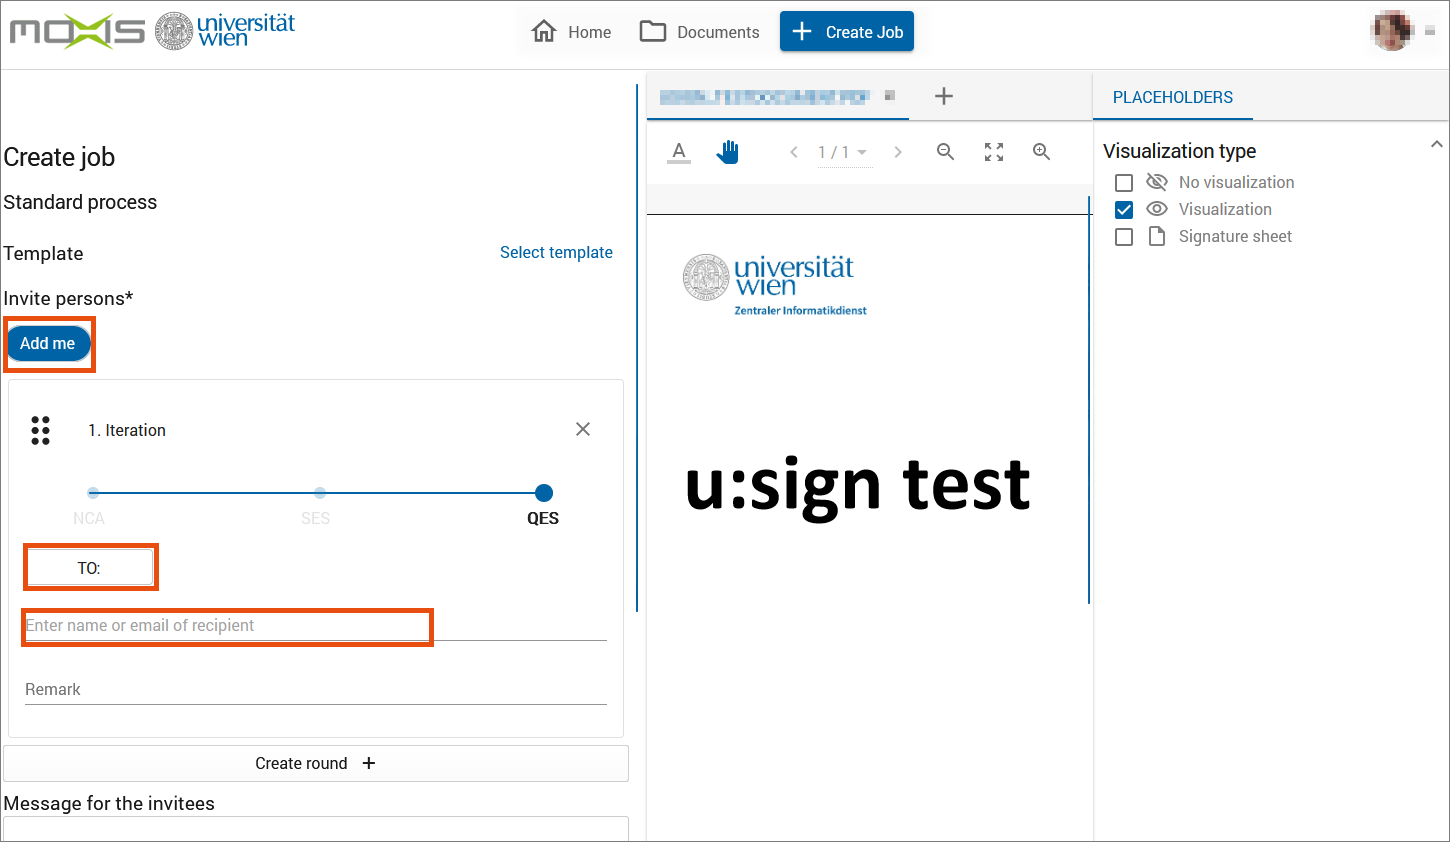
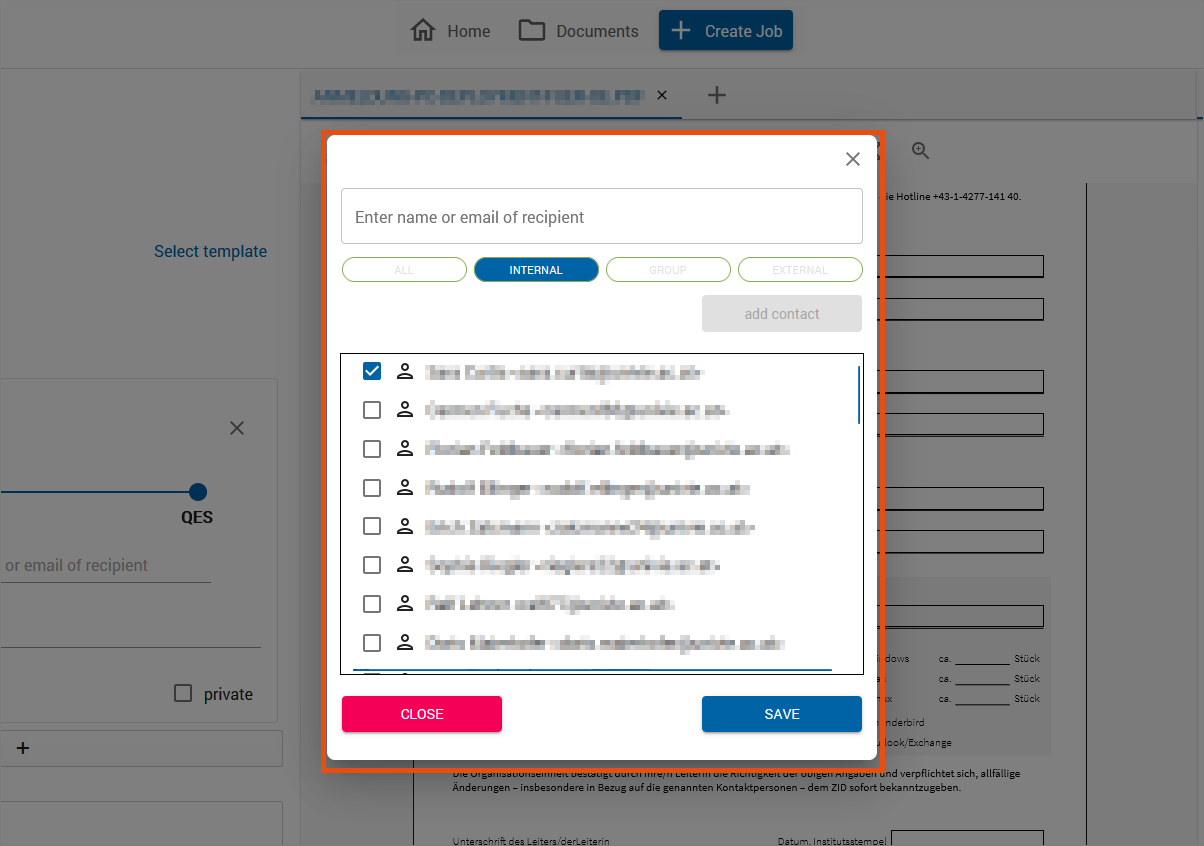
- Alternatively, click on the TO button to open the address book.
Set order of signatures
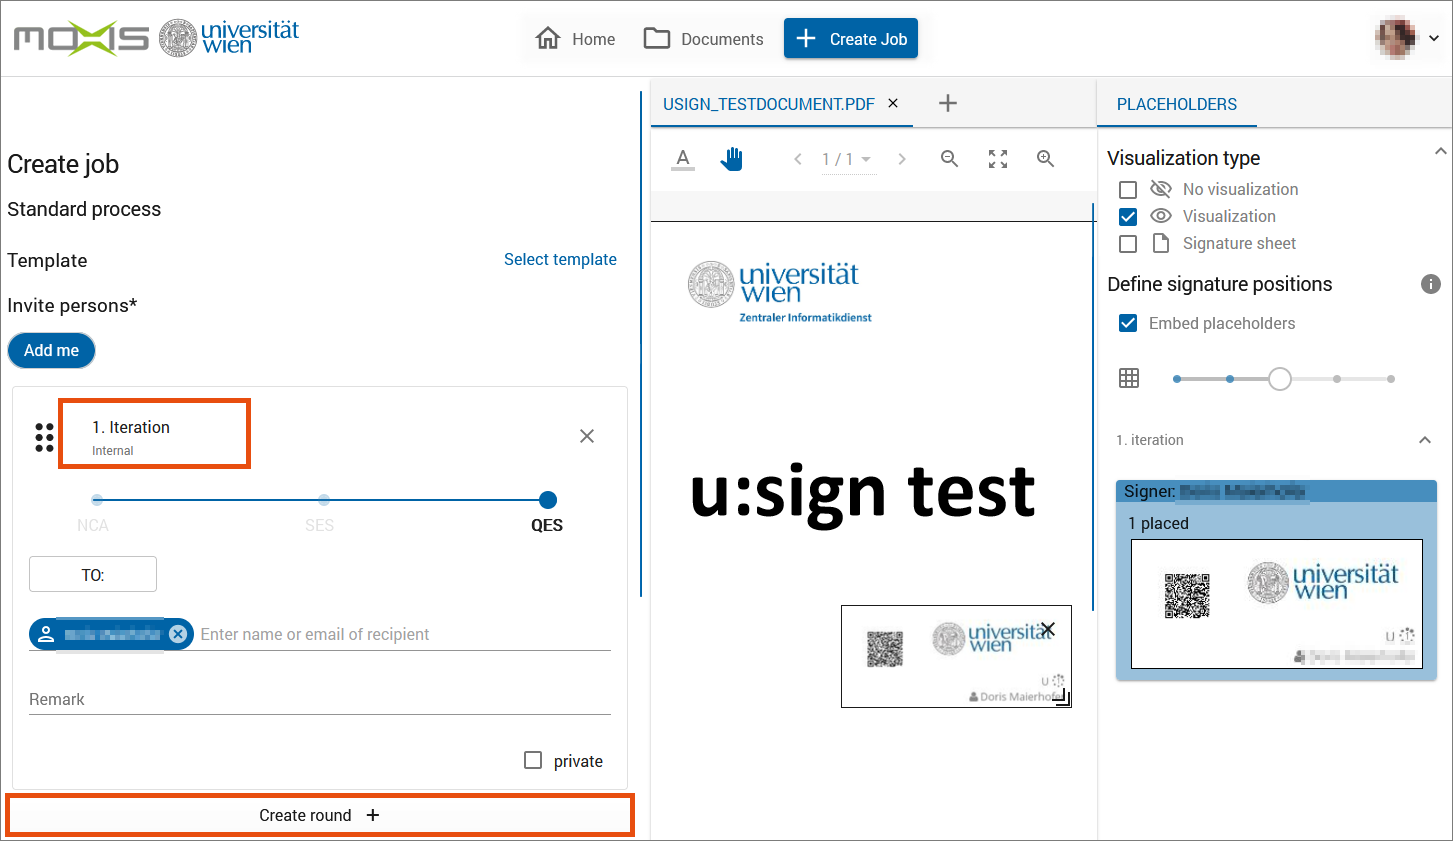
Use decision levels (called iteration in u:sign) to set a specific order in which signatures are being made.
To do this, click on Create round + in the Iteration section to create as many decision levels as required. All persons registered in a decision level receive the document for signature at the same time. The persons entered will only be asked to sign when the signatures of the previous level have been received.
A decision level can contain either internal or external recipients. It is not possible to assign internal and external recipients to the same decision level.
You can create up to 20 decision levels.
Add documents
Once you have uploaded a document for signature, a plus sign appears in the bar above it.
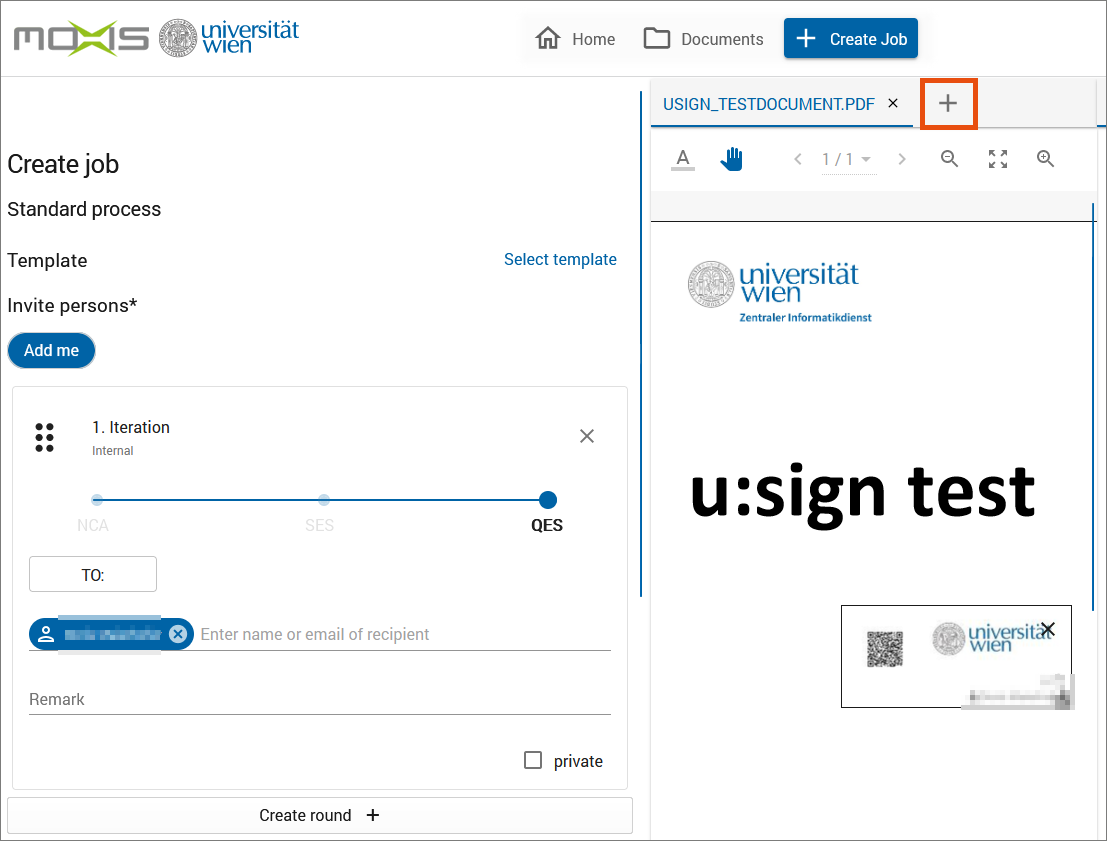
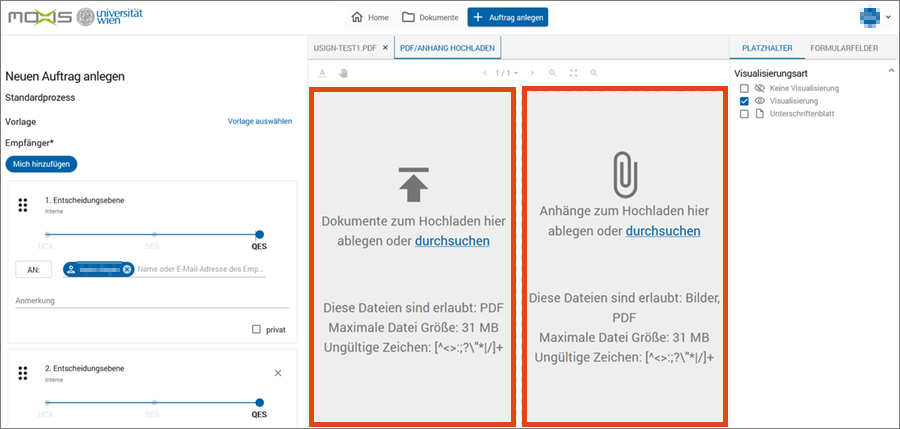
Click on the plus sign to add more documents to be signed in the same job:
- Select the left field with the upload sign to upload up to 14 additional documents for signature.
- Select the right field with the paperclip sign to include up to 15 attachments that are for information only but will not be signed.
Place signature block
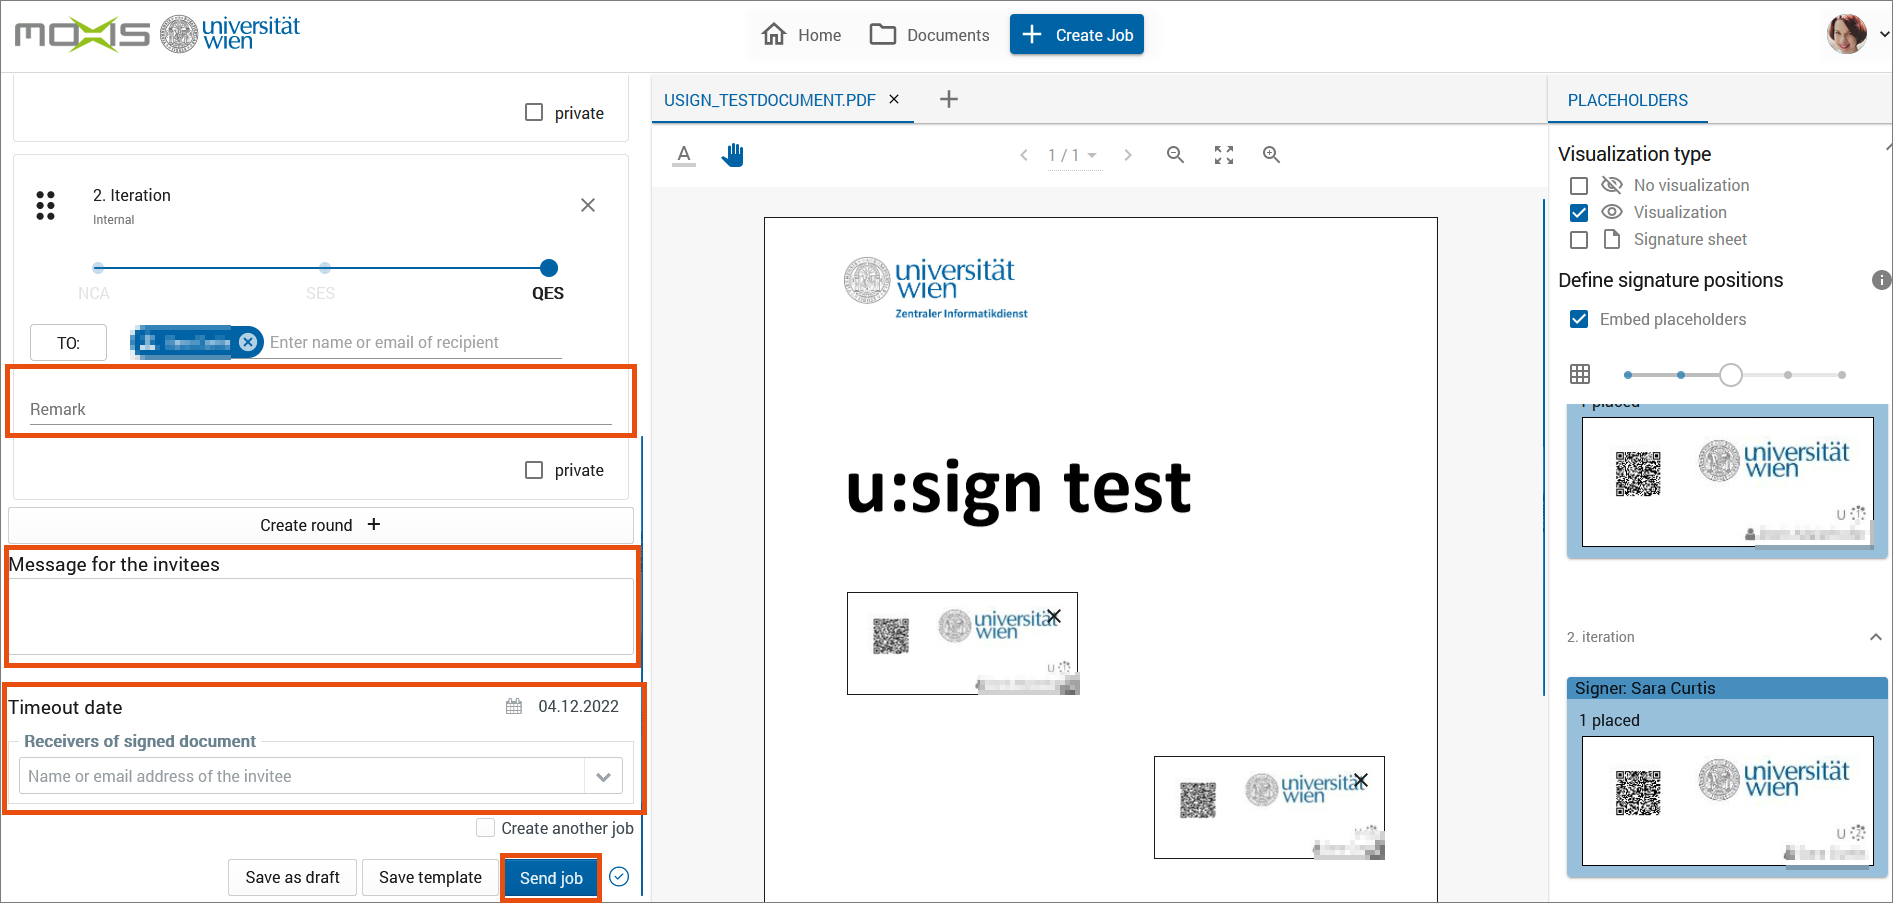
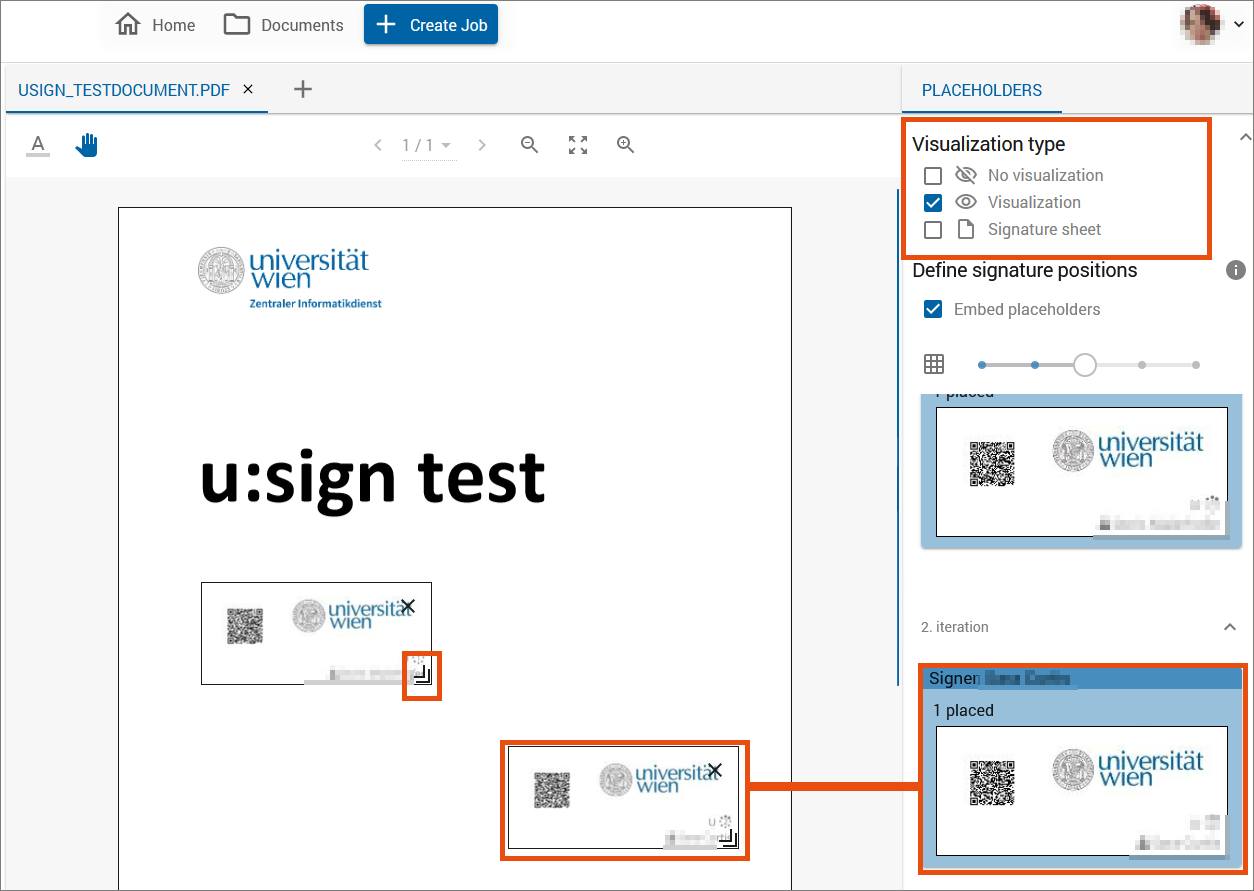
You will find a signature block in the right-hand column for all the signatories entered. Click and drag each signature block onto the document and place it where you want it.
You can enlarge or reduce the size of each signature block. To do this, click and drag the icon in the bottom right corner.
If there is not enough space on the document, you can either select No visualization under Visualization type to not use placing, or use Signature sheet to generate an additional page on which to place the signatures.
Repeat the process for each document in the job that needs to be signed.
Complete job
- Use the Remark field to tell the signatories of a decision level something.
- In the field Message for the invitees, you can optionally enter information that you would like to share with all signatories.
- If necessary, you can change the automatically set Timeout date. Up to this set date, the recipients can complete the signatures.
- If you want the fully signed document to be sent automatically, enter the recipient in the free text field. You can also enter your own e-mail address.
Now you can start the signing process. Click on Send & Sign if you are a signatory of the 1st decision level, or on Send job. The signatories of the 1st decision level will be informed by e-mail.