Microblogging
This user guide explains how to use the microblogging function in u:wiki, the wiki of the University of Vienna.
What is microblogging?
If the microblogging macro is integrated into a u:wiki page, users can write comments and enter into a discussion directly in the text. The advantages compared to the conventional comment function:
- Microblogs are integrated directly at the text passage that is to be discussed.
- It is possible to have several comment threads on the same topic.
- You can search comments in the microblog.
- You can like comments.
- Users can receive notifications if a new comment has been published.
Only for administrators: Activating a microblog and creating a topic
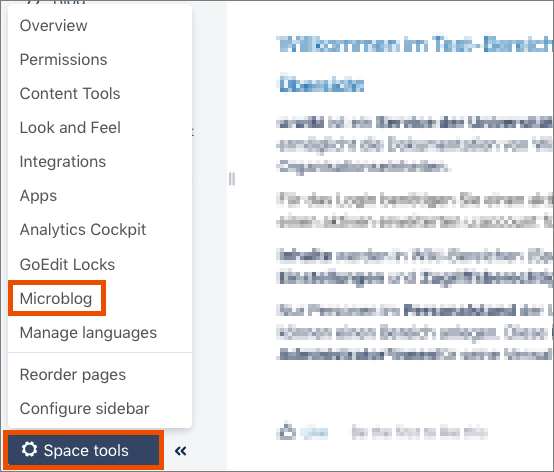
Only the administrator can activate microblogging for a wiki space. To do so, click Space tools at the bottom left and select Microblog.
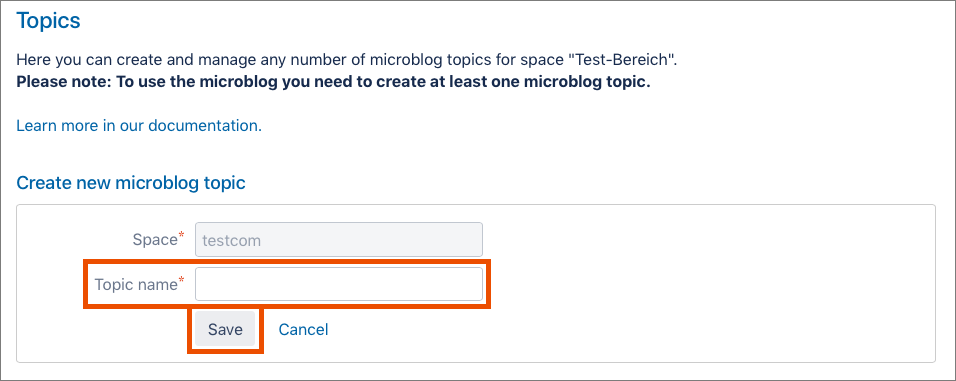
In the dialog window, you can create a new microblog topic for the wiki space. Then, click Save.
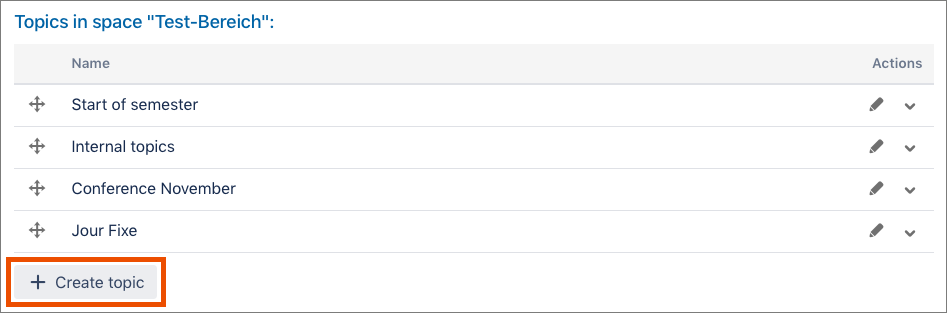
Below you find a list of all topics for which a microblog already exists in this wiki space. By clicking the + Create topic button you can also create a new topic.
Creating and integrating a new microblog
In edit mode, go to the point on the page where you want to insert the microblog.
Click the + symbol (Insert more content) and select Other macros at the very bottom.
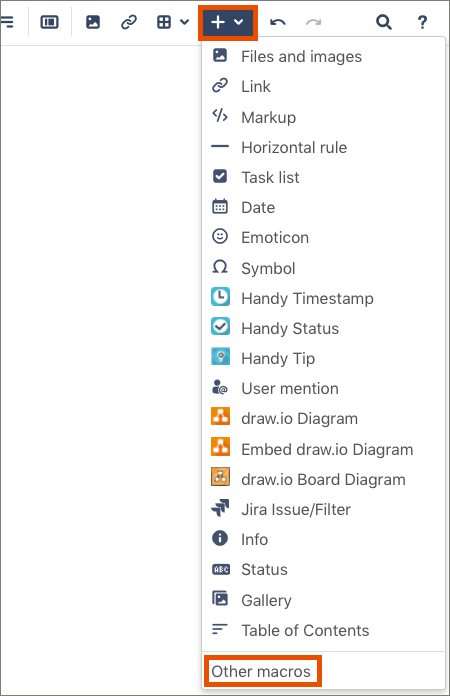
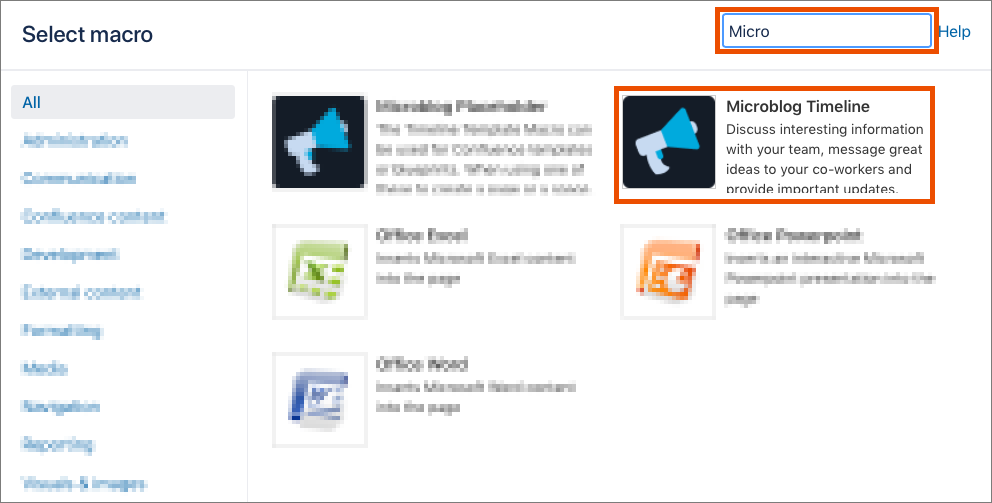
Search for Micro using the search box on the right and select Microblog Timeline from the results.
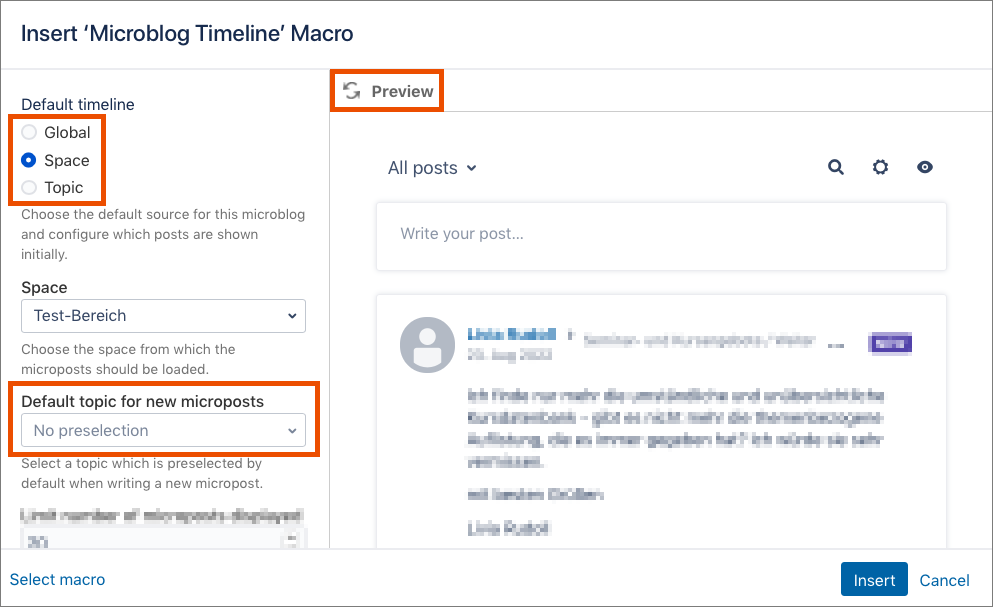
In the next window, you can adjust the settings in the left column. On the right, you will see a preview of the settings. By clicking Preview, you can update the display.
Under Default timeline, you can select which posts will be loaded and displayed to users:
- Global: all microblog entries from u:wiki, independent of space and topic
- Space: all microblog entries from the current space, independent of topic
- Topic: all microblog entries from the selected topic
For the options Global and Space, you can also select whether a topic should be chosen as the Default topic for new microposts.
You can select the following additional settings for the new microblog:
- Limit number of microposts displayed
- Limit number of replies displayed
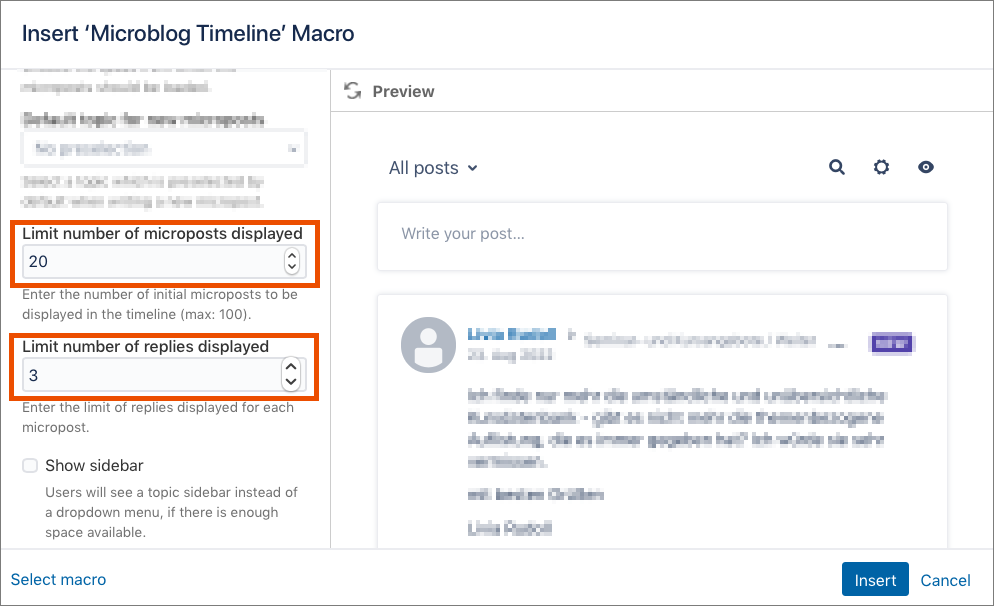
When you have adjusted all settings, click Insert. The microblog will then be added to the page.
In edit mode, only a placeholder will be displayed. Only after the page is updated and thus saved, the microblog will be displayed.
Creating a microblog entry
To create a microblog entry, click directly into the free text field (Write your post…) and write your post.
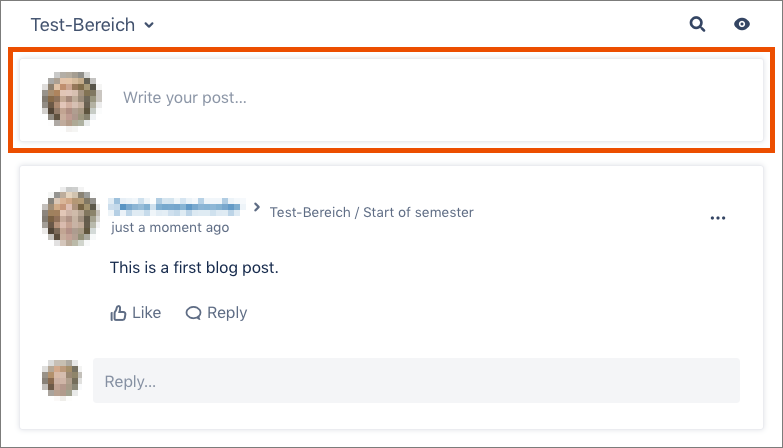
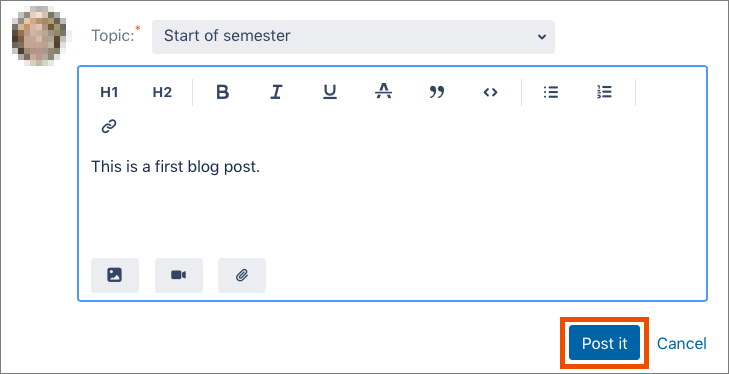
You can use simple formatting and insert images and links. You can also change the topic for the post (only applies to this post).
Click the Post it button to publish the post.
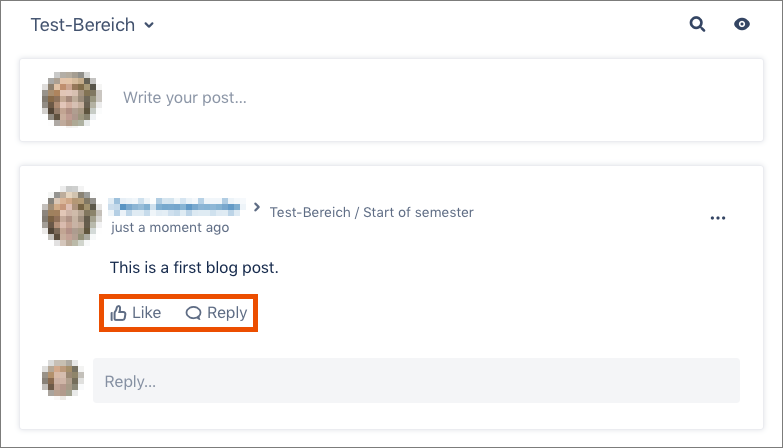
Reacting to a microblog entry
You can like an entry (click Like) and answer with a reply (click Reply).
Editing or deleting a microblog
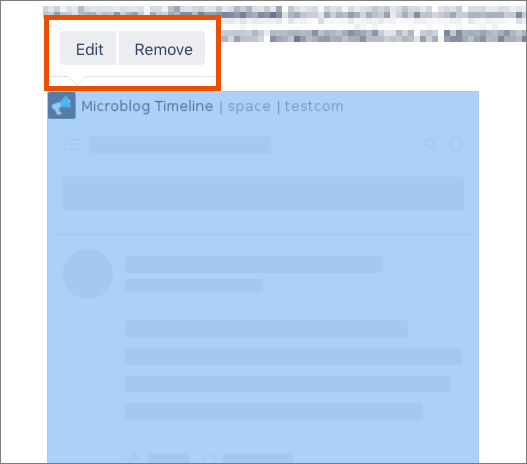
IIn the edit mode of the wiki page, you can edit the microblog settings or delete an entire microblog after publishing it.
To do this, click the microblog placeholder. It is highlighted in blue. Then, select either the Edit button or Remove button.
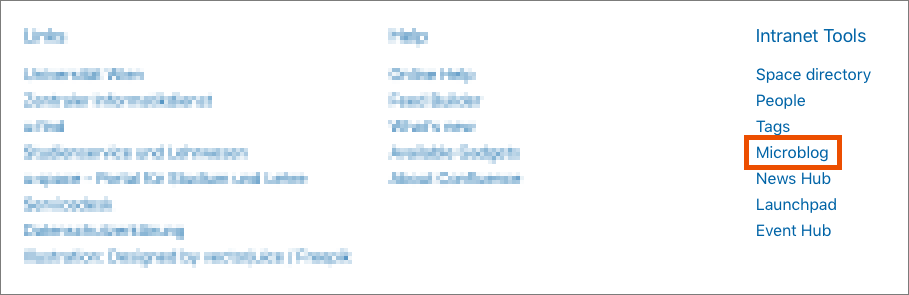
Viewing all microblog entries
You can view all entries by clicking the Microblog button in the navigation bar.