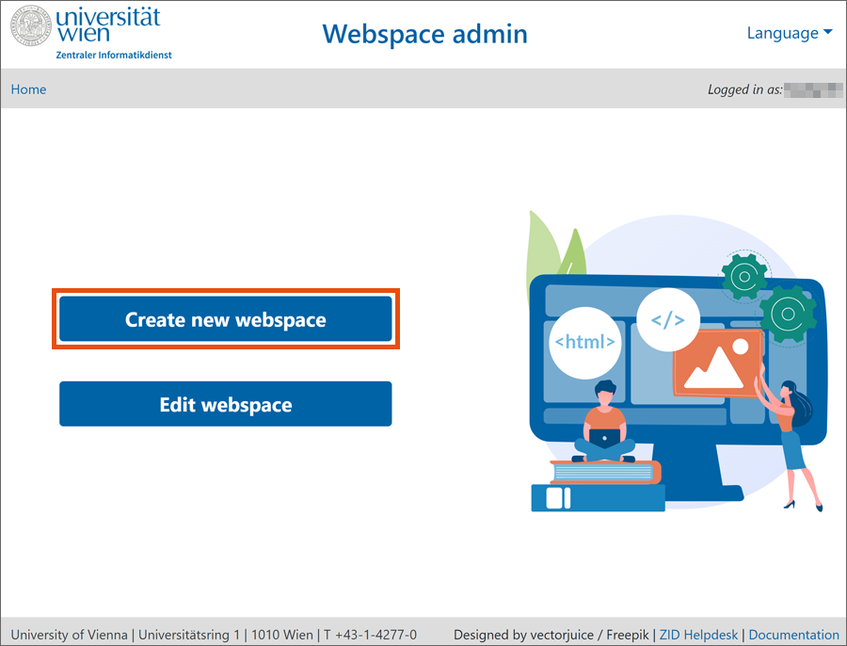
Creating webspace with installed WordPress
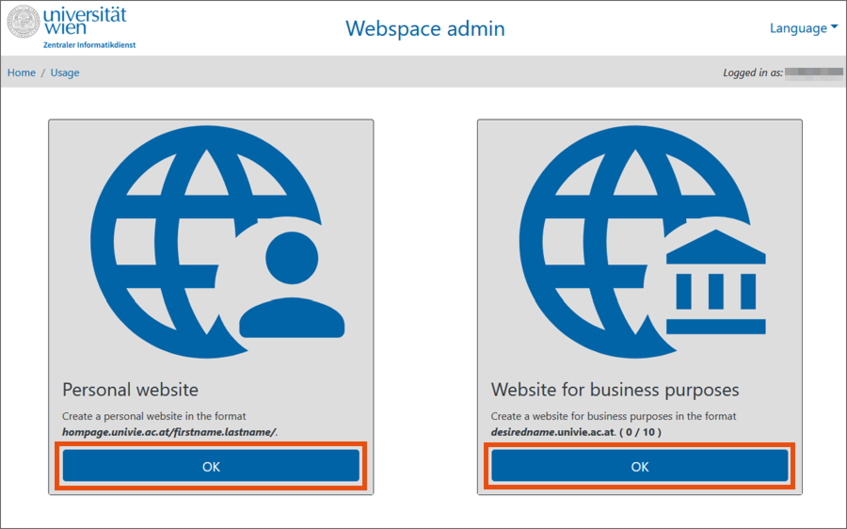
Specify whether you would like to create a personal website or a website for business purposes and click OK.
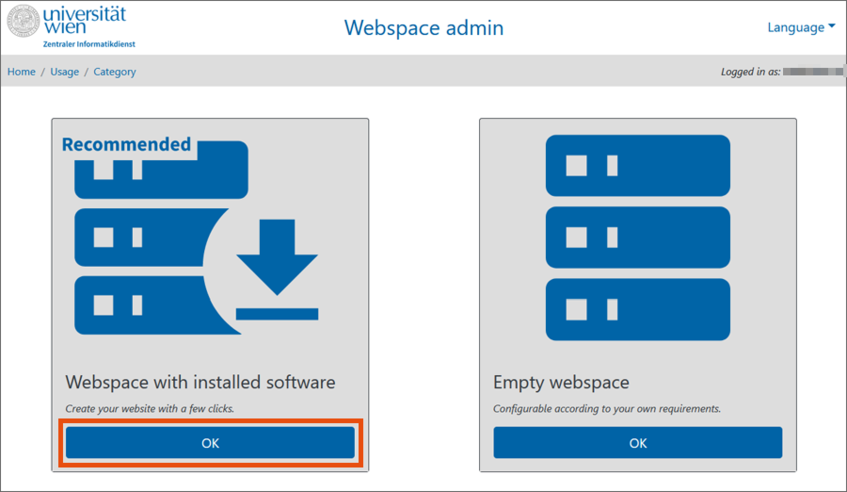
Select webspace with installed software and click OK.
Select WordPress and click OK.

Enter the following data on the next page at Creating a personal website / Create webspace:
- Webspace title: required field. The title will be used to administer the webspace; external users will not see it.
- German description: optional. External users will not see your webspace’s German description.
- English description: optional. External users will not see your webspace’s English description.
- Organisational unit (OU): will be displayed automatically. If you are a member of several organisational units, select to which one to assign your webspace via the drop-down menu.
- Accept the guidelines for publishing and operating websites at the University of Vienna by activating the checkbox.
Click Save.

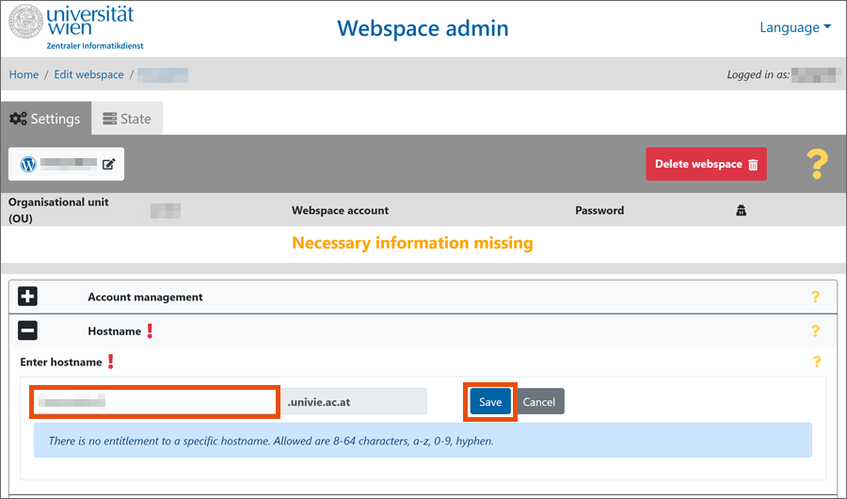
You will automatically be forwarded to an overview page. If applicable, you will be asked to enter missing data. A red exclamation mark indicates that information is missing.
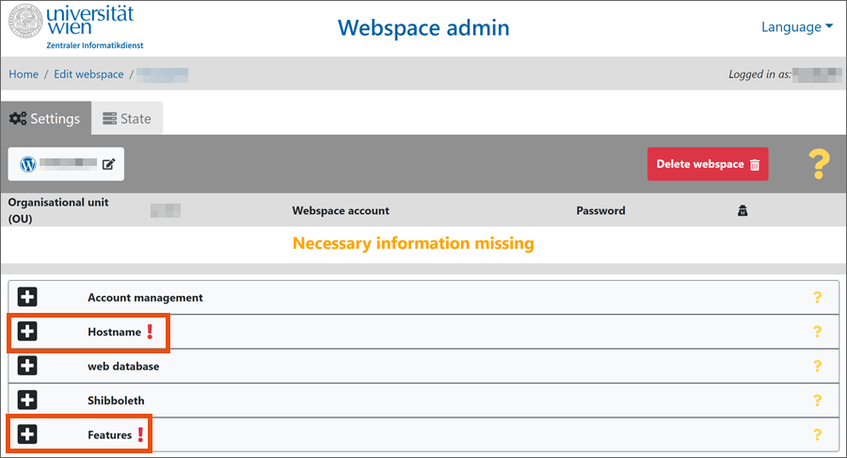
Click the plus symbol to open the respective entry.
- Account management: Further u:accounts can be optionally added as administrators or users here. To do so, enter the respective u:account UserIDs separated by commas.
Administrators can edit the webspace admin form; users have read-only access. Both can access WordPress administration. - Hostname: For webspace for business purposes, you have to define one (or several) hostname(s) via which the website will be accessed. If you are the IT representative of an organisational unit to which further DNS domains have been assigned, you can select the domain you wish to use via the drop-down menu. For personal webspace, no hostname needs to be entered as the URL is fixed: https://homepage.univie.ac.at/firstname.lastname/ or https://homepage.univie.ac.at/u:account userID/
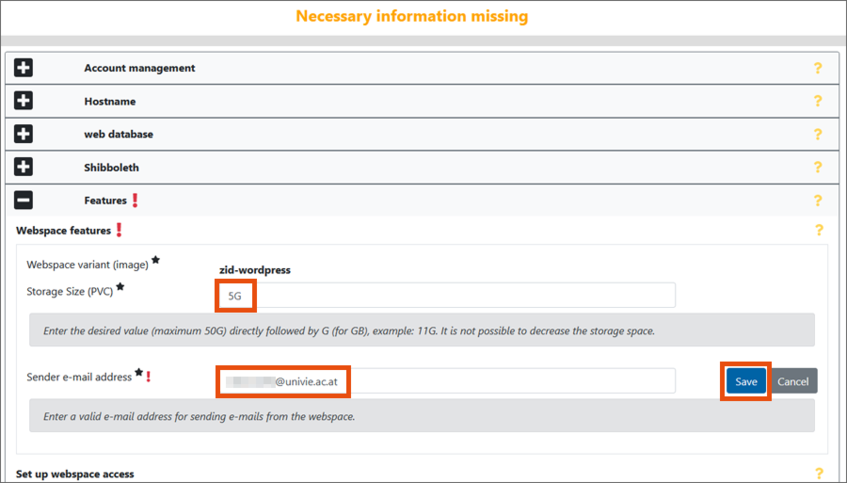
- Features: If necessary, you can increase your storage space here. For webspace for business purposes, enter a valid e-mail address of an administrator at Sender e-mail address. Messages automatically generated by the webserver (e.g. error messages) will be sent to this e-mail address. It will also be used as the standard sender address unless a different sender address is indicated by the sending software.
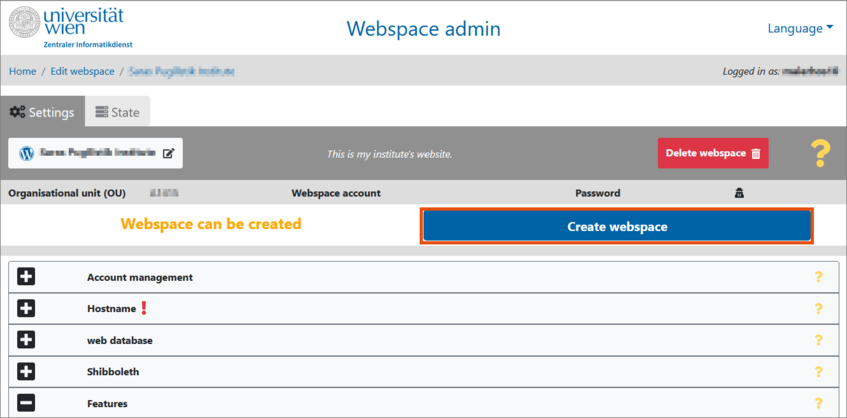
Once the required information has been entered, you can complete the process by clicking Create webspace.
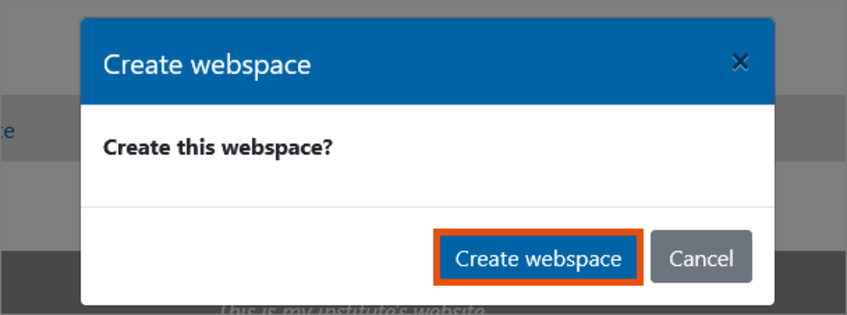
Click Create webspace in the following pop-up window to start the automatic setup process. It can take some time for the webspace to be created.
Once the process has been completed, the status message Information created will be shown.
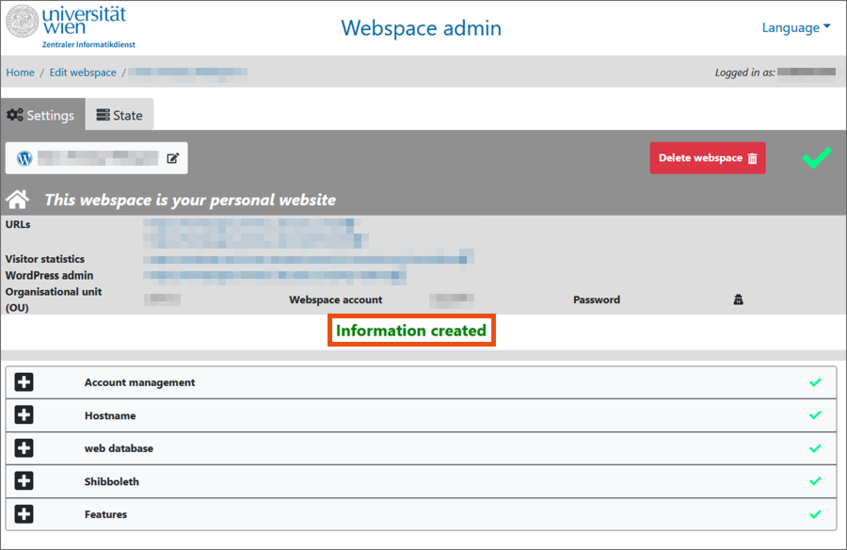
The website can then be accessed via the following web addresses:
- Personal website:
https://homepage.univie.ac.at/firstname.lastname/ - Website for business purposes:
https://hostname.univie.ac.at