Backup data
These user guides will help you to back up data on your Mac on servers of the University of Vienna.
To do so, follow the instructions for installing and configuring the backup software beforehand.
Note
The IBM Storage Protect backup software used by the ZID is abbreviated as ISP in these user guides.
Creating a backup
Note
- The ZID takes no responsibility for a successful backup. With all of the above variants of data backup, you are responsible for whether a backup runs successfully or not. We therefore recommend that you check the log files regularly so that you can identify and repair any errors in due tim
- You can find the log files (dsmerror.log, dsmsched.log, dsminstr.log, dsmj.log) by default under:
/Library/Logs/tivoli/tsm
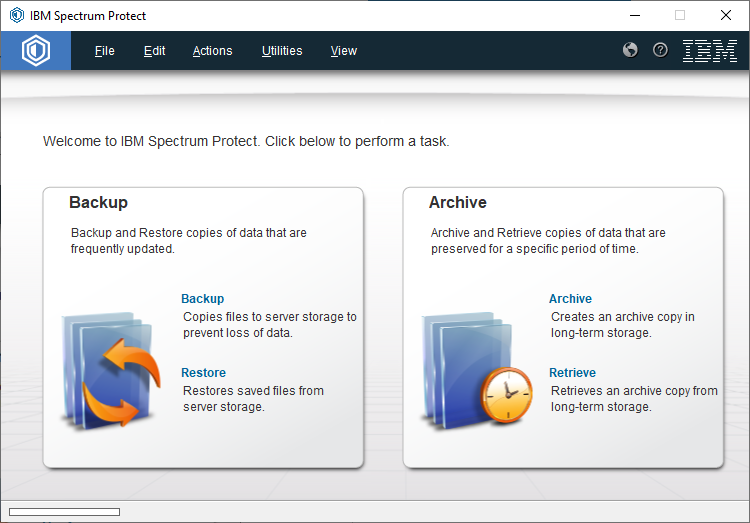
Creating a backup manually via GUI
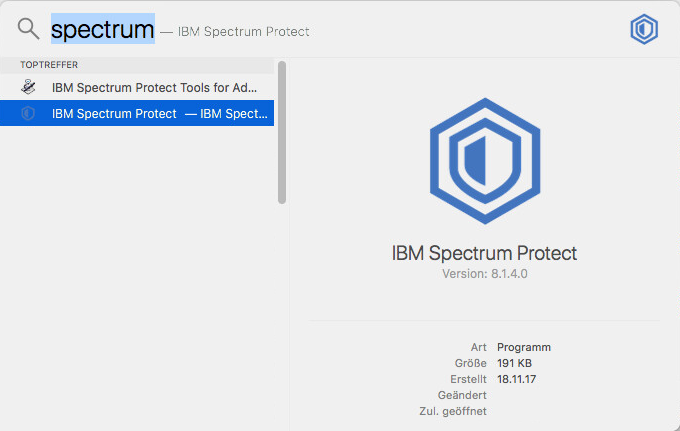
Open the ISP desktop program by searching for storage in the spotlight search (CMD + space bar). Then run the program IBM Storage Protect.
Click on the word Restore.
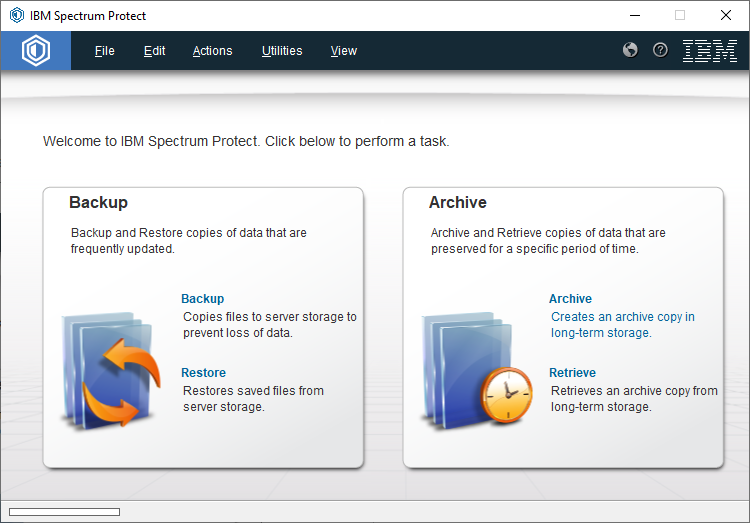
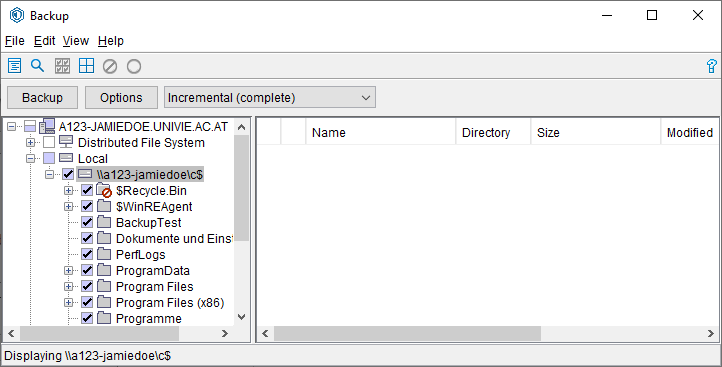
In the next window, under your account name and Local select the file system or folder you would like to save. Confirm with Backup.
Creating a backup automatically via cron job
To create a backup at regular intervals, you can add the command to start the backup to the cron job. Since several backup jobs should ideally not run at the same time, the backup is only started with the following syntax if the dsmc process is not running.
pgrep ^dsmc$ || dsmc incremental
For example, to start a backup every day at 16:05 and to save the output in log files, the line in the cron job (of the root user) is as follows:
05 16 * * * pgrep ^dsmc$ || /usr/local/bin/dsmc incremental 1>/Library/Logs/tivoli/tsm/dsm.log 2>/Library/Logs/tivoli/tsm/dsmerror.log
Creating an automatic backup via Scheduler
In addition to the automatic backup method via cron job, there is also the option of defining a time window for the backup node.
A backup window extends over 2 hours in which, depending on the server load, the backup is started regardless of tis total runtime. An exact start time cannot be specified with this variant.
To configure this automatic backup option, you first have to
- set up the Scheduler service as explained in the user guides of the IBM website and
- make sure that the password is saved when logging in to the backup client again.
If not already specified when registering and you have already set up the scheduler, fill out the Servicedesk form Zentrales Backup (Central backup, in German) with the request to set up a scheduler for your node and the desired backup window. Possible backup windows are: 00:00–02:00, 02:00–04:00, 04:00–06:00 … 22:00–24:00.
As soon as the backup window has been set up, your backup node will automatically back up the data you have selected in the selected time.
After the first run, you should use the log files to check whether a backup was created successfully. The log files (dsmerror.log, dsmsched.log, dsminstr.log, dsmj.log) can be found under /Library/Logs/tivoli/tsm/.
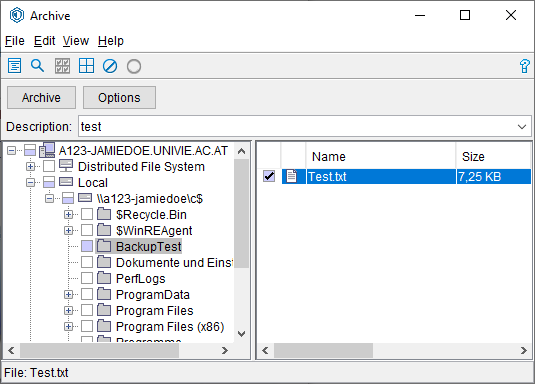
Creating an archive
In additon to normal backups, there is the option of backing up so-called archives. These archives are backed up on the University of Vienna's servers for a longer period of time - the exact deadlines can be found on the website of the central backup.
Open the ISP desktop program by searching for storage in the spotlight search (CMD + space bar) and starting the program IBM Storage Protect.
On the right side, select the blue word Archive.
In the left and the right window you can now select the folders or files you want to backup for a longer period of time.
Additionally, give the archive a meaningful name in the field Description (e.g. YYYYMMDD_testarchive).