Android
These user guides will help you to set up an IMAP account on your Android smartphone to send and receive e-mails with your e-mail address of the University of Vienna.
The configuration could vary between the different versions.
Note
If at some point during the configuration process of the SMTP server you receive an error message, the ZID recommends to use an alternative e-mail app.
Requirements
- A valid u:account userID and password
- Installed and operating internet connection
Configure Gmail app
Open the Settings of the Android operating system.
Open Accounts.

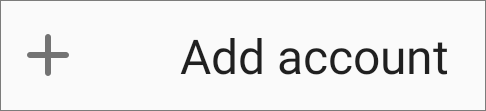
Scroll down and press Add account.
Press Personal (IMAP).

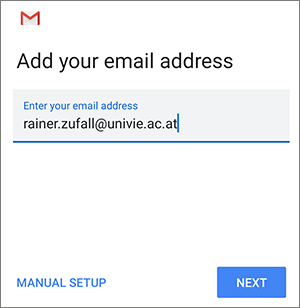
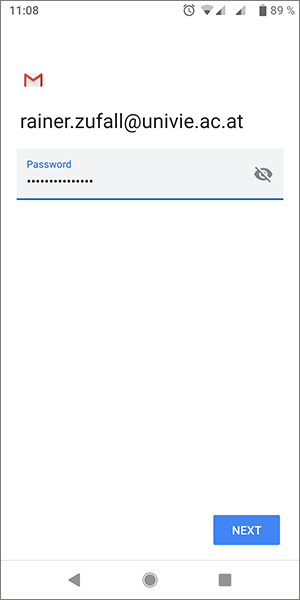
Type in your e-mail address and press NEXT.
Type in your u:account password and press NEXT.
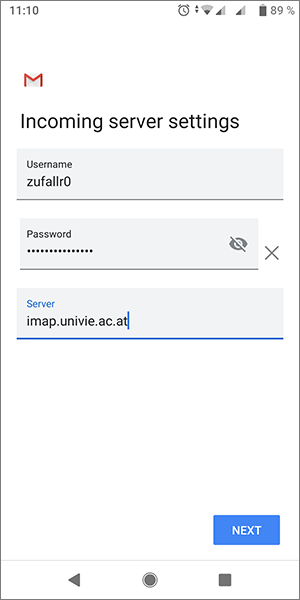
In Username type in your u:account userID and in Server type in imap.univie.ac.at. Press NEXT.
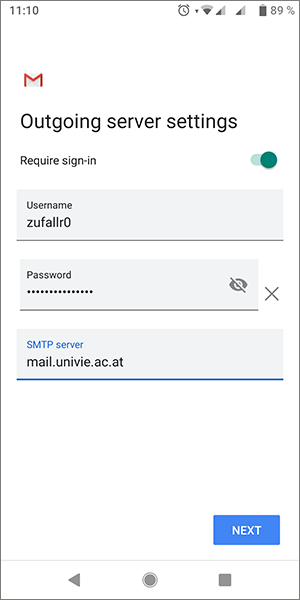
In Username type in your u:account userID and in Server type in mail.univie.ac.at. Press NEXT.
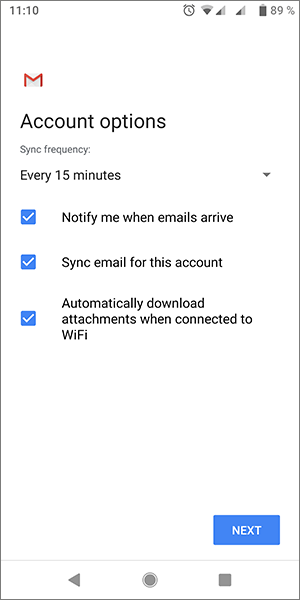
In Sync frequency you can optionally set how often the server should download new e-mails. Or keep the standard settings and press NEXT.
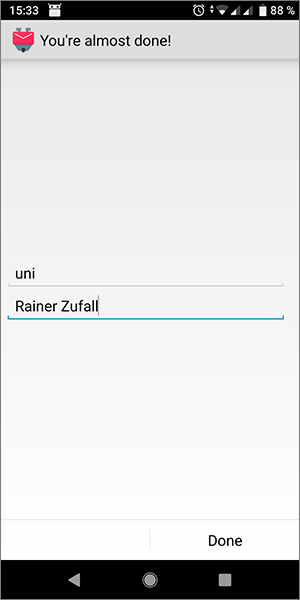
In Your name type in your name and press NEXT to finish the configuration.
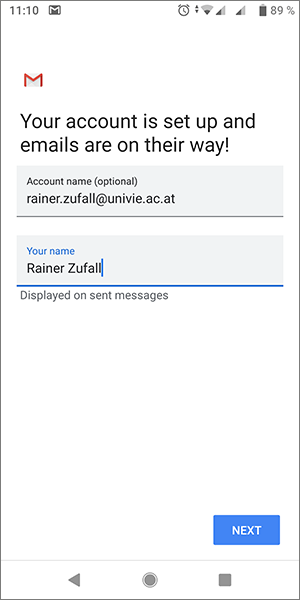
You can now receive your e-mails with the Gmail app.

Configuring K-9 Mail App
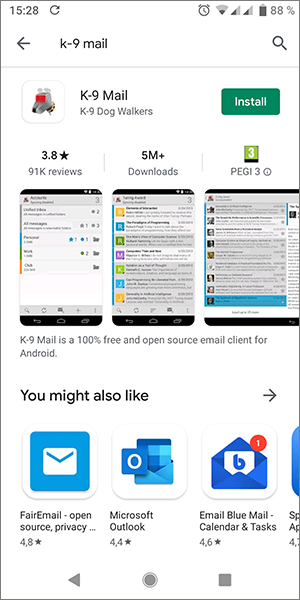
As an alternative to the Gmail app you can also use the K-9 Mail App to receive e-mails on your Android device.
To install the app, open the Play Store and search for K-9 Mail. Press Install.
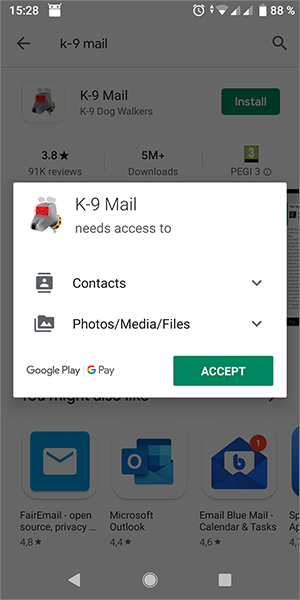
In access rights press ACCEPT.
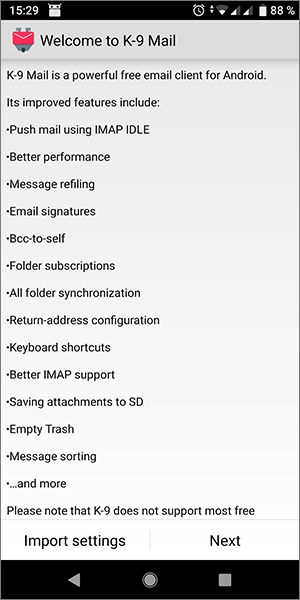
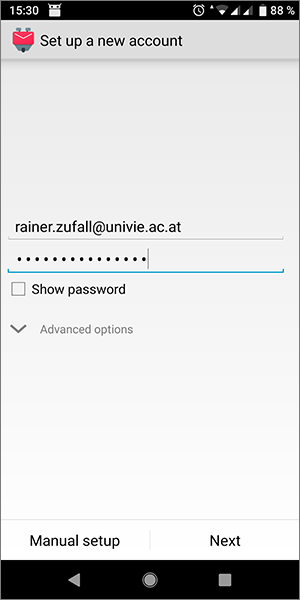
Open the K-9 Mail app and press Next in the welcome message.
Type in your e-mail address and your u:account password. Press Next.
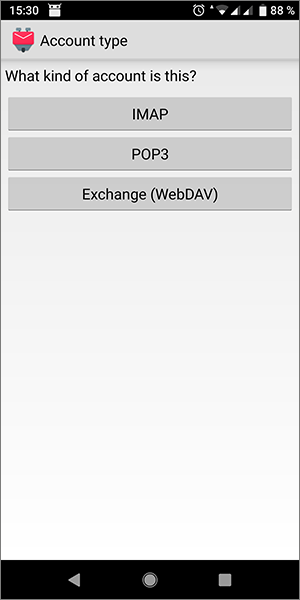
Select IMAP.
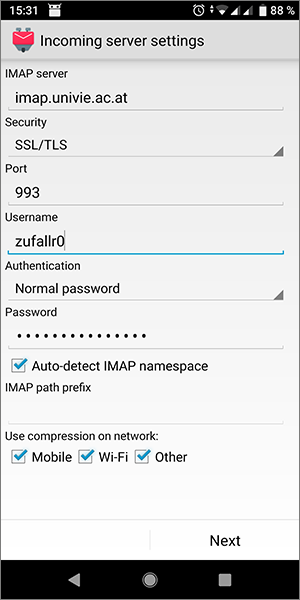
In Incoming server settings type in the following details:
- IMAP Server:
imap.univie.ac.at - Security: SSL/TLS
- Port: 993
- Username: Your u:account userID
And press Next.
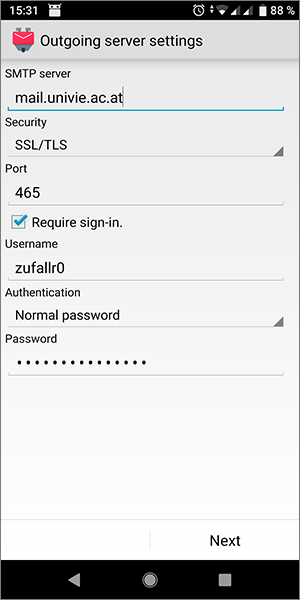
In Outgoing server settings type in the following details:
- SMTP Server:
mail.univie.ac.at - Security: SSL/TLS
- Port: 465
- Username: Your u:account userID
And press Next.
In Account options you can optionally set how often the server should download new e-mails. Press Next.

In the first row type in any name for your e-mail inbox. In the second row type in your name. Press Done to finish the configuration.