Backup data
These user guides will help you to back up data on your Windows computer on servers of the University of Vienna.
To do so, follow the instructions for installing and setting up the backup software beforehand.
Creating a backup
Note
- The ZID takes no responsibility for a successful backup. With all of the above variants of data backup, you are responsible for whether a backup runs successfully or not. We therefore recommend that you check the log files regularly so that you can identify and repair any errors in due time.
- You can find the log files (dsmerror.log, dsmsched.log, dsminstr.log, dsmj.log) at:
C:/Program Files/Tivoli/TSM/baclient
Creating a backup manually via GUI
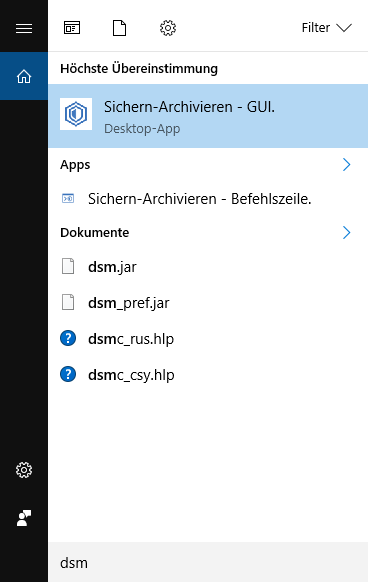
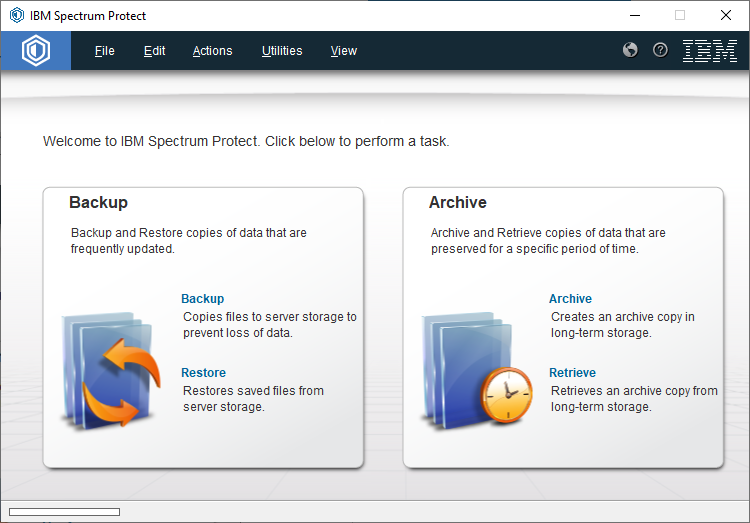
Open the ISP desktop application by searching for dsm in the Windows search box and then invoking the Backup archive GUI programme (Sichern-Archivieren - GUI.)
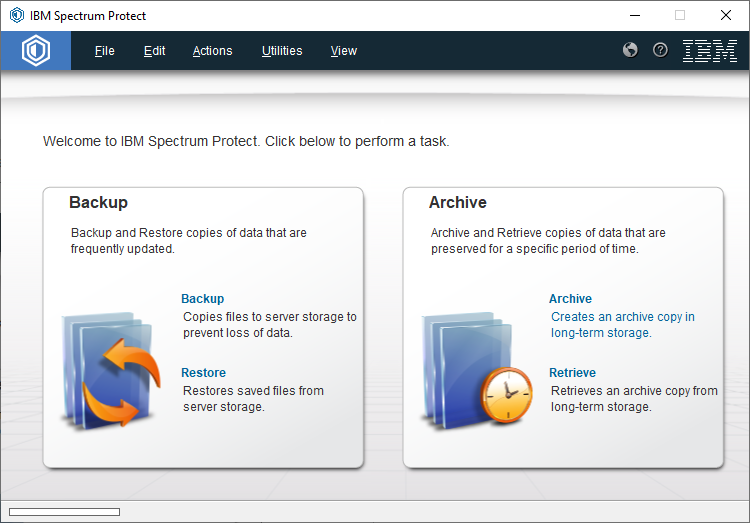
In the middle of the left half, click on the word Backup in blue.
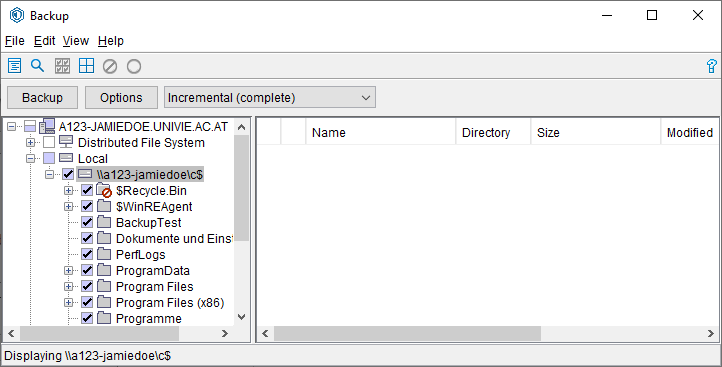
From the file tree on the left, under your account name and local, select the file system or folders that you want to back up. Then click the Backup button.
Creating a backup automatically via script
In addition to the manual backup method, there is also the option of starting the backup automatically via a script and saving the transfer information in a log file that you have defined.
To do so, download the following sample script with a right-click and Save the link as ...: Backup.cmd
You can also adjust the script to your needs at any time by right-clicking and editing. Help on the individual commands is noted in the script in the text after ::.
The program is started with a double-click and initiates an incremental backup for the file systems or folders that you defined in one of the previous steps.
If the log file with the name backup.log (which is stored by default in your user folder under Documents) is empty, you may have to start the backup script as an administrator. First test that the script is backing up data properly before continuing with the next steps.
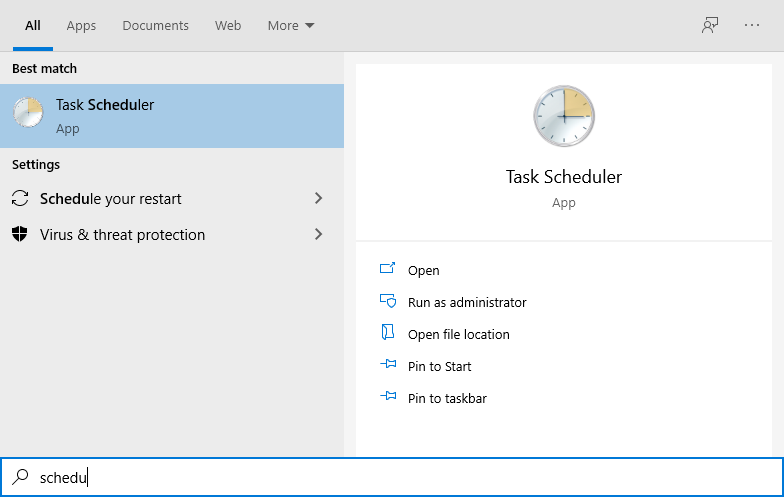
Access Task Scheduler by searching for Task Scheduler using the Windows search box.
Click on Create a basic task and give it a meaningful name and, if necessary, a description.
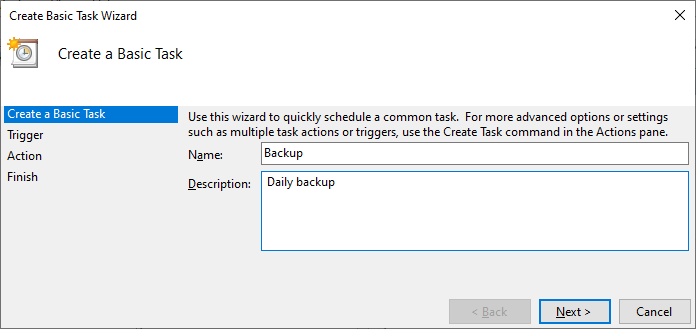
- Click on Next.
- For the point Trigger choose an interval that is optimal for you – e.g. daily.
- Click Next and enter the start date and time.
Note that the PC must be switched on at this time so that the backup can be carried out. - Under Start Program, enter the path under which you have saved the script
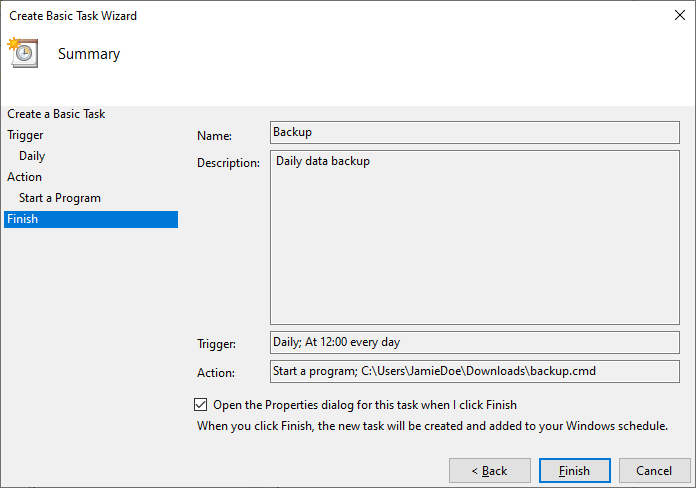
- Click Next.
- Activate the check mark next to Open the Properties dialog for this task when I click Finish.
- Click Finish.
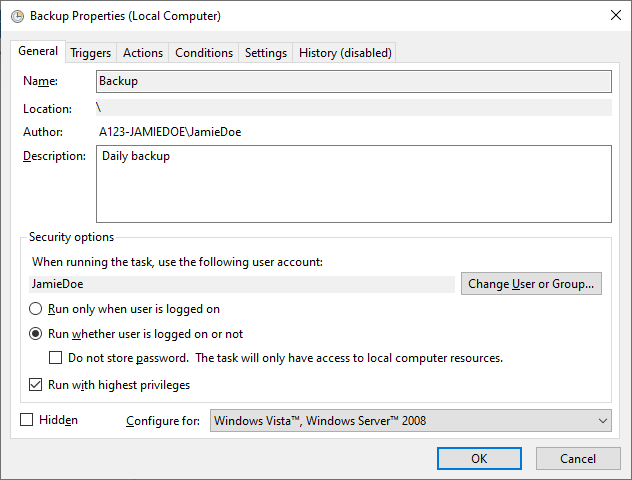
In the properties window, select the item Run whether user is logged on or not and, if necessary, Run with highest privileges if the current user under whose context the script is executed does not have administrator rights.
Then confirm with OK.
Creating backup automatically via Scheduler
In addition to automation using a script, there is also the option of defining a time window for a backup node.
A backup window extends over 2 hours in which, depending on the server load, the backup is started regardless of its total runtime. An exact start time cannot be specified with this variant.
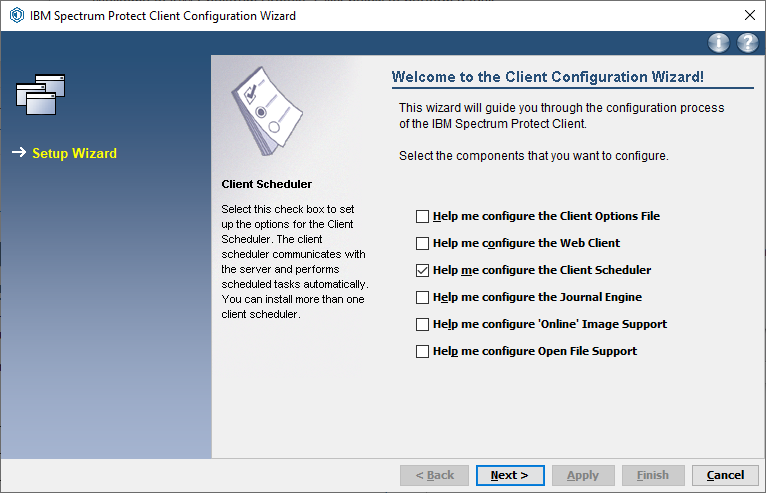
To configure this type of automated backup, you must set up the scheduler service after the ISP client has been successfully installed:
- In the client, click Utilites – Setup Wizard – Help me configure the Client Scheduler and follow the instructions.
- Under Logon options, select the Automatically when Windows boots check box to ensure that the service is always running as long as the computer is switched on.
- Under Start option select Yes.
For this type of automated backup, you must ensure that the password is saved when you log on to the backup client again.
If not already specified when registering and you have already set up the scheduler, fill out the Servicedesk form Zentrales Backup (Central backup, in German) with the request to set up a scheduler for your node and the desired backup window.
Possible backup windows are: 00:00–02:00, 02:00–04:00, 04:00–06:00 … 22:00–24:00.
As soon as the backup window has been set up, your backup node will automatically back up the data you have selected in the selected time.
After the first run, you should use the log files to check whether a backup was created successfully. The log files (dsmerror.log, dsmsched.log, dsminstr.log, dsmj.log) can be found in a standard installation under C:\Program Files\Tivoli\TSM\baclient.
Creating an archive
In additon to normal backups, there is the option of backing up so-called archives. These archives are backed up on the University of Vienna's servers for a longer period of time - the exact deadlines can be found on the website for the central backup.
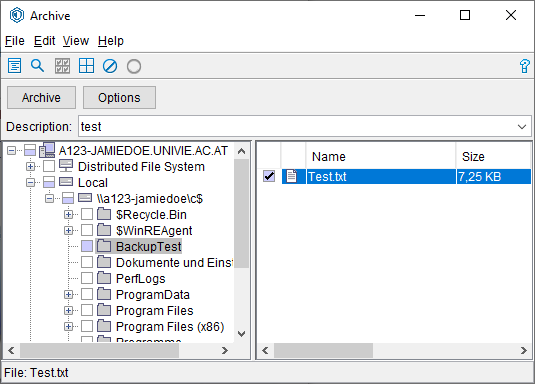
Open the ISP desktop application by searching for dsm in the Windows search box and then starting the Backup - Archive - GUI program.
On the right side, select the blue word Archive.
In the left and the right window you can now select the folders or files you want to backup for a longer period of time.
Additionally, give the archive a meaningful name in the field Description (YYYYMMDD_testarchive).