Creating an event and calendar
This user guide will help you to create events on your website using the news plug-in.
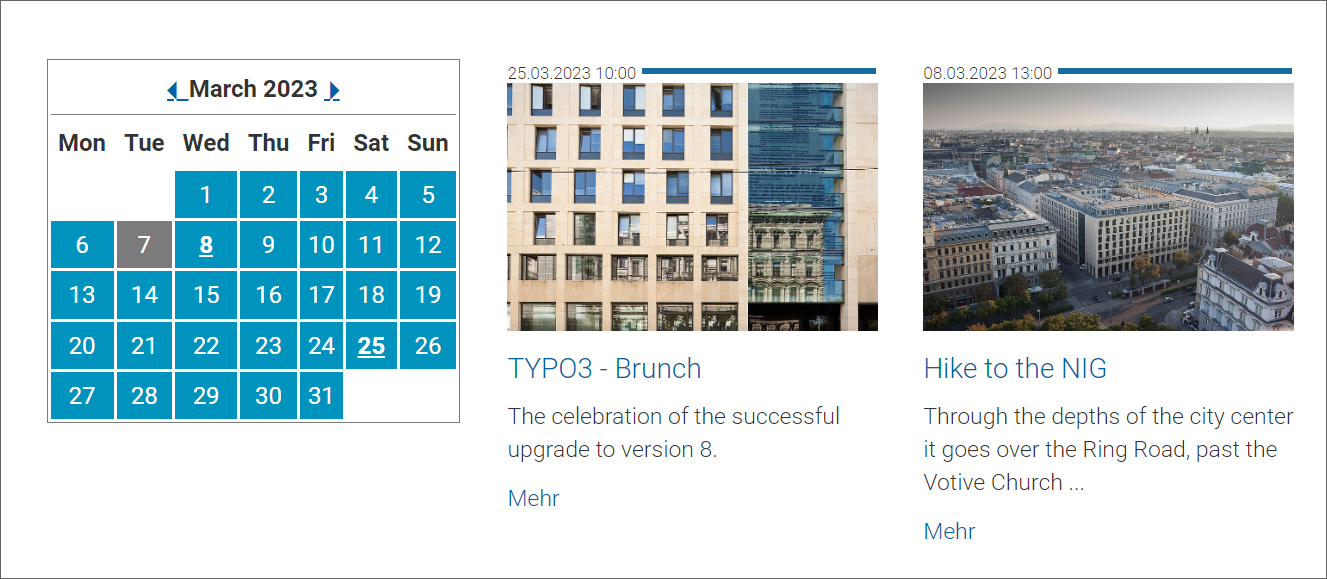
The management of events works like the news. In the following example, instead of the list view, a calendar with a monthly view is displayed as well as the events taking place in this month.
Creating monthly view
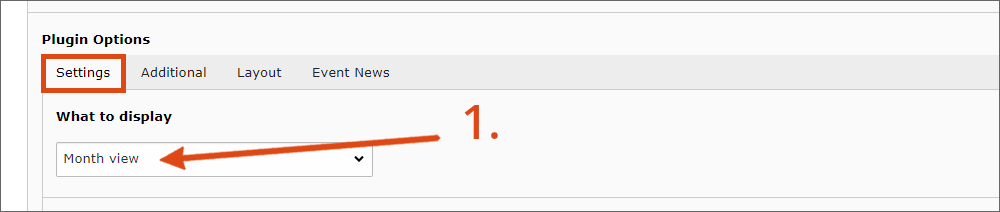
Make the following settings in the plug-in settings to show the calendar in the frontend:
- In the page element, select the output mode Month view instead of list view.
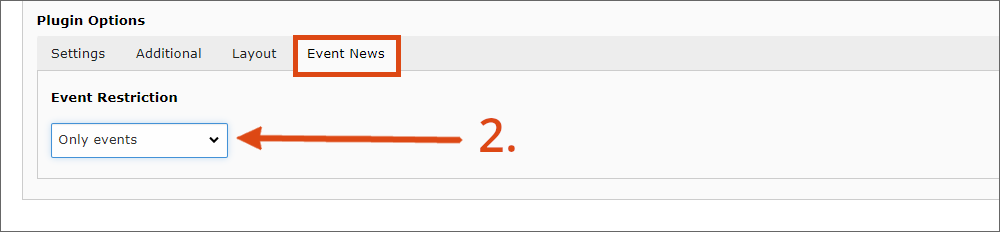
- Go to the Event News tab and select Only events in the drop-down Event Restriction.
In the frontend, the days for which an event exists are displayed in bold in the monthly view. After clicking on a day, only events of this date are displayed. When the page is opened for the first time, all events are displayed.
Note
For the monthly view to work properly, the news must be designated as an event, see the following section.
Creating event
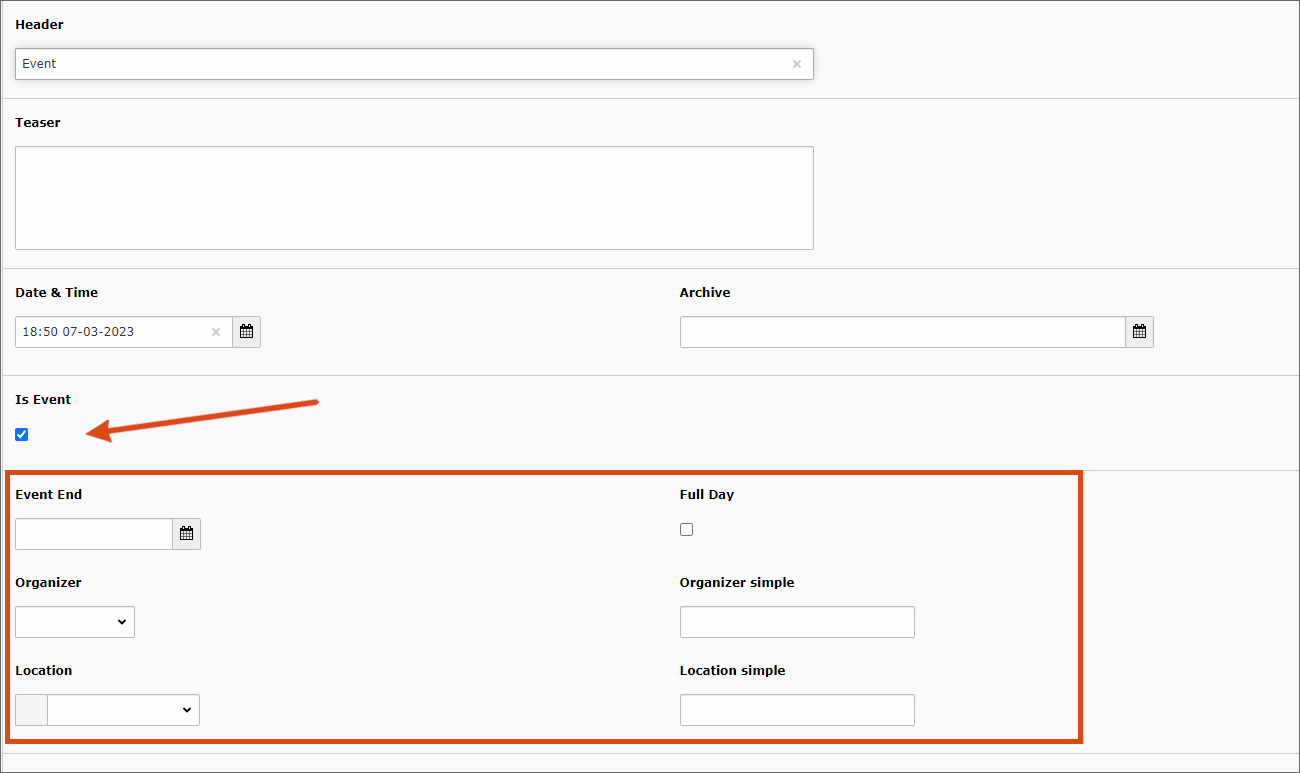
- To create events, also use the News article content element, but activate the Is Event checkbox right at the beginning.
- You get additional setting options after confirming the pop-up window with OK: Add date and time in the Event End field or activate the corresponding checkbox for an all-day event.
- You can directly fill in the field statically for the Organiser and the Location.
Alternatively, you can create your own data records, which are then available for all events via the drop-down. If, for example, an organiser or location is used repeatedly, it is advisable to save these as data records. You then do not have to re-enter this data each time, or should changes occur, you only have to adjust one data record.