Creating a staff list
This user guide will help you to create an automated staff list on your website using data from u:find and u:cris. You can use it to display a list of people and individual views of them.
Use the Univie staff list plug-in in the Plugins tab to create a list or individual view.

Creating a list view
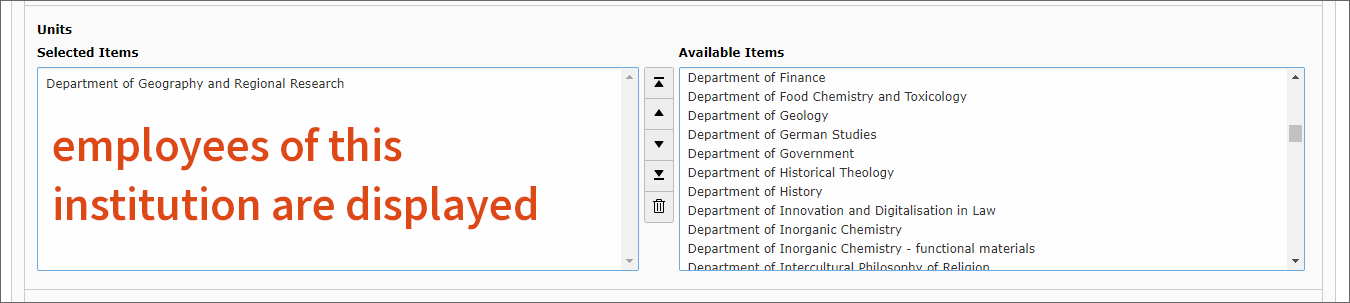
The Univie staff list plug-in gets its data directly from u:find. You can select the organisational unit(s) you want to display and then set restrictions.
Note
Since the data between u:find and TYPO3 are not updated alike,
- New employees appear in the backend only after 1 to 2 days.
- It takes 1 to 2 weeks for a deleted entry to disappear from the website.
Applying restrictions
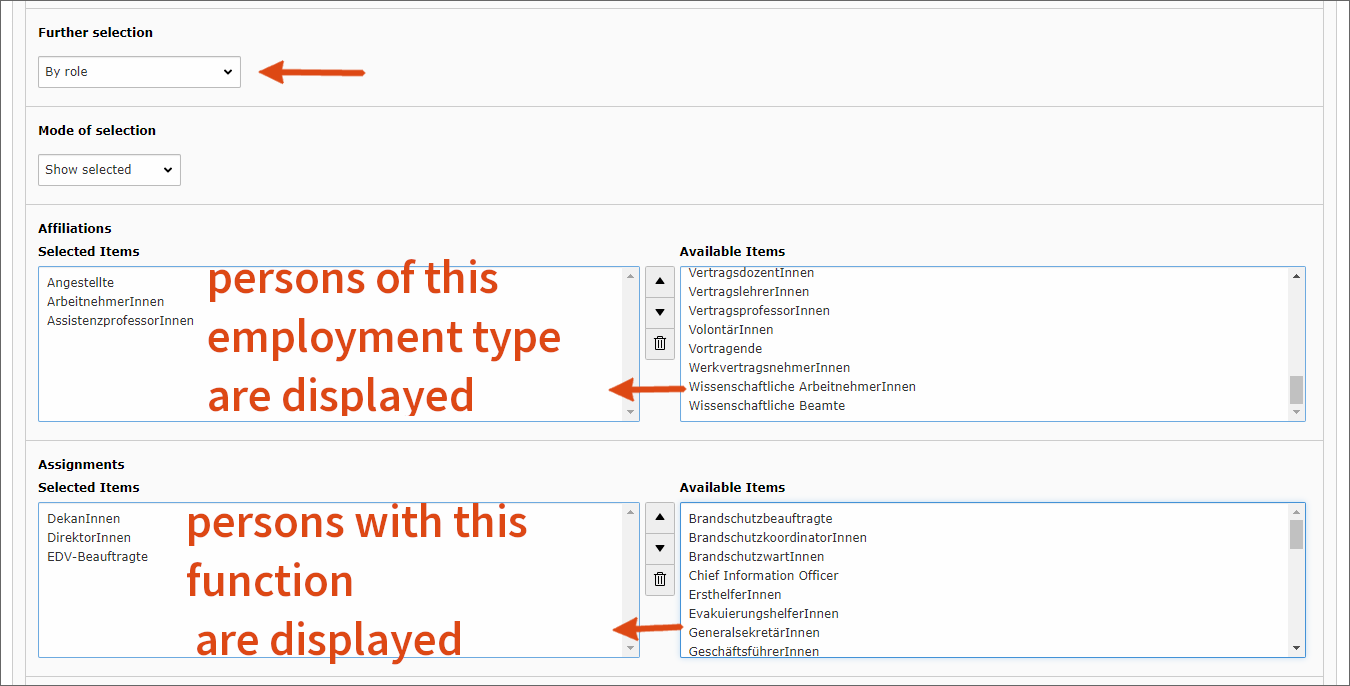
You can make restrictions according to employment or functions. Alternatively, you can manually select individuals from the staff list.
By employment or function:
Individuals:
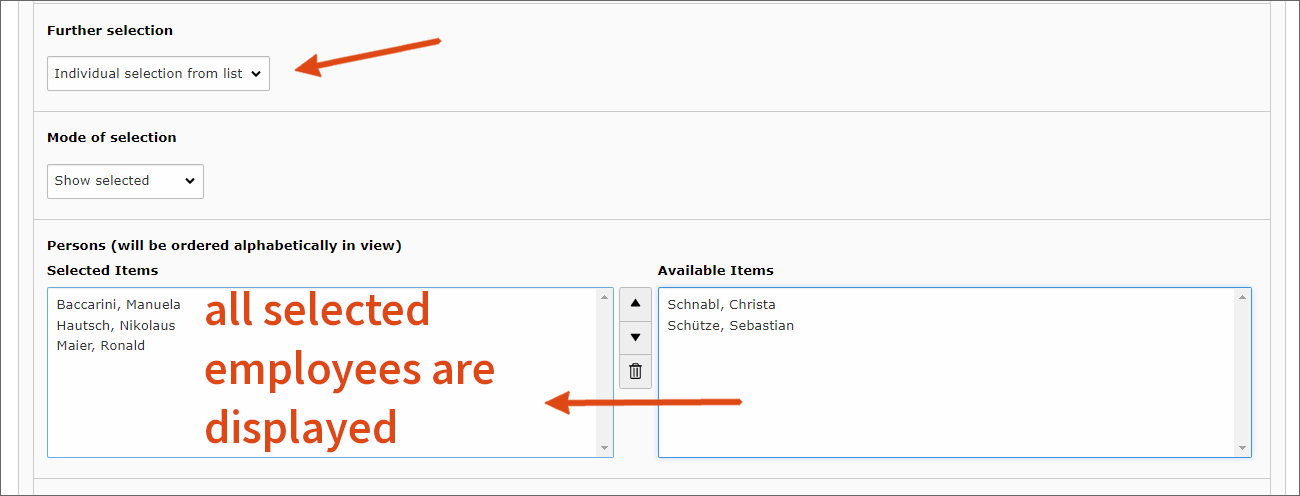
Using the Mode of selection field you can select positive or negative (show selected or show not selected).
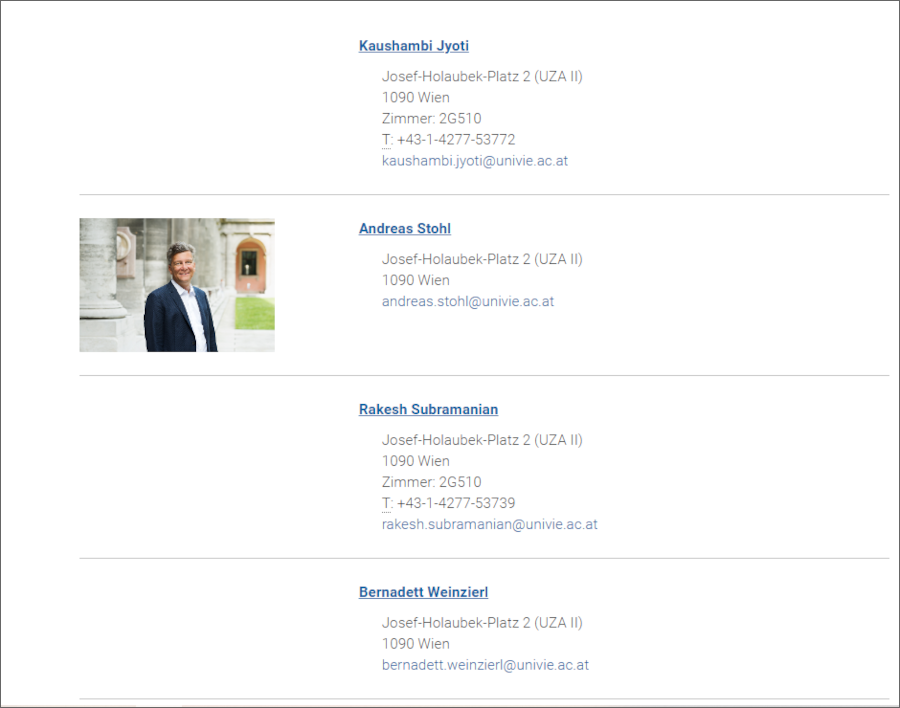
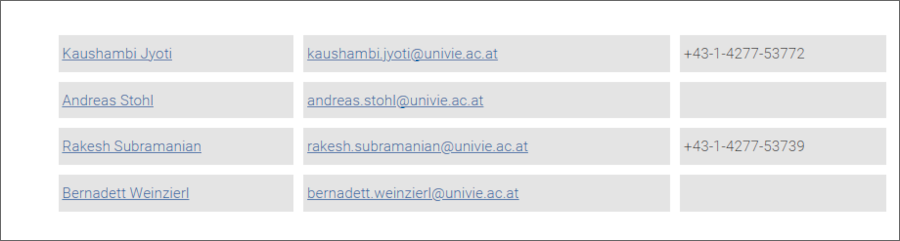
Editing display
In the plug-in settings there are 2 display options for your list:
- Table
- List
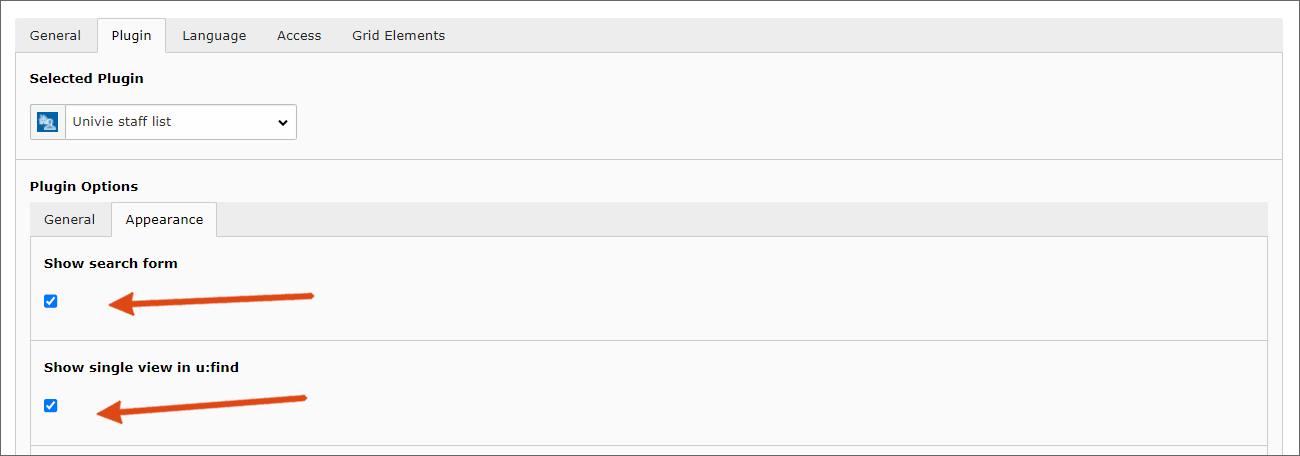
You can find more settings in the Appearance tab at the very bottom. Fields in the list/tables view allows you to choose which data is displayed in your list or table.
If the lists to be displayed are very long, you can activate a search form via a checkbox in the backend. If no single view is provided in TYPO3, you can alternatively link directly to u:find.
If you want to place a single view on your website, you have to add a page on which the Univie staff list plug-in has also been inserted in the corresponding field under Plugin – General.

Without specifying a page for the single view, the names are not linked in the list view. If the list alone is sufficient, you can also leave this field blank.
Creating a single view
Create a content element of the type Univie staff list on a separate page. Select the option Single in the drop-down selection.
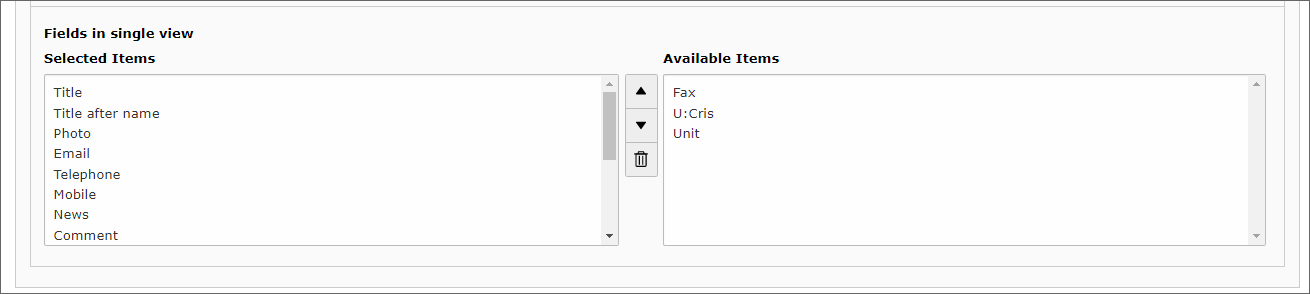
Further settings can be found in the Appearance tab. Under Fields in single view you can choose which data is displayed.
Showing additional information
In the individual view you can display a number of additional details such as courses, office hours, comments, publications and curriculum vitae. These data are imported from u:find and the research information system u:cris. For the single view, select Single with tabs.
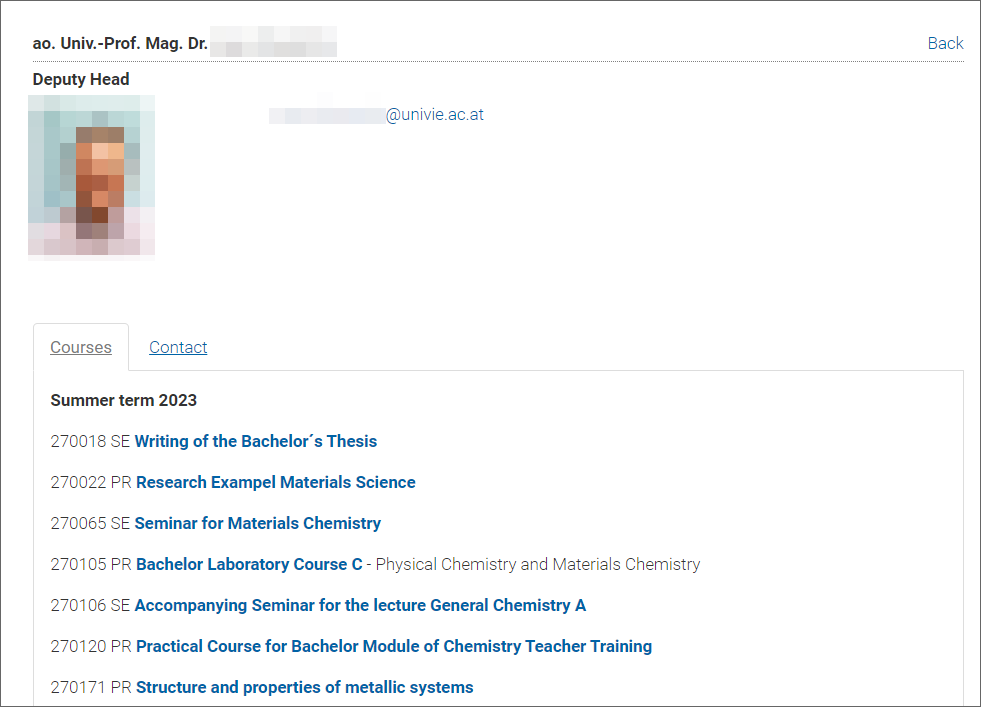
In this view, only those tabs are displayed that are also filled with content. Example: Only if the selected person actually teaches courses, the tab Courses appears in the single view. The tabs Publications and CV depend on the corresponding entries in u:cris.