Managing form data
This user guide will help you to evaluate, export and automatically delete form data.
Evaluating and exporting form data
This allows you to view and export the submitted form data:
- Click the module Powermail in the module menu on the left.
- In the page tree, navigate to the folder where the responses are stored.
- In the list, you will initially see only the header information. Expand the details using the arrow icon on the left. If your form contains a file upload field, a download option for uploaded files is displayed here.

Above the results you will find a search field for the full text search and the fold-out additional fields for the extended search and the extended export settings.
In the extended export settings, you can change the composition of the fields using drag and drop. Drag fields you don’t need in your export file from left to right or, conversely, add fields like the date of the entry to the export list.

On the top right you will find 2 icons for XLS and CSV export. Which of the two formats you prefer depends on your spreadsheet processing. CSV files are unformatted, comma separated text files. They should be able to be opened by a variety of programs. If you have Excel or another of the common spreadsheet applications installed, click on the XLS file.
Note
Only the search results will be exported. Make sure that no search filter is set if you want to export all records.
Deleting form data
The collected form data in the backend can be automatically deleted if necessary.
Note
In the interest of data protection, delete personal form data when you no longer need it.
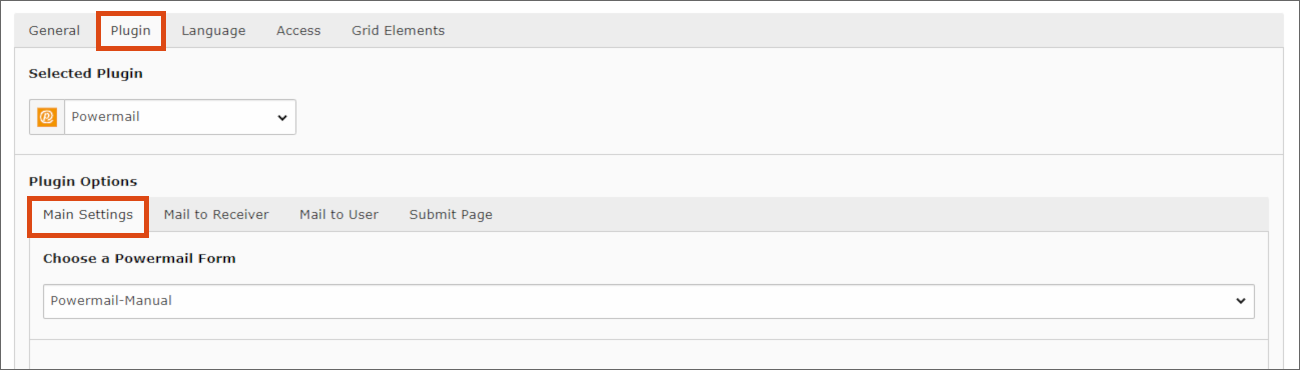
- Open the content element that contains the desired Powermail form.
- Select the Plugin tab.
- Select the Main Settings tab.
- At the very bottom, under Choose an erase mode for the form data, you will find a drop-down menu.
- Select one of the following options:
- Do not delete
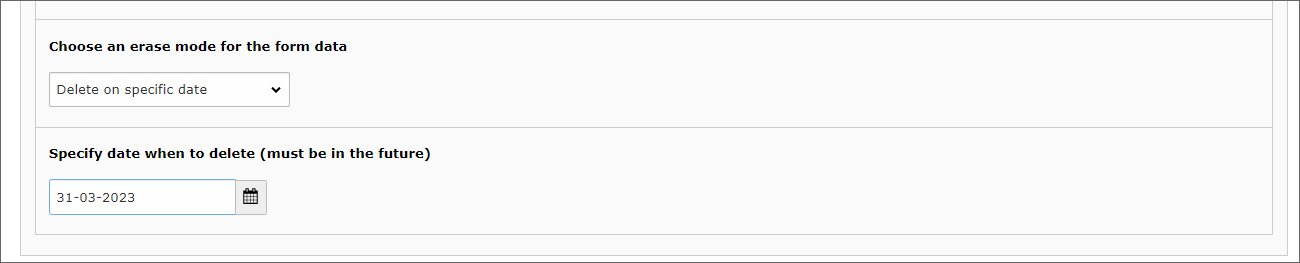
- Delete on specific date: deletes all form data after the selected date
- Delete after x days: Deletes all form data older than x days
You can change the deletion mode at any time, but this will not restore data that has already been deleted.

Deleting form data by date
This option is suitable, for example, for registrations for events that you no longer need after the end of the event.
- Select the Delete on specific date entry.
- In the pop-up window, confirm the change of the form with OK.
- Select a date that is in the future. All form data will be deleted after this date.
Note
If you reuse a page content element, change the date: If you open and save the page content element again after the selected date, the selection is automatically set to Do not delete. This prevents data from being deleted unintentionally.
Deleting form data after time period
This option is suitable, for example, for contact forms that are processed continuously.
- Select the Delete after x days entry.
- In the pop-up window, confirm the change of the form with OK.
- Enter the desired number of days (only whole days possible). All form data older than the selected period will automatically be deleted continuously.
