Outlook 2019
These user guides will help you to set up the e-mail functionalities of Outlook 2019 to send and receive e-mails with your e-mail address of the University of Vienna.
Note
- You can find the Outlook user guides for the Exchange service of the ZID in Exchange.
- We recommend to use Outlook only with Exchange on centrally managed devices.
- Office 365 ProPlus (Office für Studierende) can lead to problems with the e-mail configuration for Outlook. We recommend to use Thunderbird in this case.
Requirements
- A valid u:account userID and password
- Installed Outlook 2019 (for example as part of Office 2019)
- Working internet connection
Windows
Start the program Outlook 2019.
If you have not configured an e-mail account yet, please skip this step.
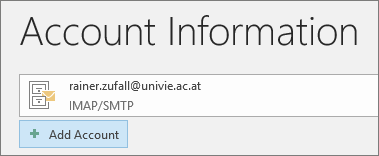
If you are already using Outlook 2019 with another e-mail account and would like to add a new e-mail account, open File in the menu bar. Click on Add Account in the section Account Information.
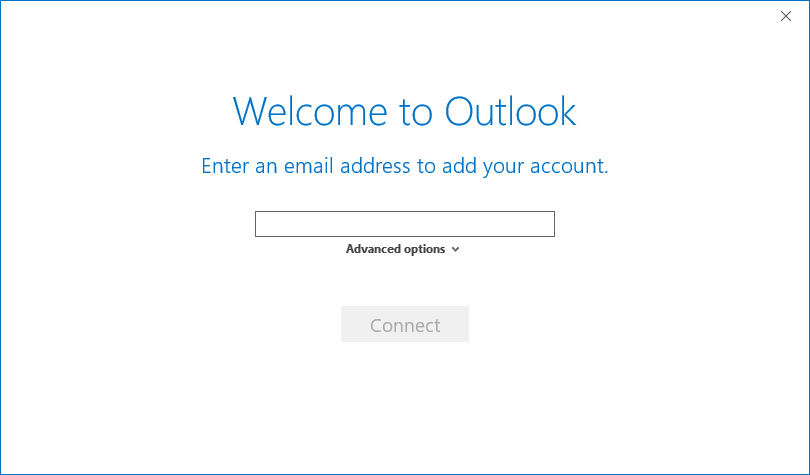
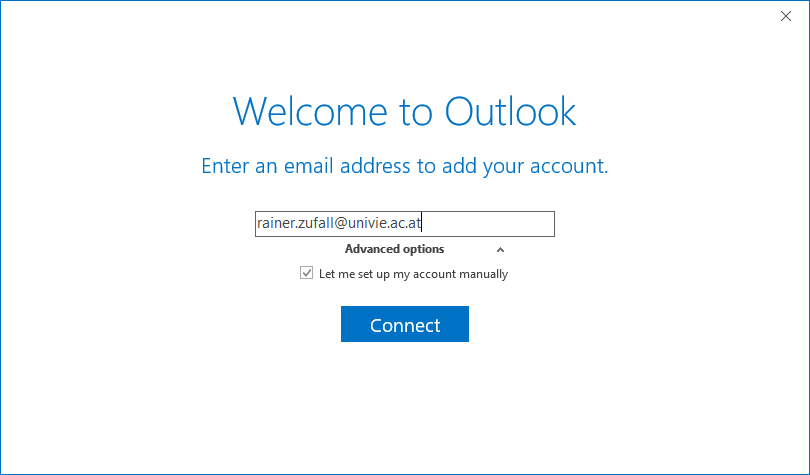
Enter an e-mail address and click Advanced options.
Activate the option Let me set up my account manually and click Connect.
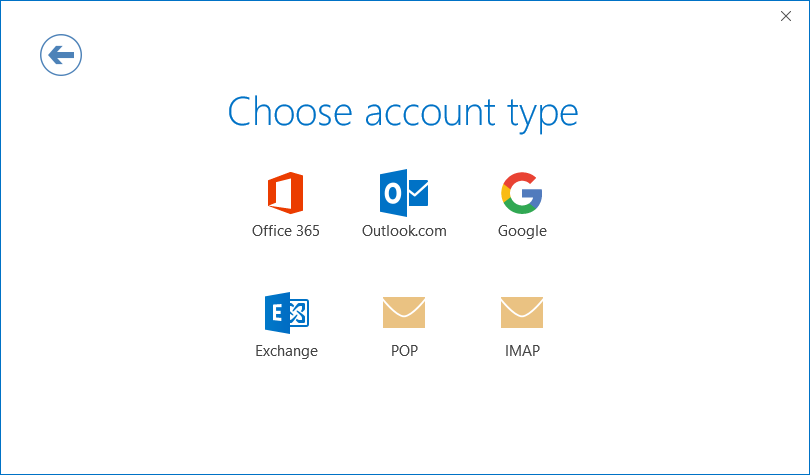
As account type, select IMAP.
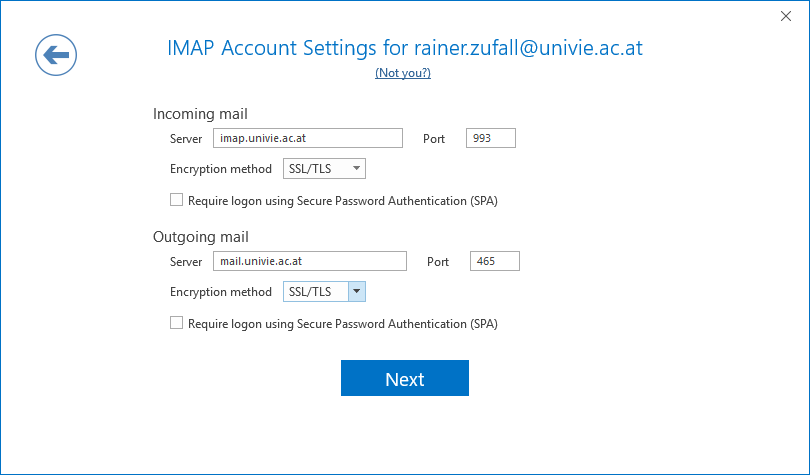
Type in the IMAP account settings:
Incoming mail:
- Server:
imap.univie.ac.at - Port:
993 - Encryption method:
SSL/TLS
Outgoing mail:
- Server:
mail.univie.ac.at - Port:
465 - Encryption method:
SSL/TLS
Click Next.
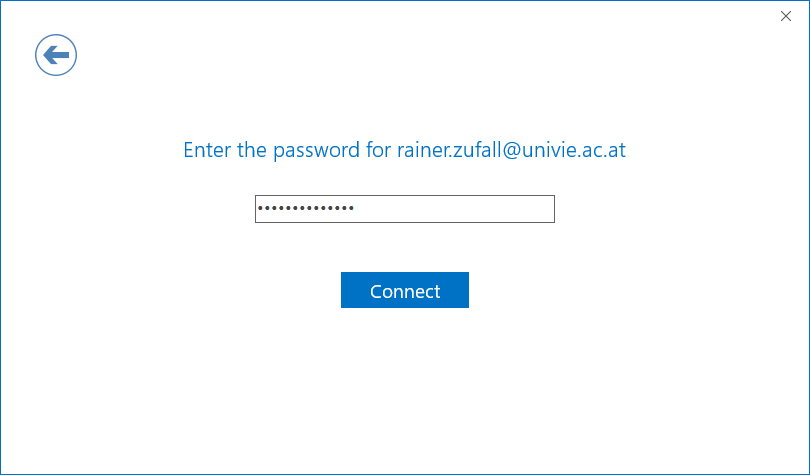
Enter your u:account password and click Connect.
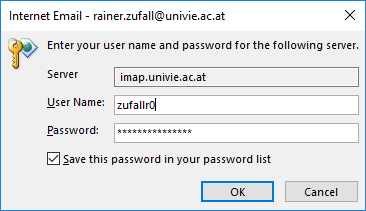
In account name type in your u:account userID and activate the option Save this password in your password list. Click OK.
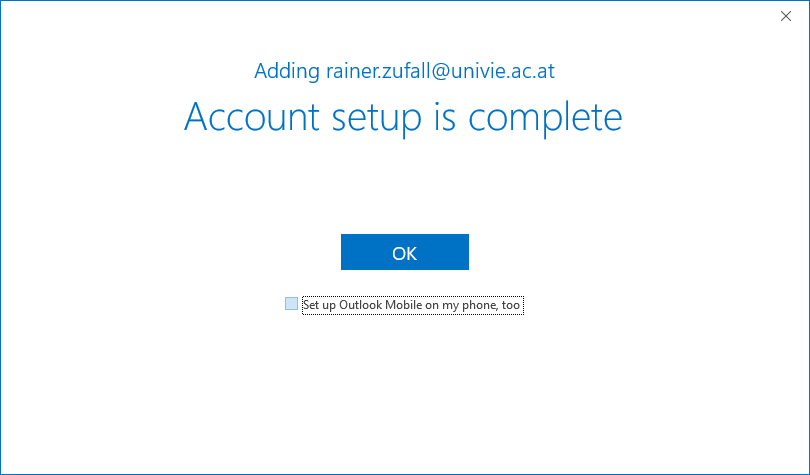
Deactivate the option Set up Outlook Mobile on my phone, too and click OK.
macOS
First time opening Outlook 2019
If you are opening Outlook 2019 for the first time, you will have to click through a lot of windows to get to the actual e-mail configurations.
If you are already using Outlook 2019 with another e-mail account and would like to add a new e-mail account, go to add an additional e-mail address further down on this page.
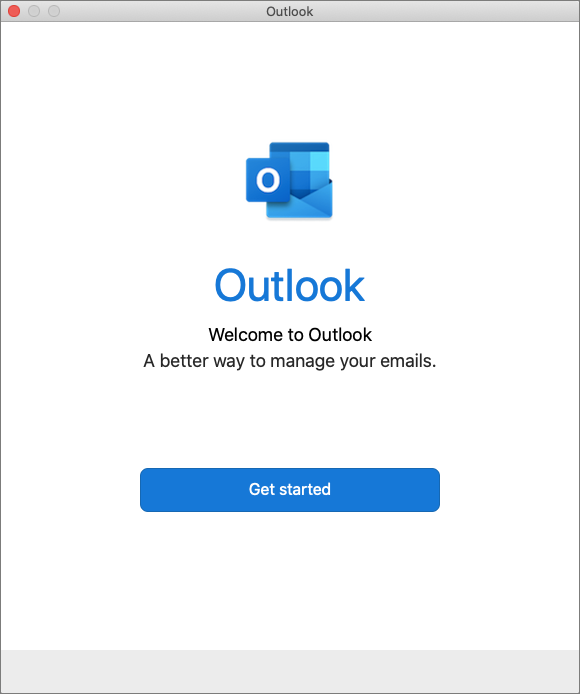
If you are opening Outlook 2019 for the first time, this window appears. Click Get started.
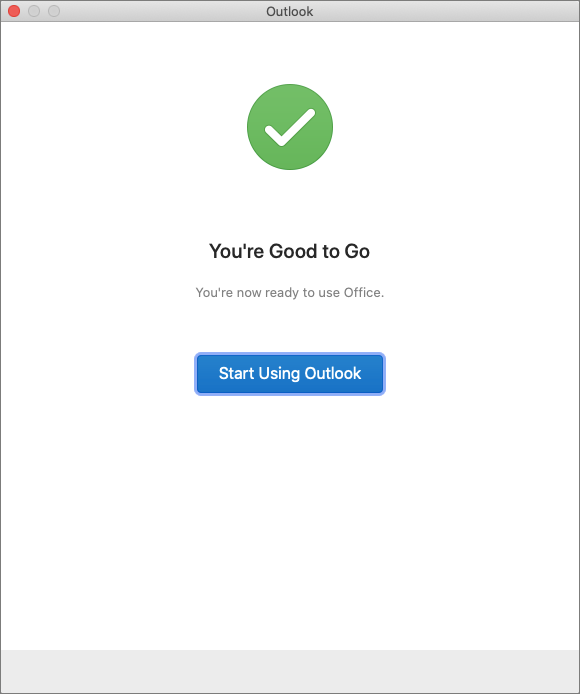
Click Start Using Outlook.
Now you can start the actual configuration of your e-mail account. This is explained in Configure Outlook.
Add an additional e-mail address
If you are already using Outlook 2019, you can add an additional e-mail account as follows:
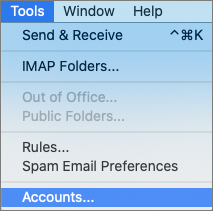
In the menu click Tools – Accounts …
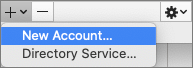
A new window should open now. In the left corner below click the +- symbol and then New Account...
Configure Outlook
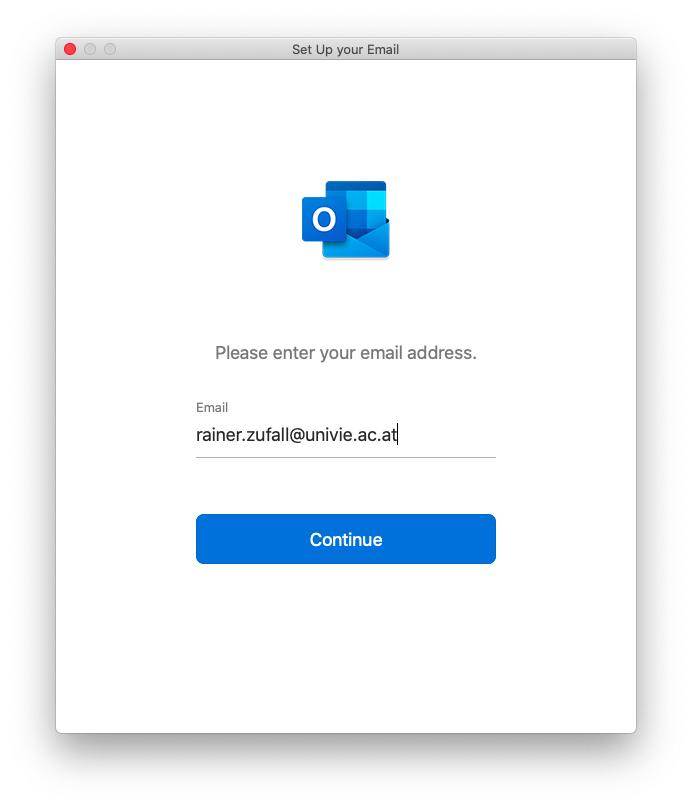
Enter your email address and click Continue.
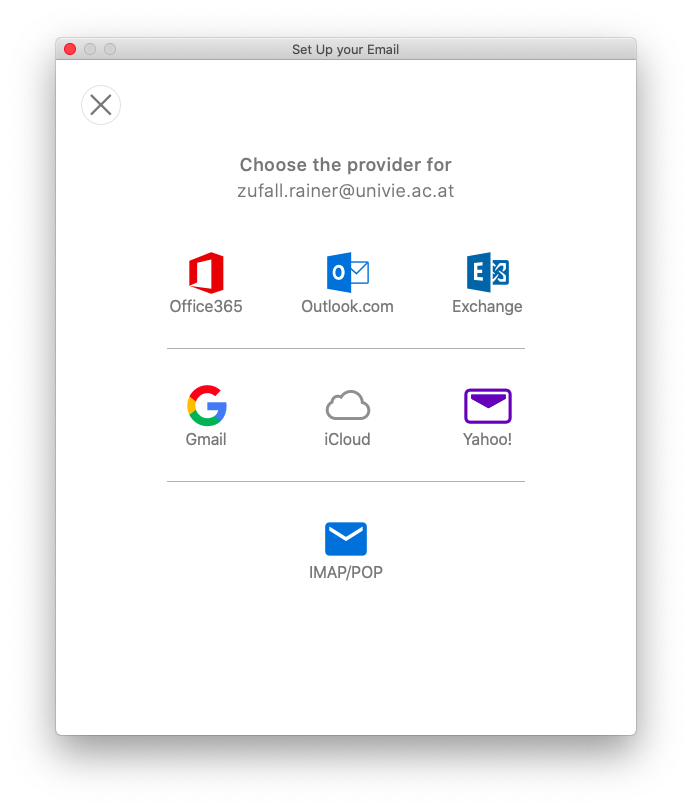
Click in the upper right corner Not Exchange?.

Select IMAP/POP.
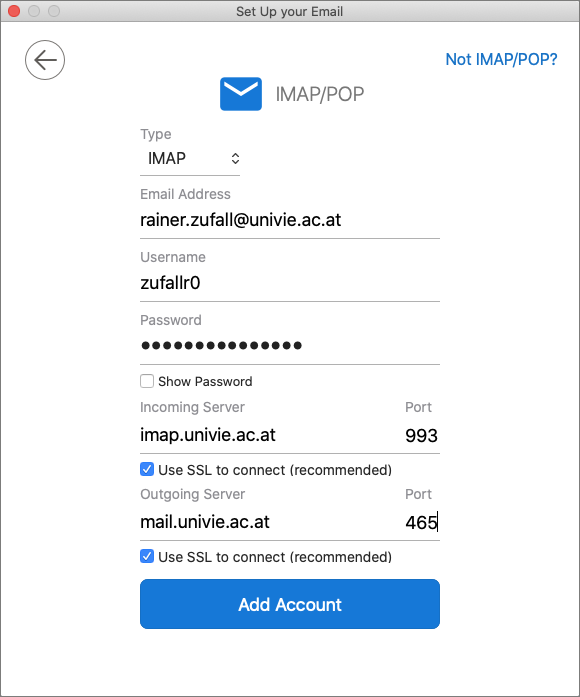
Enter your IMAP account settings:
- Type:
IMAP - Email Address: Your u:account-e-mail-address
- Username: Your u:account userID
- Password: Your u:account-password
- Incoming Server:
imap.univie.ac.atPort:993 - Outgoing Server:
mail.univie.ac.atPort:465
Activiate both checkboxes Use SSL to connect und click Add Account.
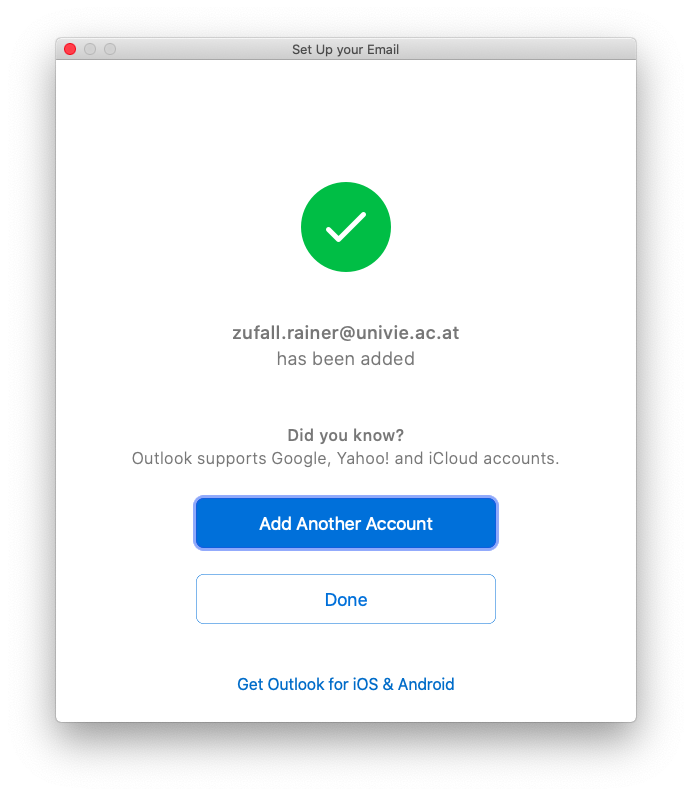
Click Done to finish the configuration.