Creating a news system
This user guide helps you to build a simple news system in TYPO3. For this purpose, a list view, a detail view and a collection of articles will be created.
Unlike normal page elements, for the news system you create a collection of articles, from which the frontend display is created using various filters. You can change the filters and the type of view afterwards.
Creating a page and folder structure
First create the page or folder structure for the news system. Make sure that the naming is meaningful, this will make it easier to work with TYPO3 support if any problems arise.
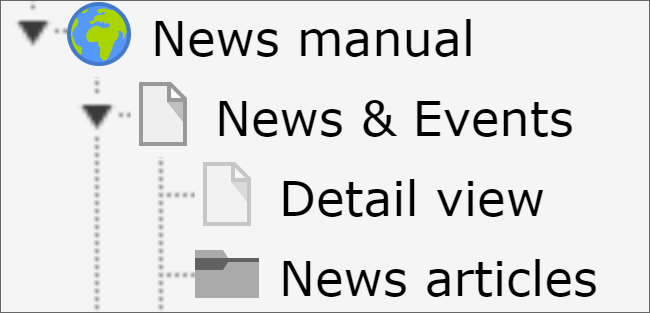
First create 3 elements with the following recommended naming (in German):
- Page for the list view: News & Events
- Page for the detail view: Detail view
- Folder for the collection of articles: News articles
To learn how to create pages, see Creating a page.
Note that the Detail view page is a hidden page in the menu. You can find the corresponding checkbox in the page properties in the Access tab.
Creating a list view
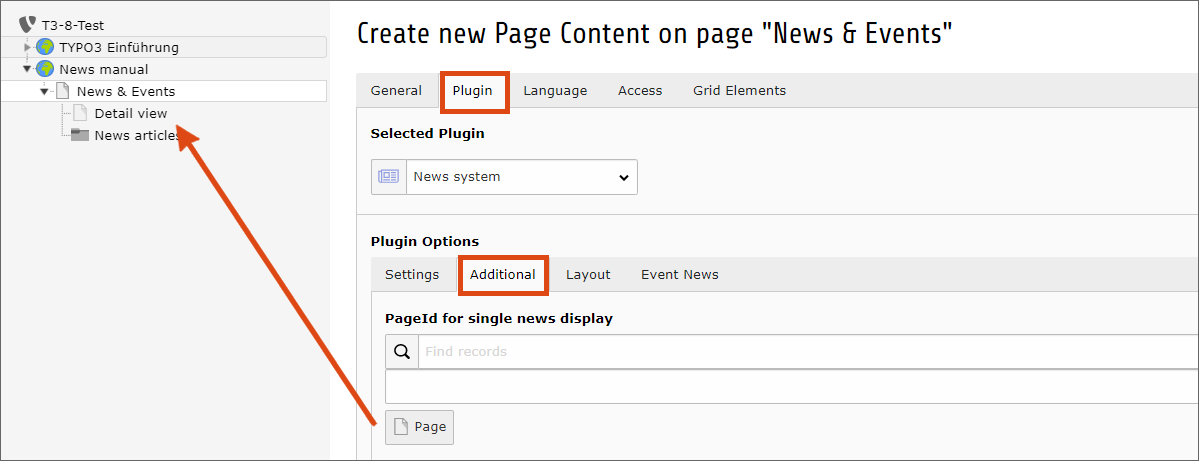
Create a new content element of the type News system on the News & Events page. You can find this in the content elements in the Plugins tab.
Under Startingpoint, define which folder or page the news system searches for articles to include in the list.
Under Recursive you can specify how many levels below the starting point should be searched for news articles.
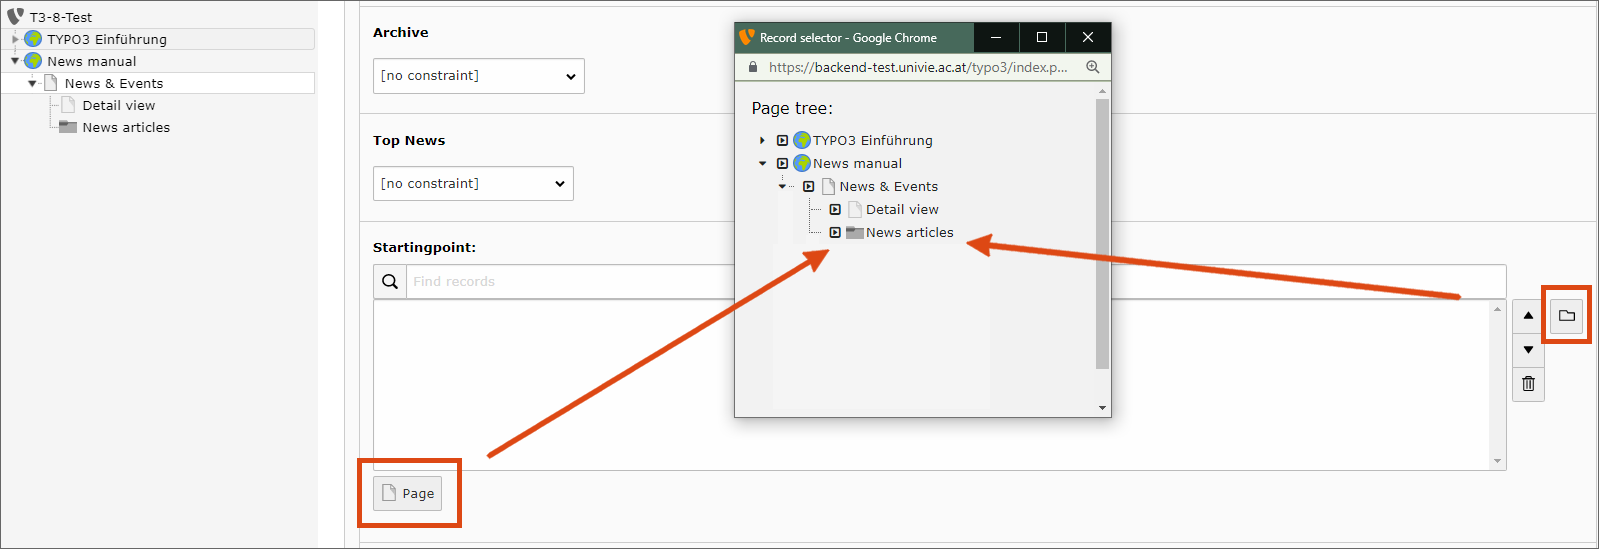
In the Additional tab, you need to select the detail view you created under PageId for single news display. To do this, click Page below the form field and select the corresponding entry in the page tree.
After you have made all the settings, save and close the content element.
Creating a detail view
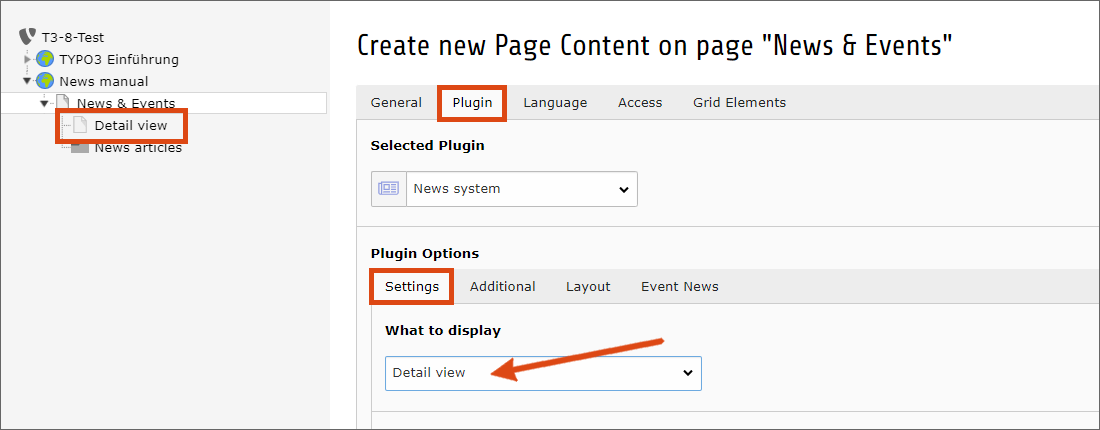
On the Detail View page, create a new content element of the type News system. This can be found in the Plugins tab.
For the configuration of the detail view switch to the Plugin tab. The output mode is set to List view by default, select Detail view and confirm the pop-up with OK.
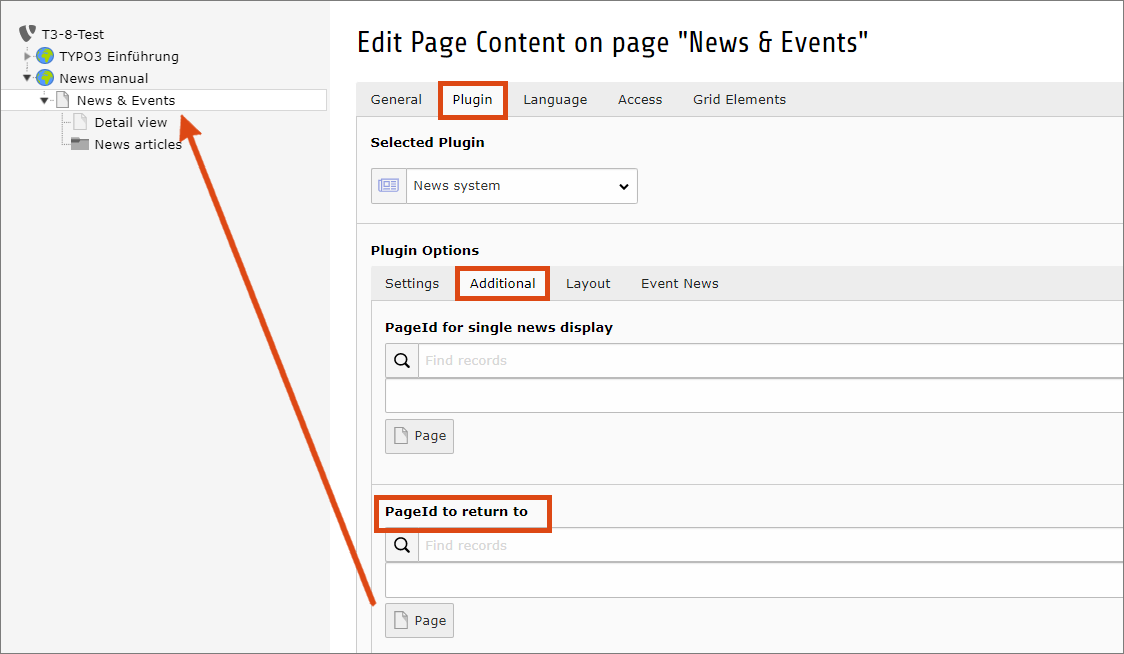
In order for users to be able to navigate from the detail view back to the list view, the page with the list view must be entered in the Additional tab.
In the Layout tab, you can change the display mode for the date and show/hide the author and categories.
When everything is set as desired, save and close the content element.
Creating an article
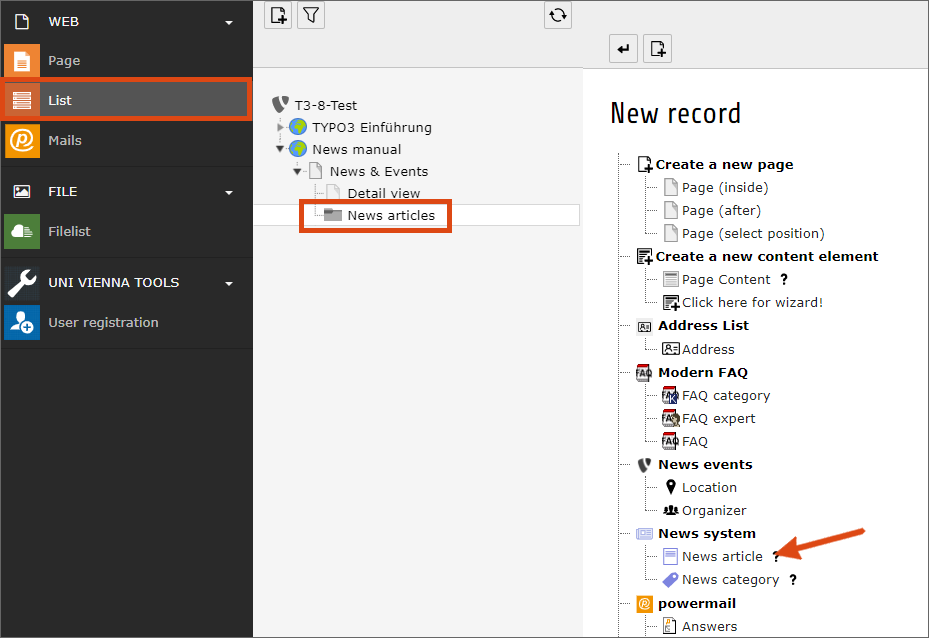
Switch to the module List and navigate to the News Articles folder.
Create a new content element of the type Article. This can be found under News system.
Then add headline, text and a teaser if needed.
To add images, videos or other media content, switch to the Media tab and use the corresponding upload wizards.
Leave the remaining fields unchanged and save the article.
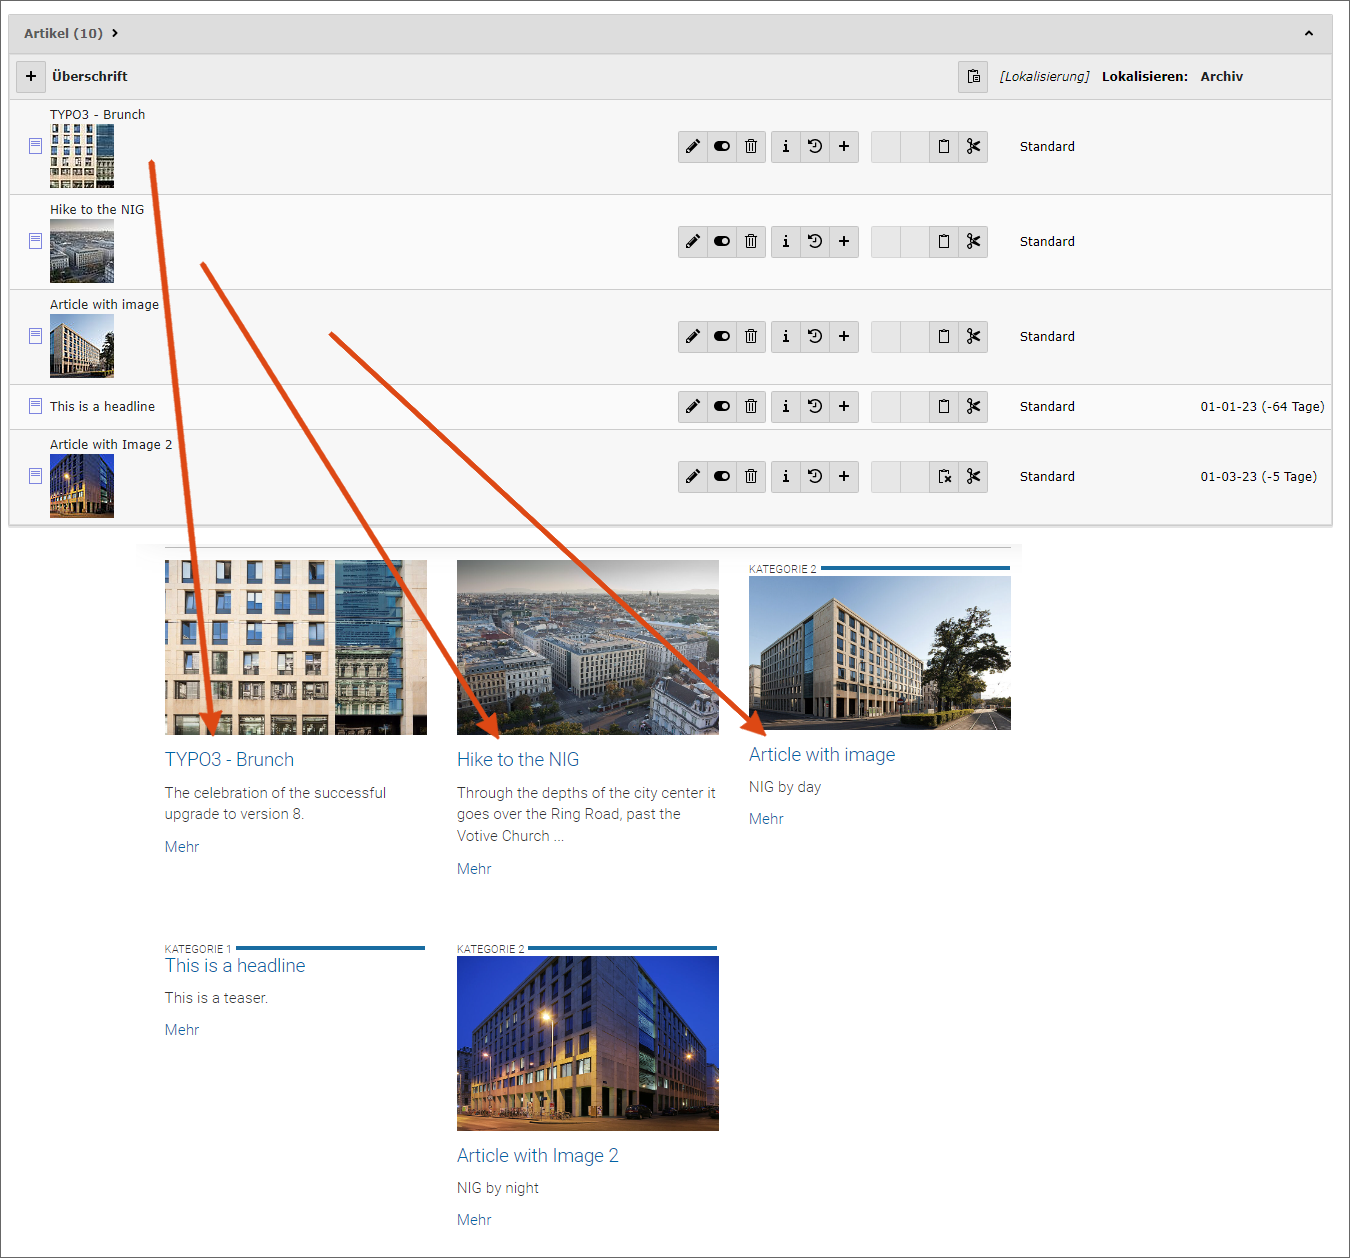
To view the article, open the list view page – in this case News & Events – in the frontend. If necessary, clear the page content cache first.