Editing video in the editor
Opening editor
You can open the editor via u:stream administration or via Moodle if you have linked your series to a Moodle course.
Via the u:stream administration
- Open ustream.univie.ac.at. User guide u:stream administration
- In the video overview, click the scissors icon next to the desired video.
Via Moodle
- Open the menu item u:stream videos in the Moodle course. User guide Uploading and editing u:stream video in Moodle
- In the table Videos available in this course click the 3 vertical dots ⁝ next to the video.
Cutting video
You can cut away the beginning, the end, or a section in the middle of the recording.
1. Making cuts
- In the editor, select Cutting in the left-hand side menu.
- Use the play button below the video to play the video and pause it at the appropriate point. Where you are in the video is indicated by the vertical marker in the audio track of the video. You can also move the marker directly to the appropriate place.
- Adding cuts
- Removing beginning or end: Place the marker at the desired point in the video before or after which to cut. Click Cut at the desired cut point. Then place the marker on the section you want to delete and click Delete.
- Removing part in the middle: You need 2 cut points that delimit the section to be cut out. Set these two cut points with Cut. Then select the section and click Delete.
- You can use the zoom to zoom into the audio track in order to set the cuts more precisely.
- You can then view the video with preview mode on and decide if you want to save the change.
- If necessary, you can undo any cuts or deletions you have made by clicking Merge Left, Merge Right, Merge all or Restore.

2. Finalising video
Once you have set all the sections, click Finish in the left-hand menu of the editor. There you can:
- Save changes: The edits you make are saved, but the video is not reprocessed. This function is recommended to save the intermediate status of an edit that should not yet be visible to the users of the video.
- Save and process changes: The edits are saved and the processing of the video is triggered to apply the edits to the published video. Select the Änderungen übernehmen und Video schneiden | Apply changes and cut video workflow and click Start processing.
- Discard changes: All edits are discarded, and the video is not reprocessed.
Note
If you have enabled automatic subtitling, the original language of the video and, if applicable, English are already set up and the subtitles are already entered. You can edit the automatically generated subtitles if necessary.
2. Entering subtitles
If you have disabled automatic subtitling or want to add subtitles in other languages, you can either enter subtitles manually or upload an existing subtitle file in WebVTT format.
If you have a recording with 2 separate video tracks (e.g. from u:stream studio), you can select which track to base the subtitles on under Video Flavours.
Entering subtitles manually
- Use the content segments to enter subtitles manually. The first content segment is created automatically. You can add as many further segments as you like.
- You can change the length of the segments using the start and end timecodes next to each segment.
- Enter the subtitles to be displayed at this point in the video in each segment.
- To remove a segment, click Delete segment.
- If necessary: You can export the subtitles as a file in WebVTT format using the Download button.

Customising thumbnail
By default, a still image from the start of the video is used as the thumbnail.
1. Selecting different thumbnail
You can customise this thumbnail by generating a different still image from the video or uploading your own image:
In the editor, select Thumbnail in the left-hand side menu.
Generating preview image
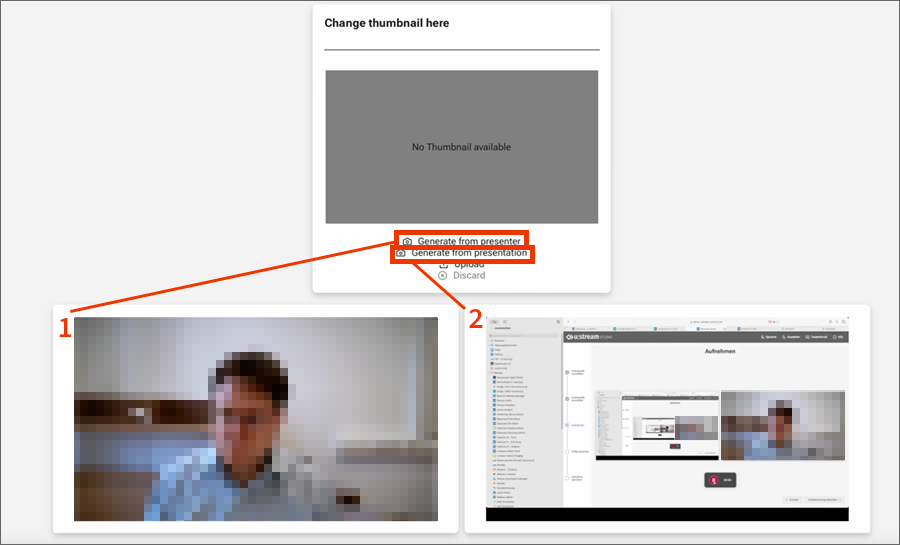
- Navigate in the video and stop it at a suitable point.
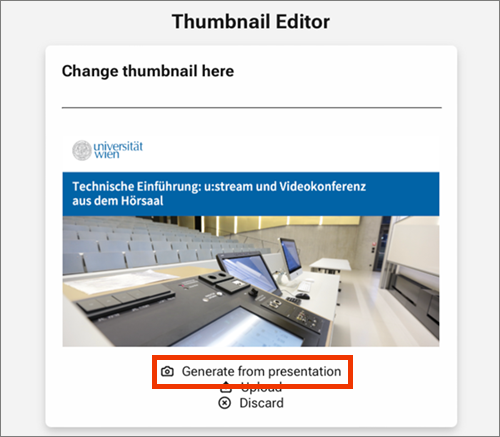
- Click Generate from presentation.

